
Adventures In Decorating: How To Make A 3m Floating Shelf
It’s been a while since I’ve added to my series of Adventures In Decorating. The word ‘series’ may be a little elaborate seeing as it’s only ever had two posts and the last one was about two years ago, a compilation of handy hints and tips from my experience of using a floor sander. From memory, this wasn’t my greatest moment. The only woman ever to have tackled the job in a pair of Haviaianas, the floor (dating back to 1759) was littered with age old nails and I broke at least 50 sanding sheets before admitting defeat and whacking on the Walnut stain to cover all the bits that wouldn’t play ball. You can click here to see what I did and how I did it but it wasn’t pretty.
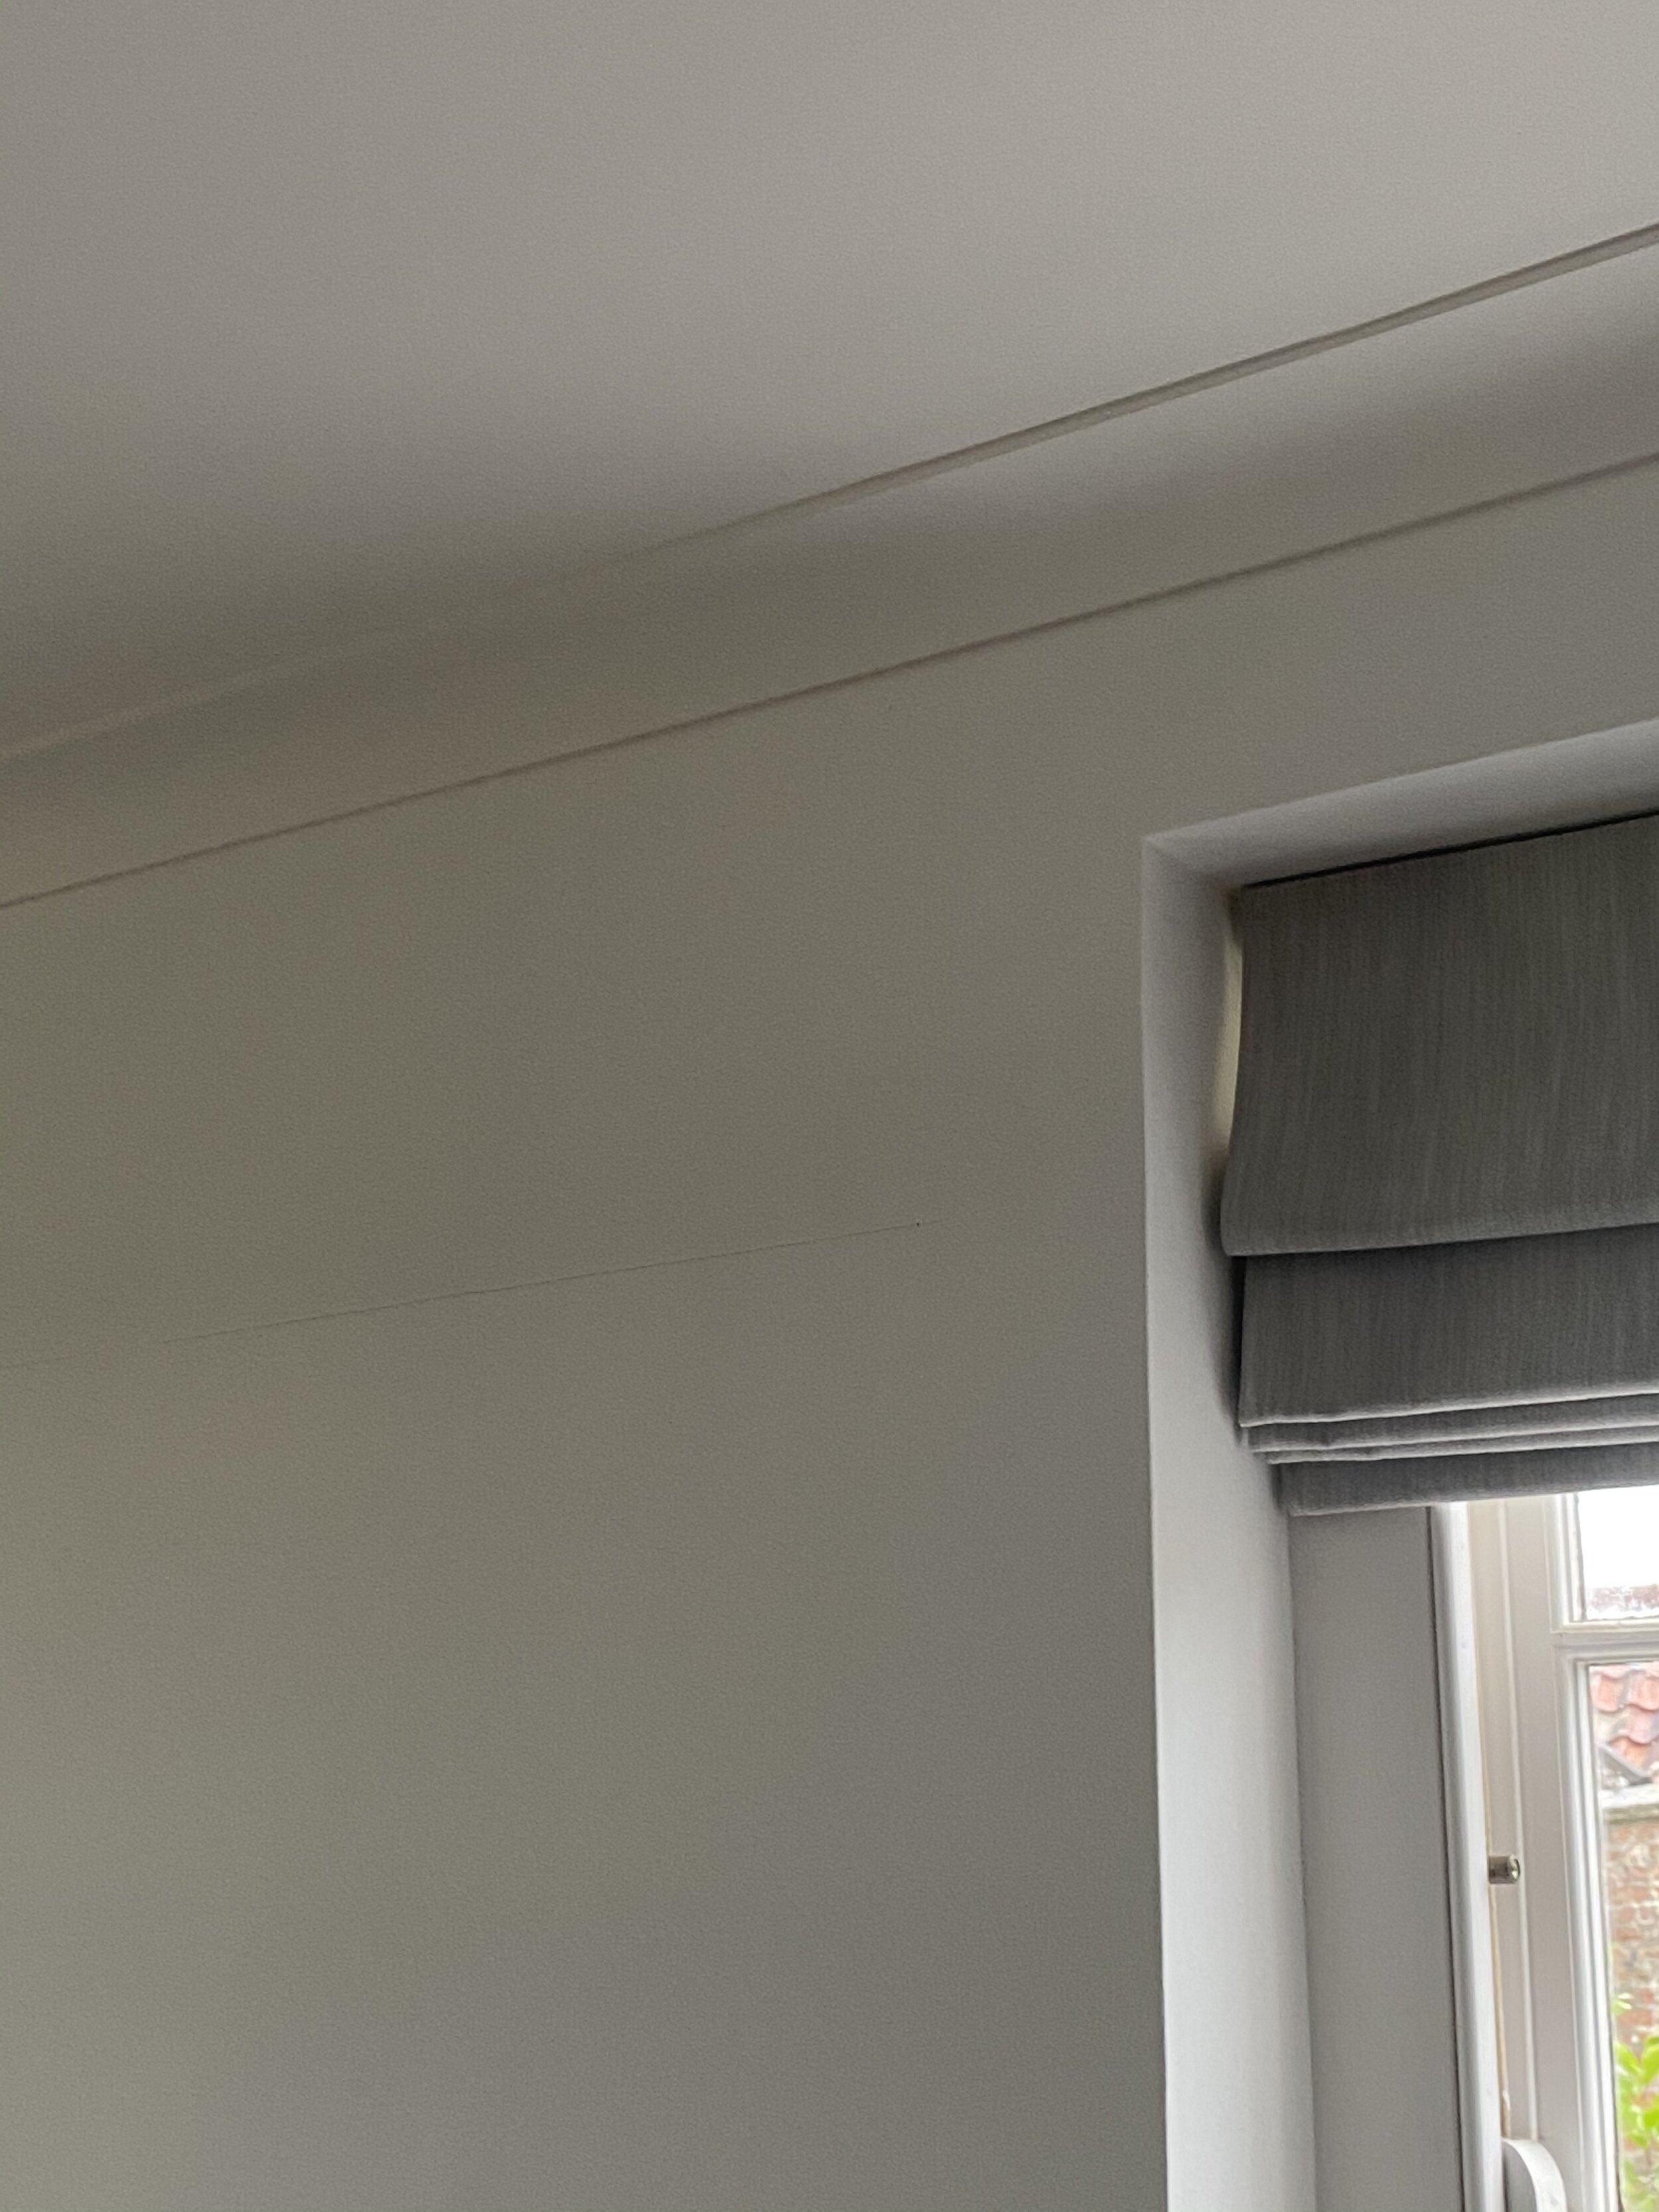
Anyway, a few weeks ago, I asked Mike The Builder if he could help me make a long, high shelf to go along the top of the family room wall. It’s always been an odd room to plan out - it’s an extension from the 1920’s that comprises of the living space with Leo and Max’s bedrooms above. The ceilings are, predictably, a lot lower than the rest of the house and there’s a bar in the corner which hides the door to the boiler room. The basic issue is that there is no focal point, bar a radiator with the television above which doesn’t quite give the room the look I’m going for. Sigh. Anyway, I’ve decorated this room five times - yes, five - in the five years we have lived here as I never feel as if I quite get it right. Previously a pool room, the previous owners housed a massive fridge freezer and pinball machine within its walls and as much as I’ve tried, it’s been difficult to rid it of that feel. I’d been attacking Pinterest with a vengeance for a few weeks for ideas and hit upon a plan to heighten the room by adding a long bookshelf, 3m in length.

The family room in the brochure when we viewed the house. Joe’s dream. Most DEFINITELY not mine.
Now, obviously I could have asked Joe to help me do this but his history of undertaking tasks such as this isn’t good. Joe, it has to be said, is the DIY equivalent of Frank Spencer. In our previous home in Caversham, I once asked him to put up four small wooden shelves on brackets that I’d purchased from B&Q. It took him HOURS. I stood underneath with the Hoover to catch the brick dust, as he drilled hole after hole amidst a sea of swear words. Finally, he proudly announced that he had finished; the shelves were up and were as solid as a rock. In order to demonstrate this fact, he - inexplicably - decided to hang his 16 stone body off the top one to prove his point and the entire structure collapsed like a pack of cards. So when I decided that I needed a shelf and realised it wasn’t something I could a) buy in a shop or b) do myself, I recruited Mike The Builder and his extensive carpentry skills to assist. AKA make it for me.
I received so many requests asking how Mike did it on my Instagram feed that I decided that it would be worth detailing exactly how it was made, particularly as many of my readers are far more expert in the ways of DIY than myself or, indeed, my husband. I wanted the shelf to hold books - 3m worth of them - so something off the shelf just wasn’t going to cut it. It also needed to be hardcore and not warp over time - I’d previously put up MDF shelves in my office on standard brackets and their holding power was extremely weak. And finally, I didn’t want it to have any brackets showing. It needed to have invisible fixings. Yes, I know. I’m high maintenance. In collaboration with Mike, here’s a step by step guide to how you can achieve the same. I’ve done measurements for a 3m shelf but you can adapt for whatever you are planning to do. Disclaimer: Obvs this isn’t MY actual Adventure In Decorating. I was merely a bystander.
First of all, you need to buy a 2.4m sheet of moisture resistant MDF in 18mm thickness, then have the DIY store cut it into three 200mm width lengths. Then ask them to take one of those lengths and cut it down to make two 600mm lengths. So you’ll have two full length pieces and two smaller 600mm pieces, both 200mm width. This is the basis of your shelf. Then you need to laminate them - basically, this means overlapping them like bricks to make the length you require. Overlap the two longer ones so that they create a 3m length and then fill in the gaps with the two 600mm lengths - one on the top of the shelf and one underneath, so you have a solid 3m shelf.
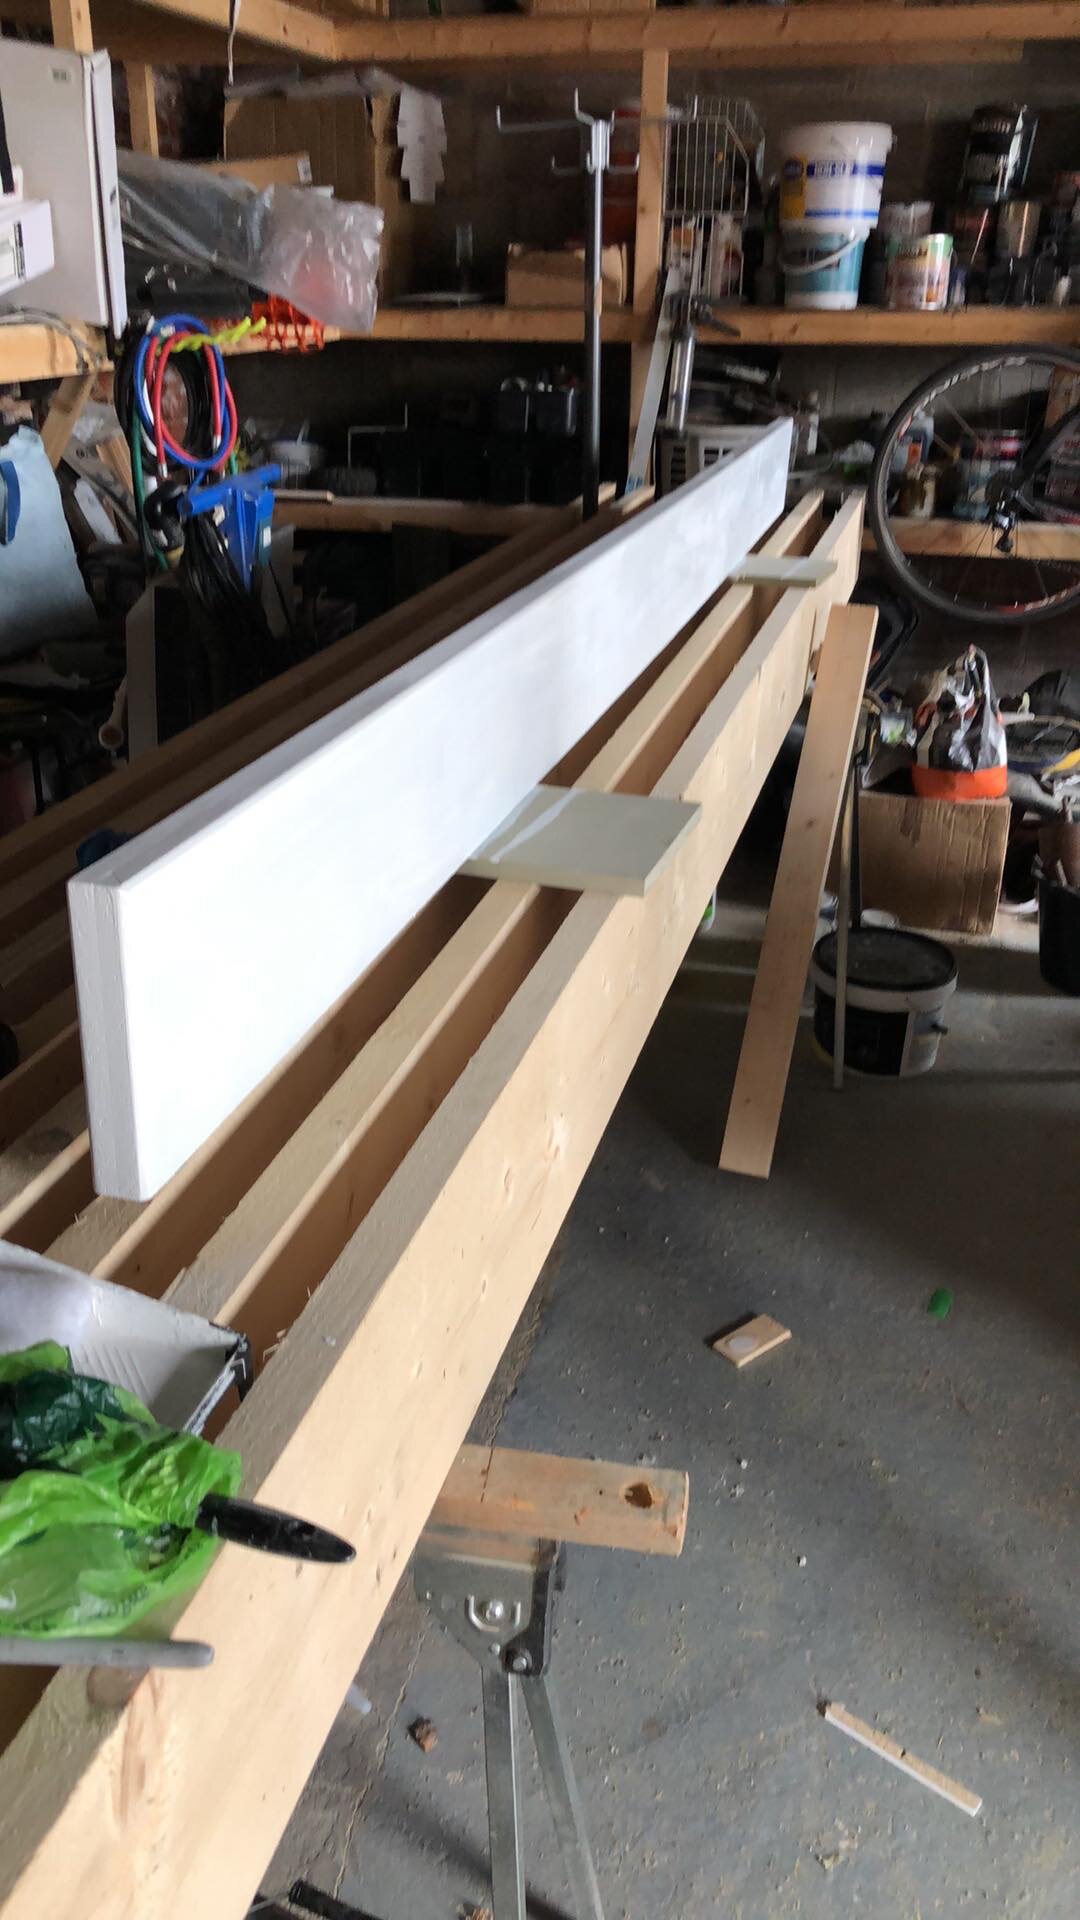
When you are happy, glue them together then add screws in the sections where the edges meet to make it extra secure. Leave for 24 hours to dry so it’s completely solid. Then depending on how you want your shelf to look, you need to take the edge off using a router, either a pencil edge or rounded, whatever you like. Now is a good time to paint your shelf - we used water based eggshell in Sanderson Snowy Owl so that it matched the wall and blended in. You’ll need to prime it first to make sure it sticks to the MDF.
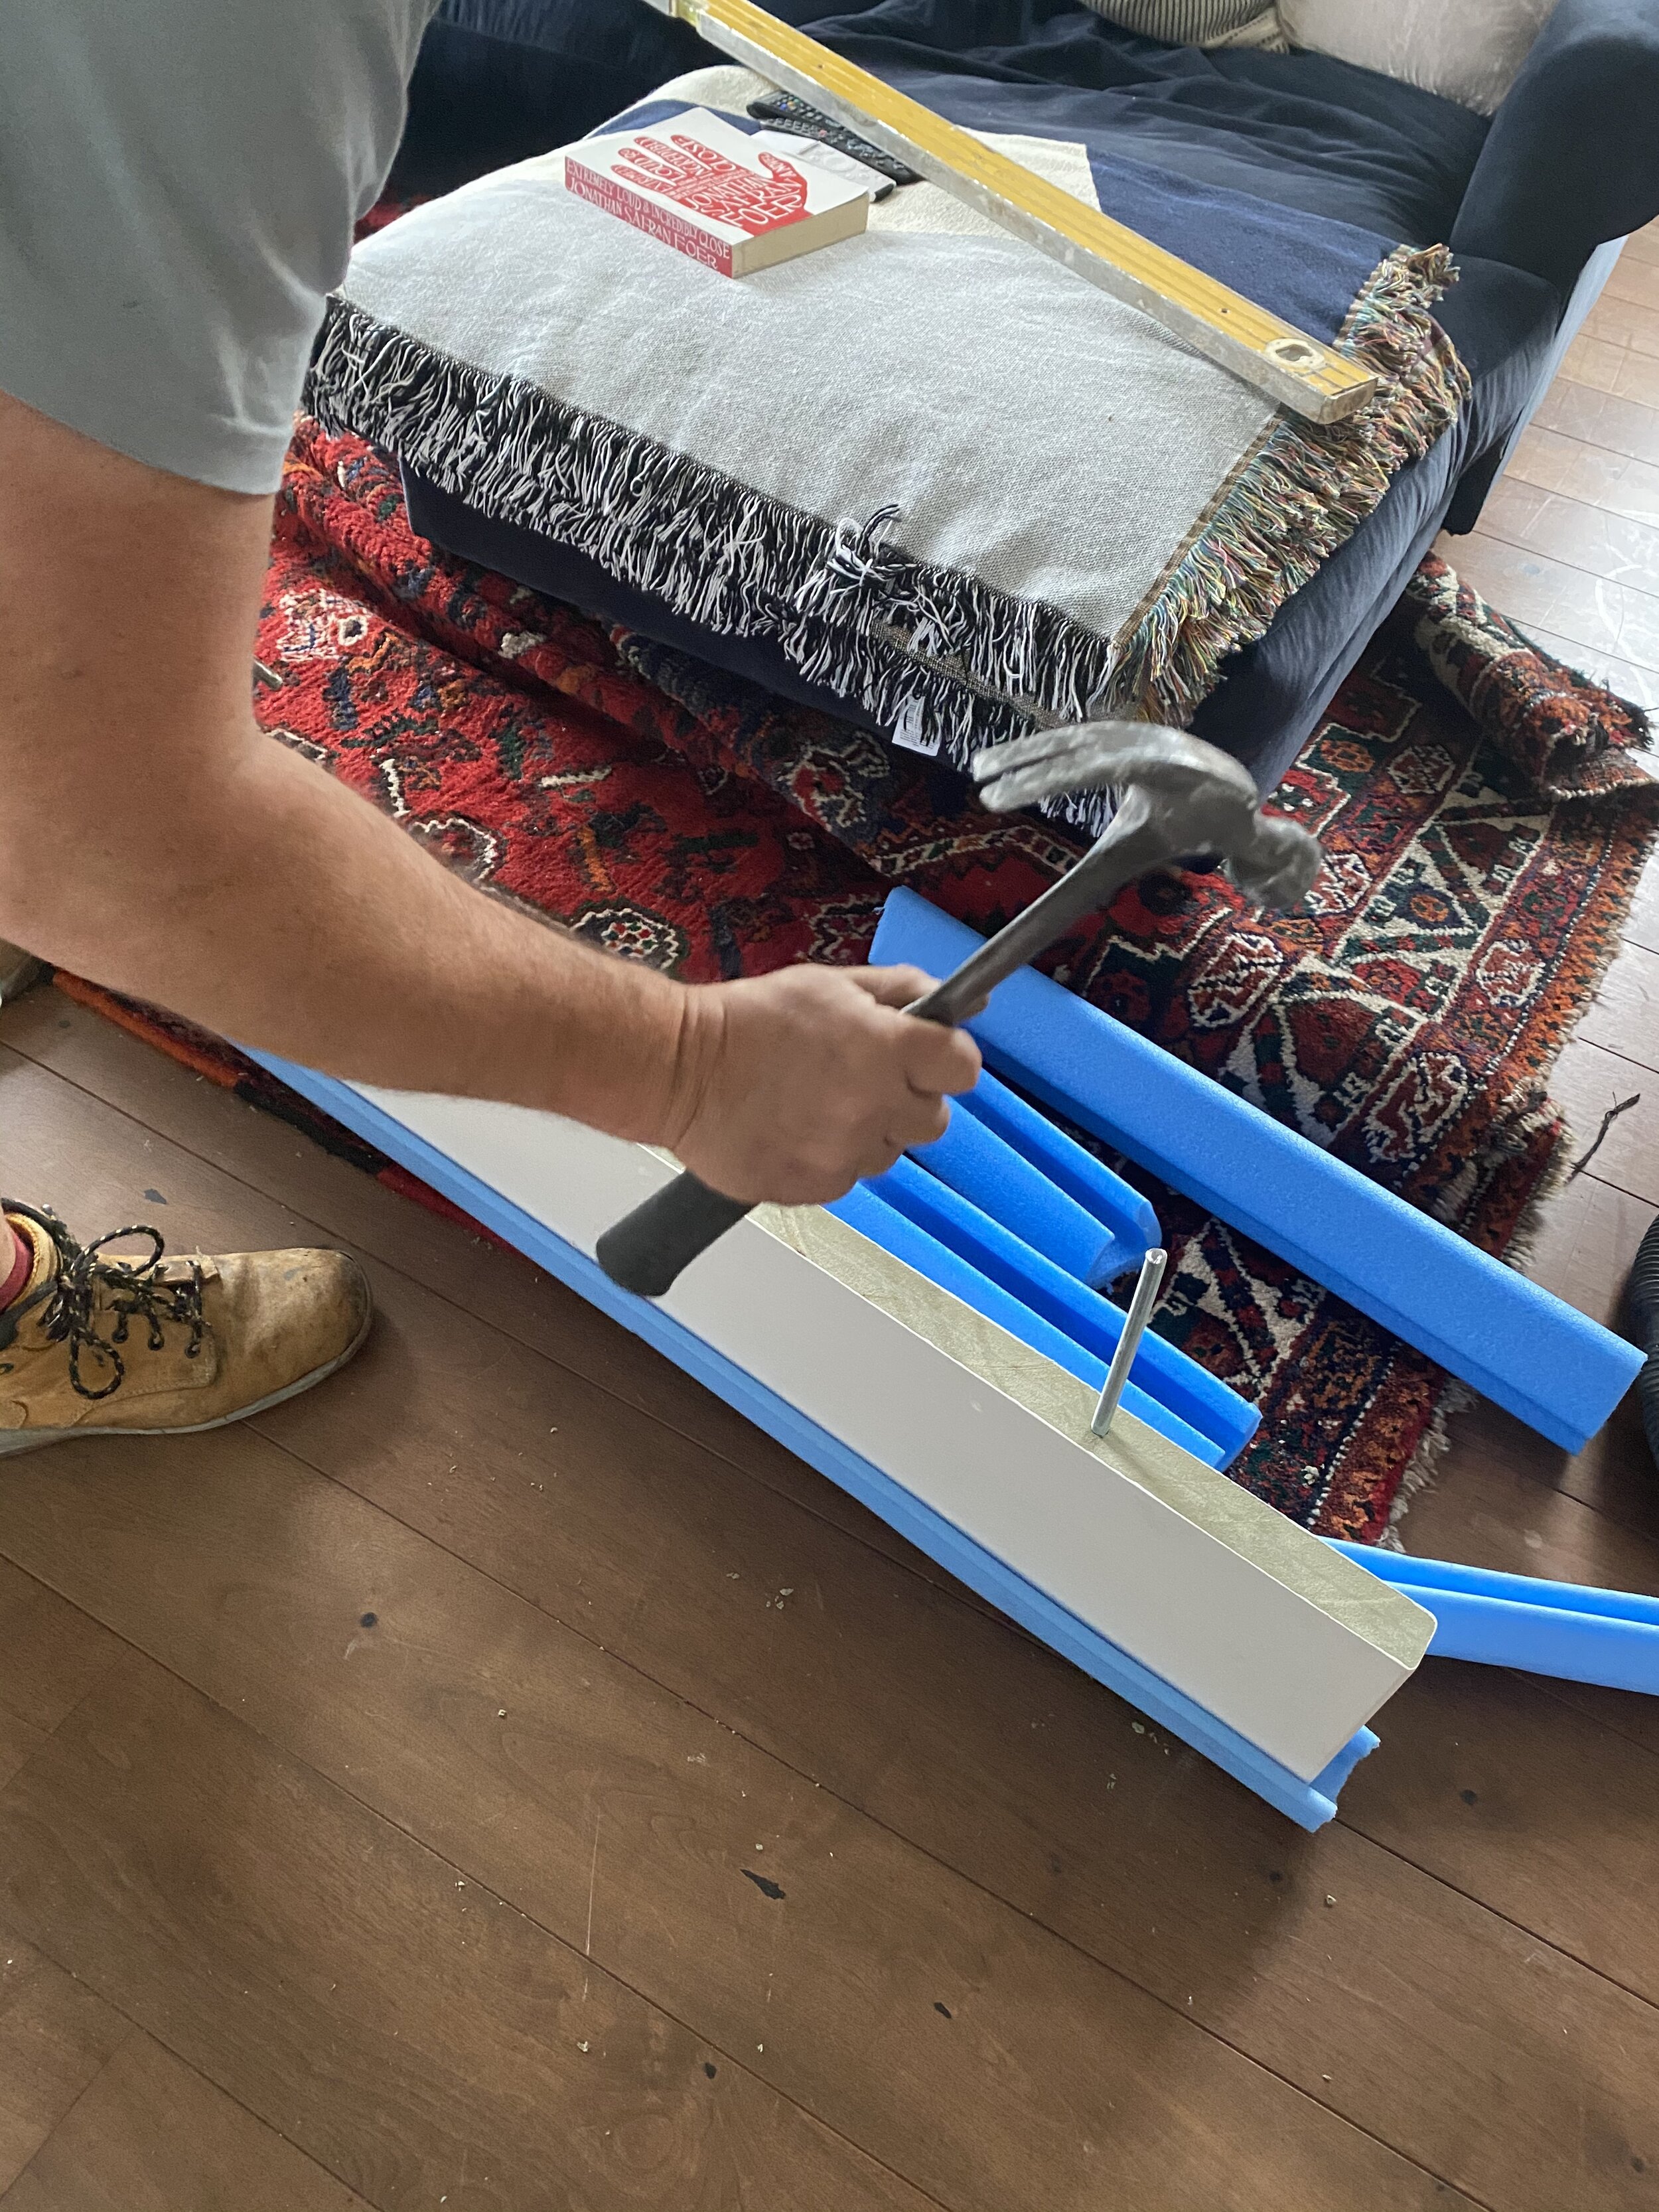
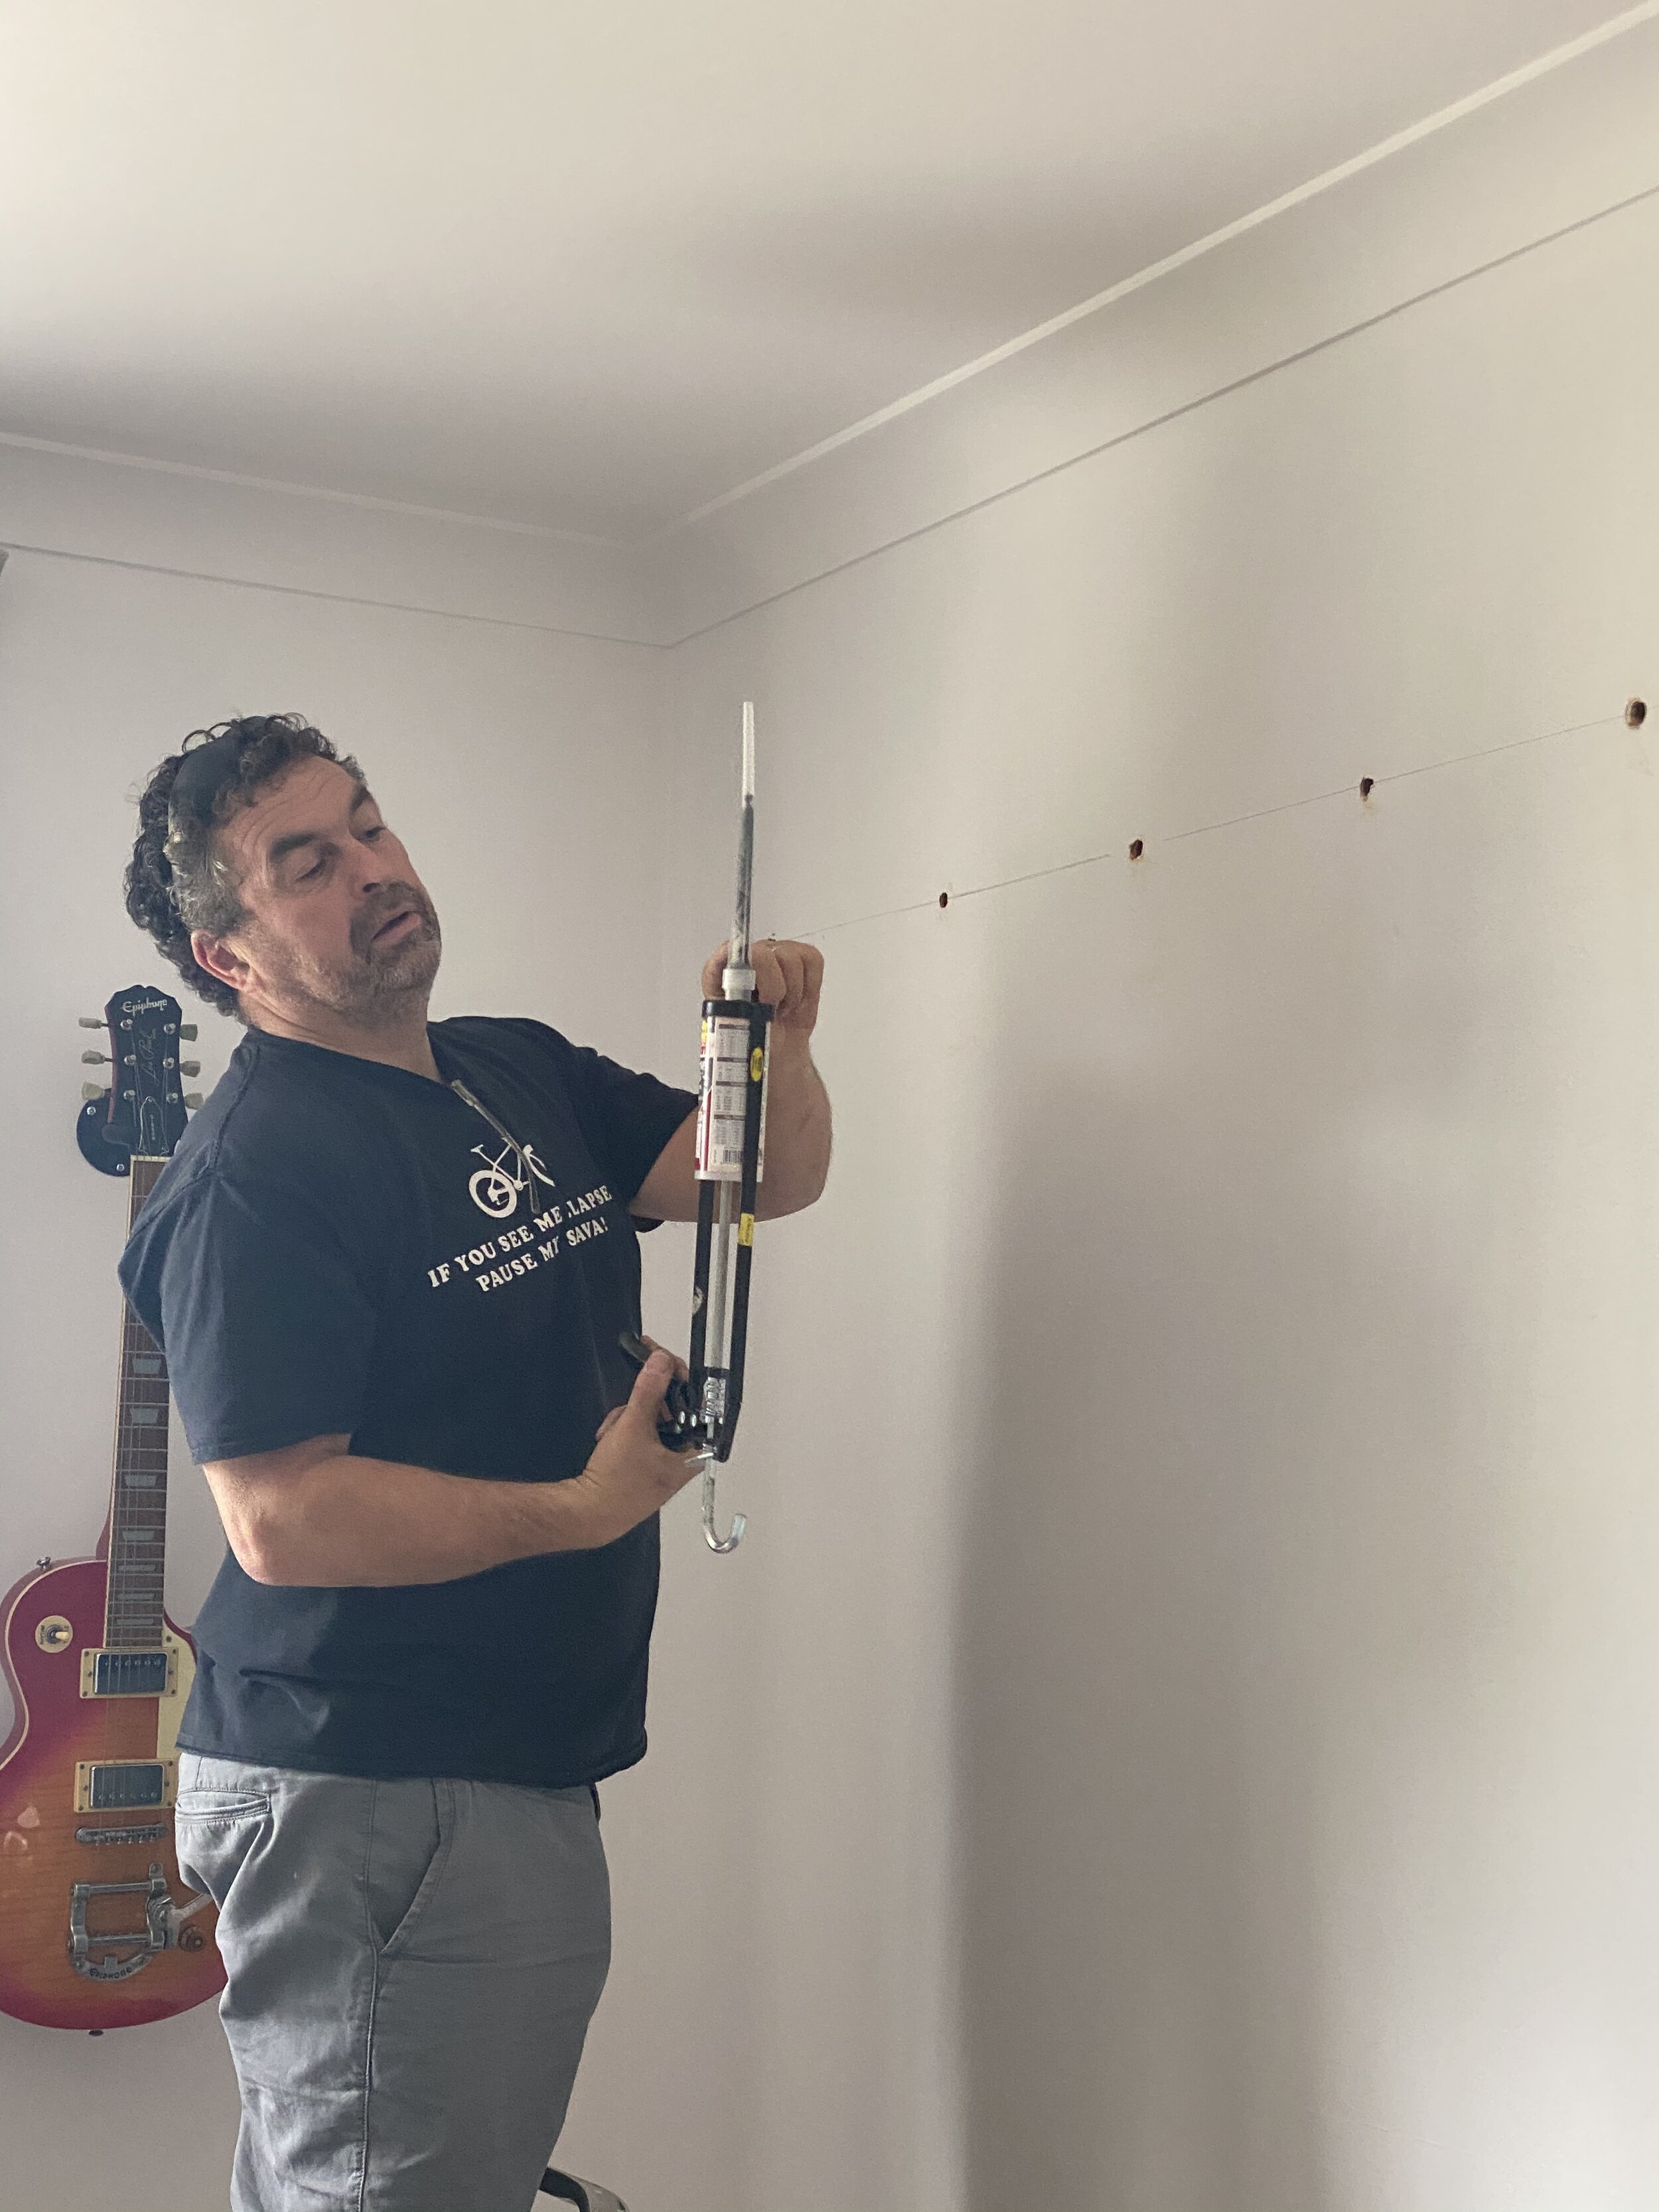
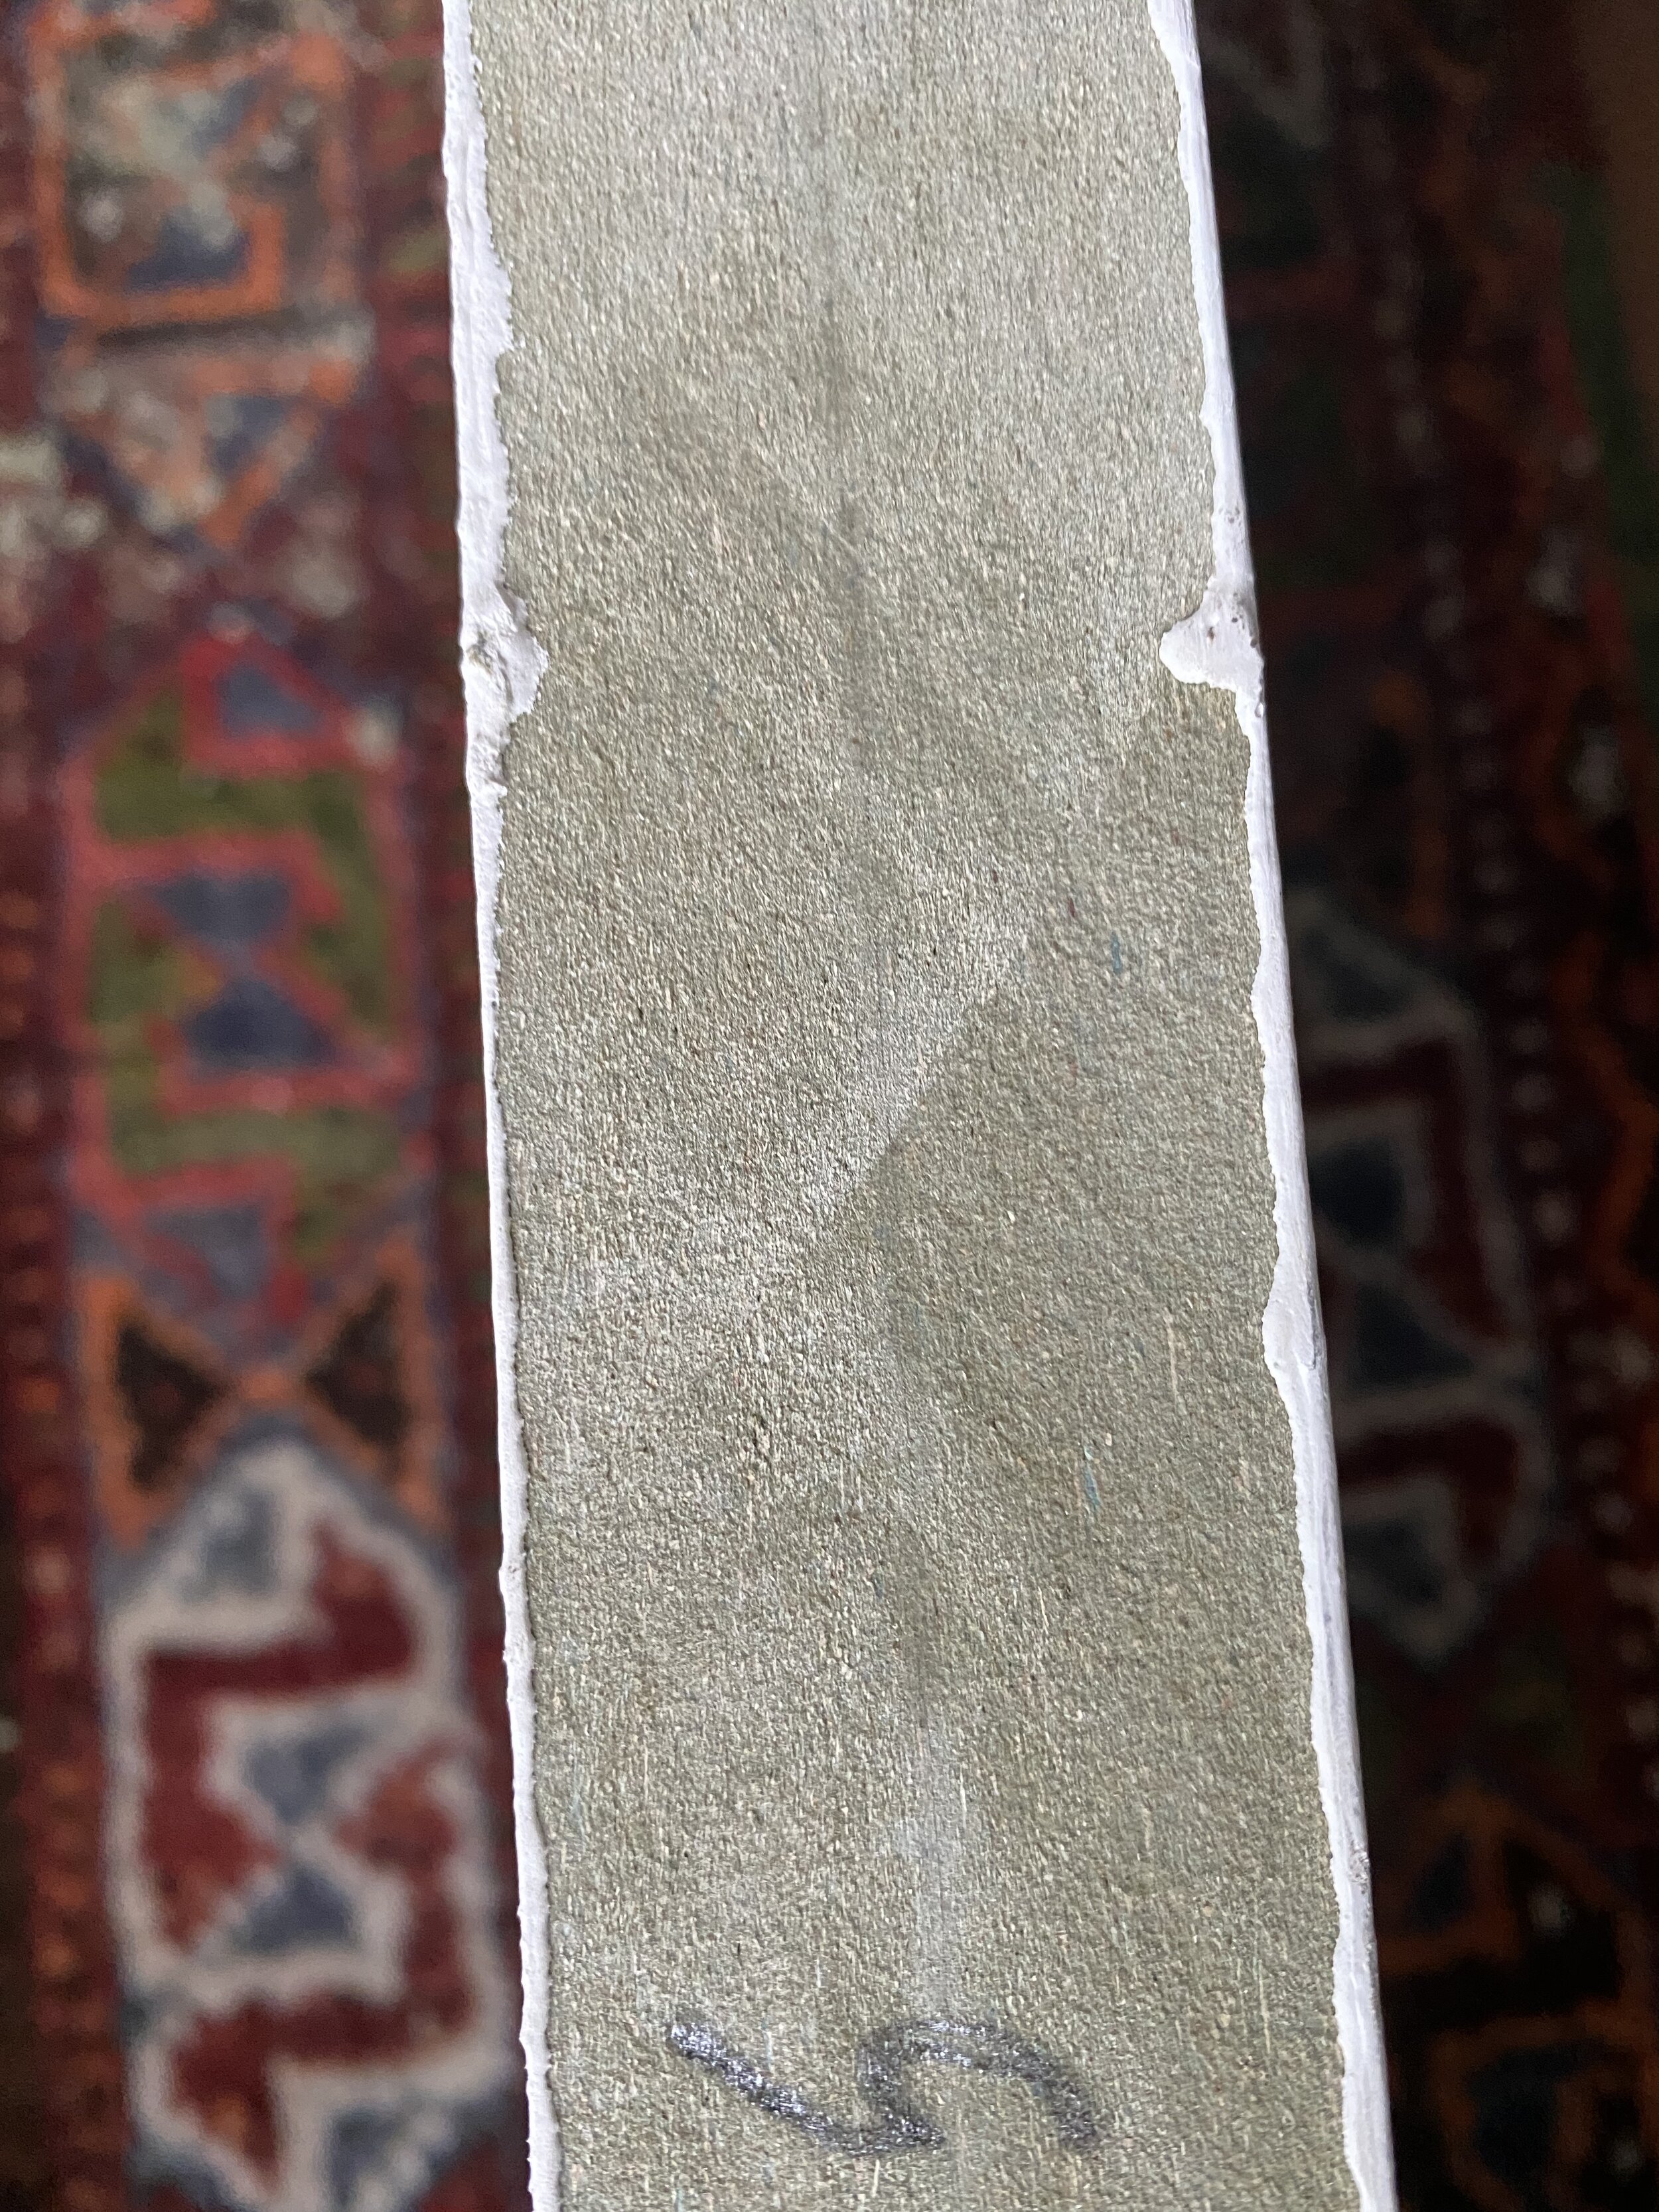
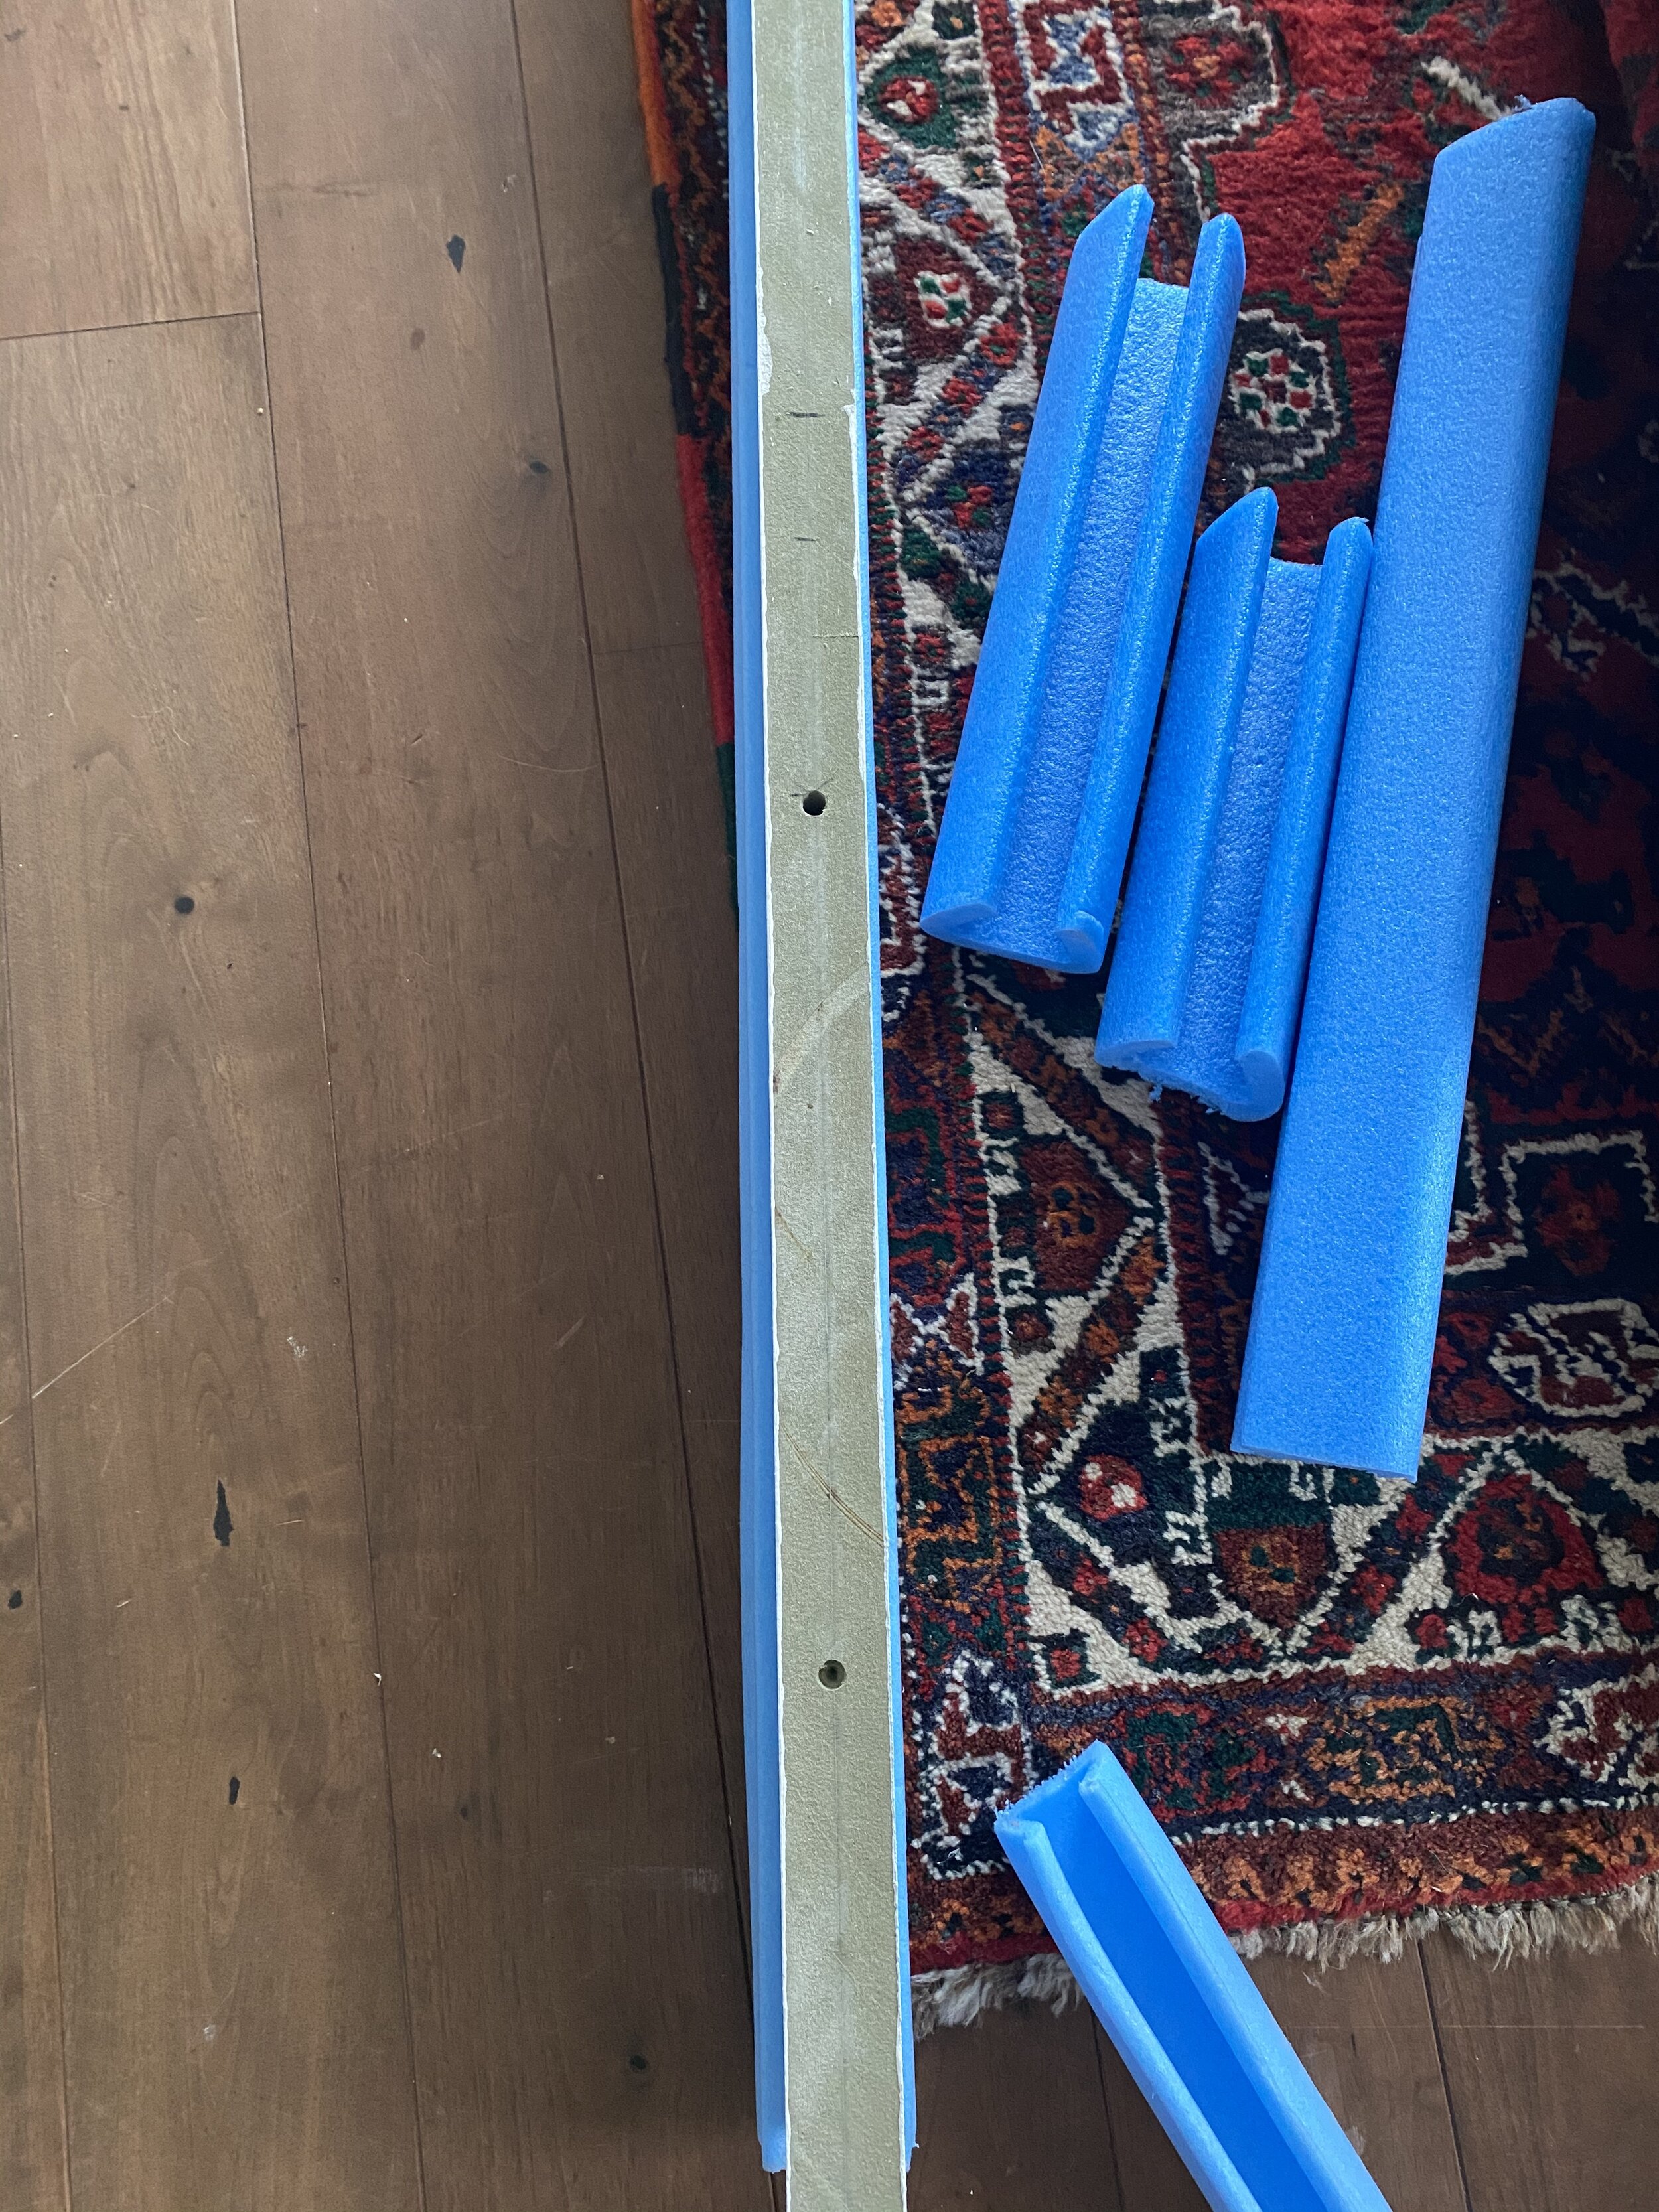
So your shelf is ready to be hung. If you’re looking to hang a decent amount of weight on it, it should really go on a brick external wall. Mike drilled eight 10mm holes spaced 300mm apart down the unpainted edge of the shelf, the side which would go to the wall. He then drilled equivalent holes in the wall, again 300mm apart, of 14mm diameter by 100mm deep.
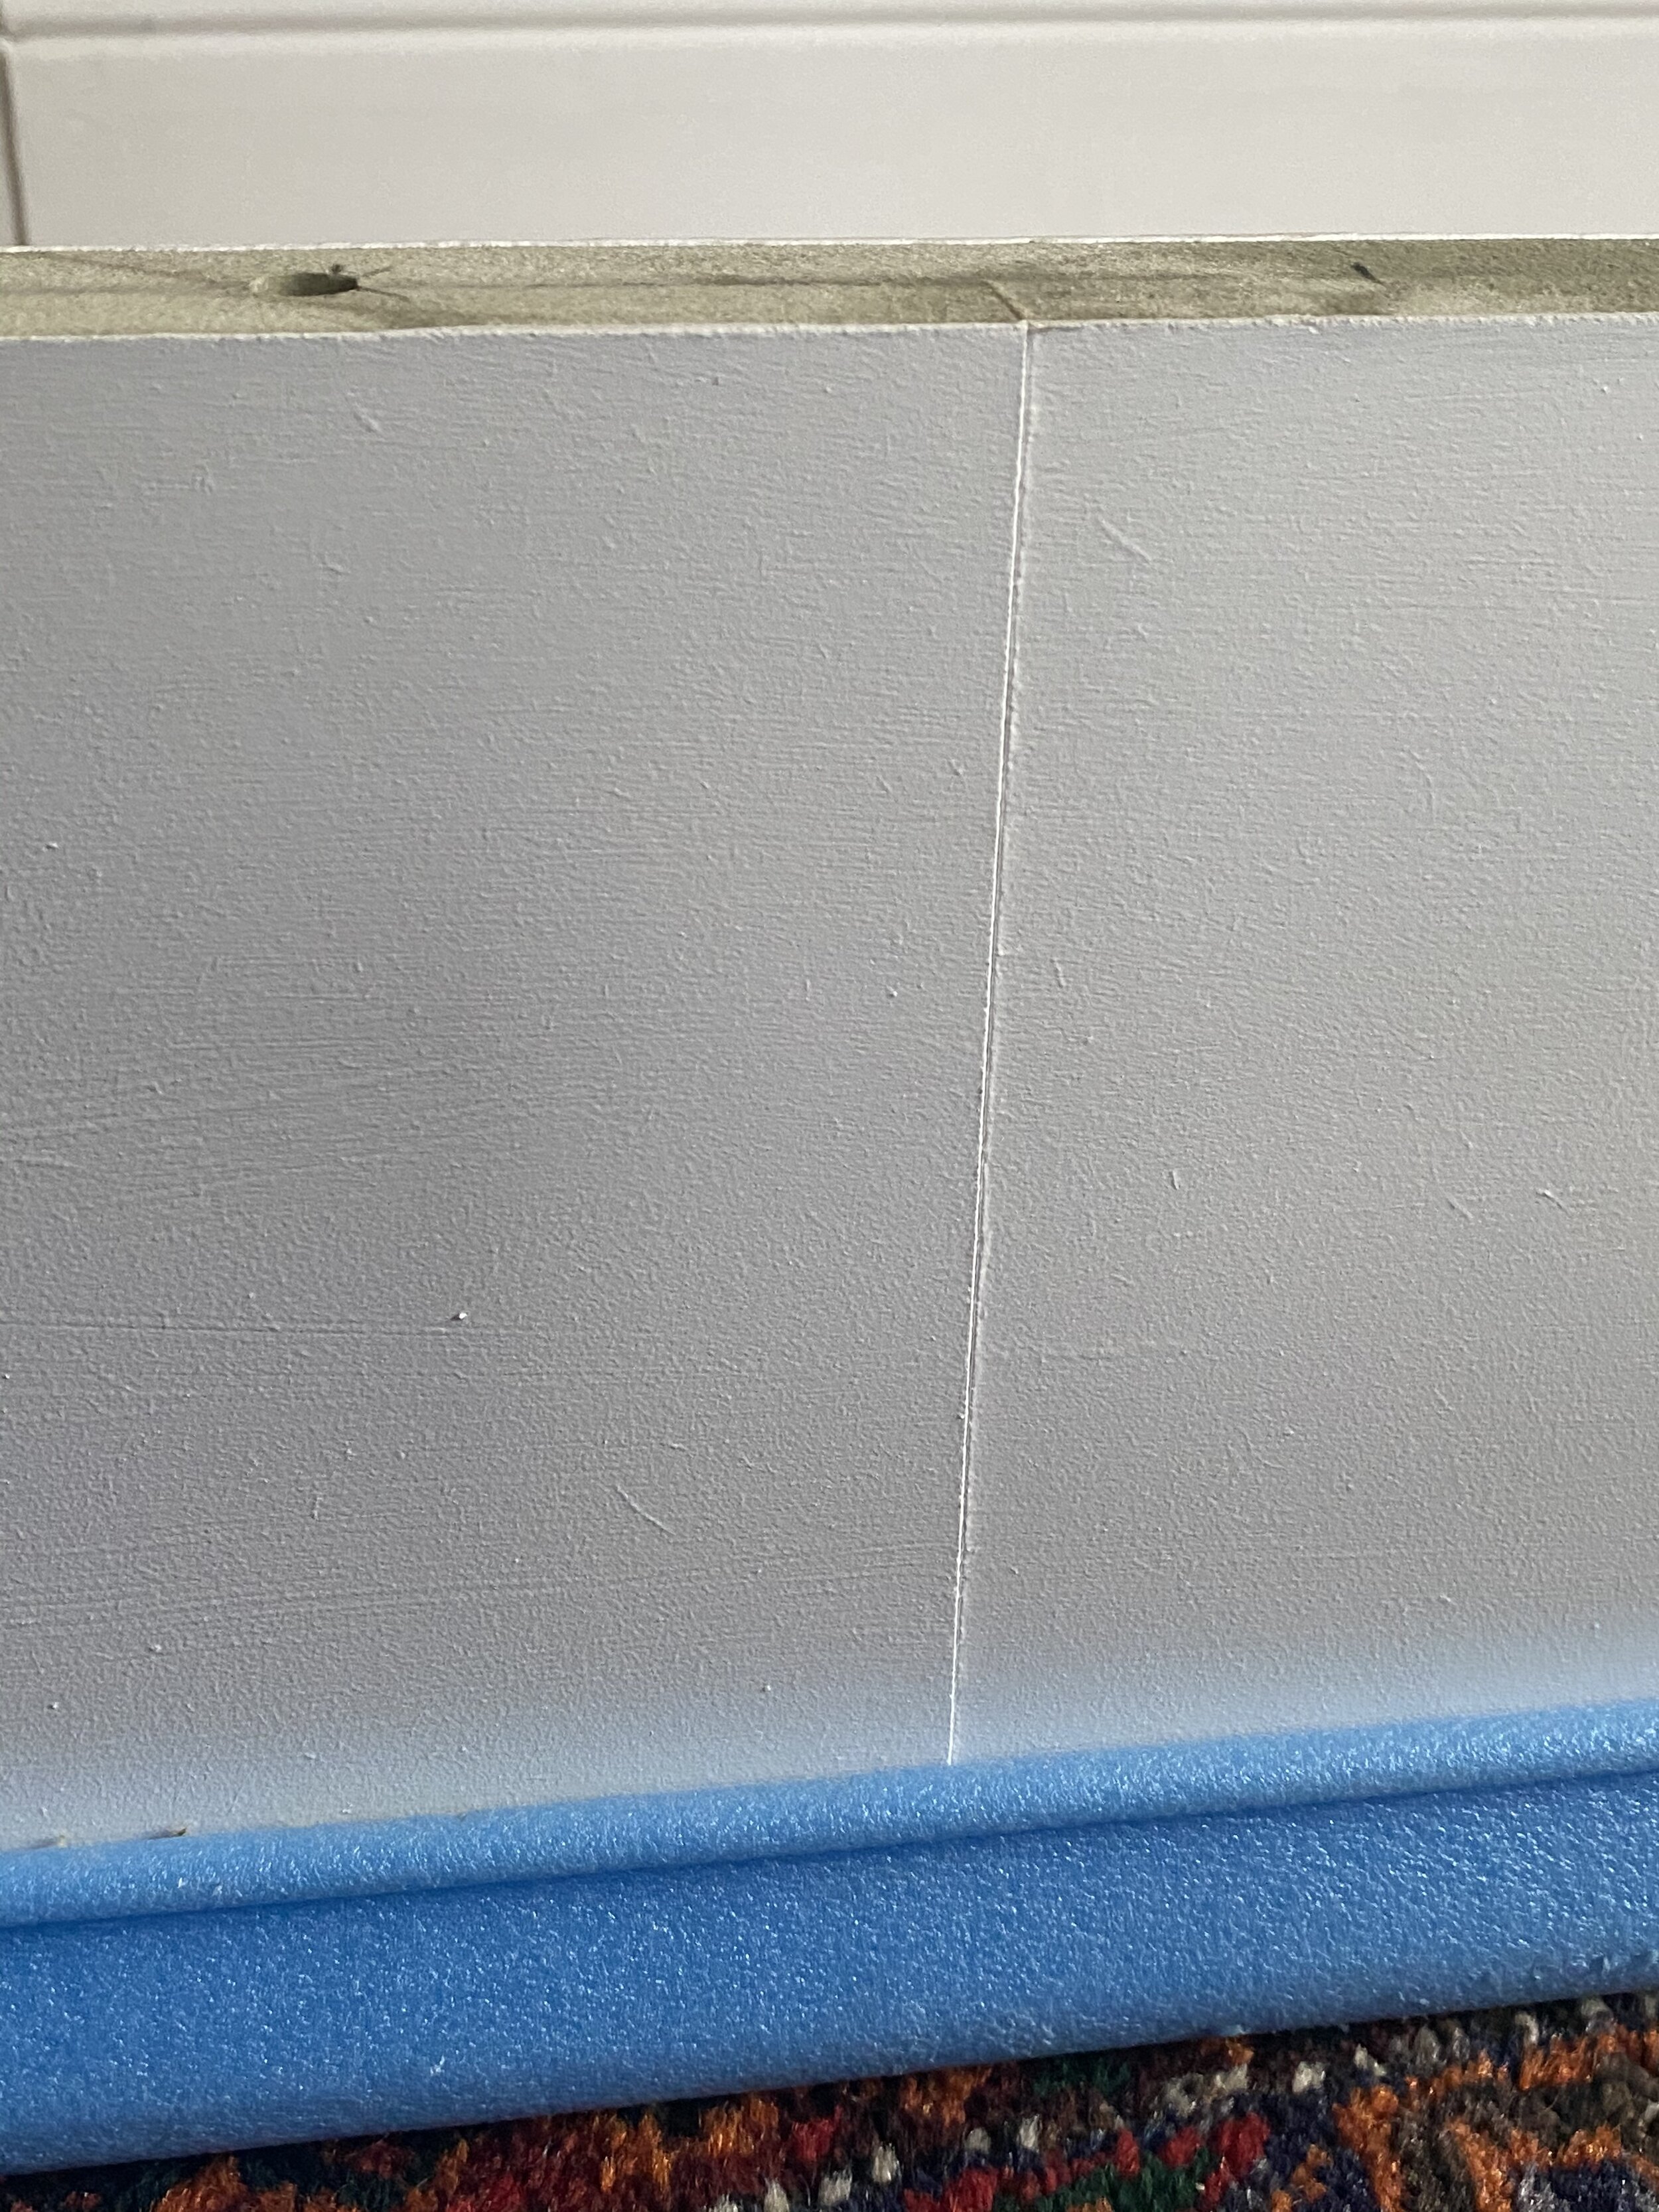
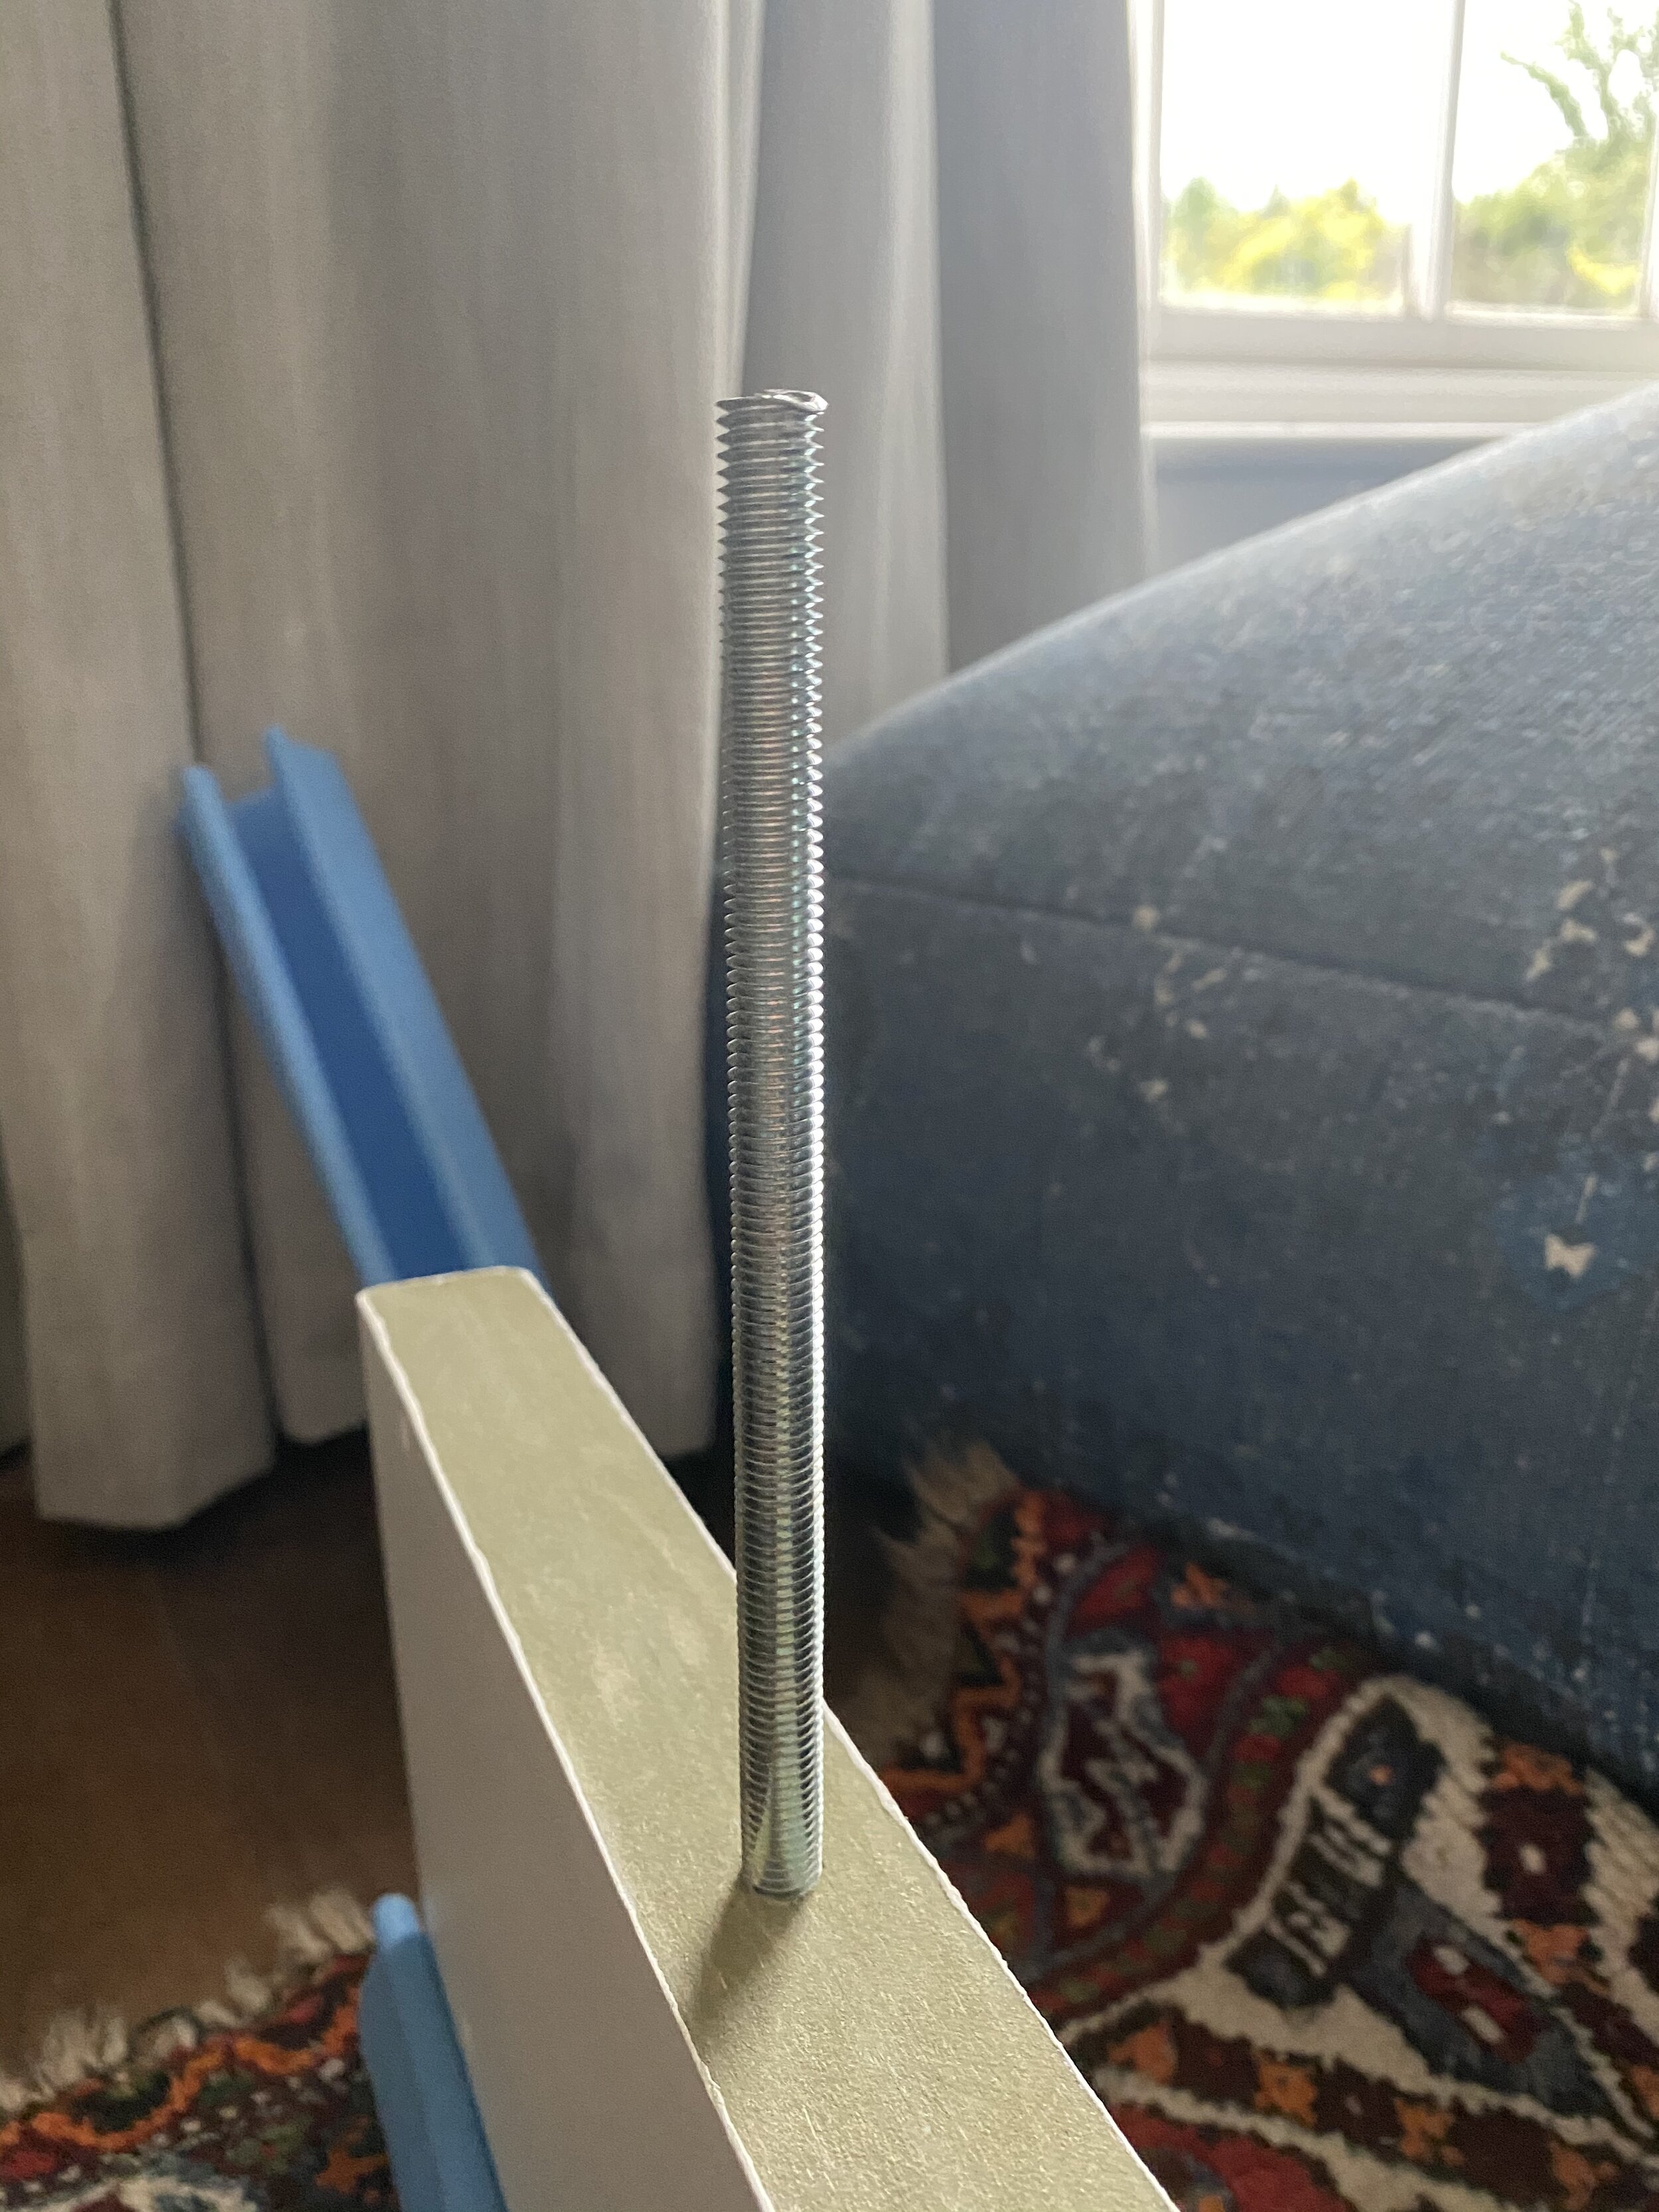
Mike bought 10mm threaded rods from Fastpack cut to 200mm size. Eight of these went into the eight holes that had been made in the MDF. He then used a chemical fix = Mason Mate Poly SF 165 - in the wall holes and slotted the shelf into place. The epoxy dries in 30 mins and it’s completely solid so that rods are immoveable. Touch up any paintwork that has been damaged, if there is any. Job done.

So that’s how it’s done. You can adjust the shelf measurements to your own requirements. It’s also the same system that we used to mount the floating oak shelf in The Barn - click here to see. And according to Mike, you can do pull ups on it and it’s not going anywhere. I won’t tell Joe that.