
How I Created A Cava/Gin Platform In My Garden
A couple of months ago, I posted a blog detailing my plans for the back garden. Last summer, we built two pergolas to protect us from a) rain b) buffeting winds and c) the noise from the A166. They’re wooden structures with a corrugated white roof to deflect the sun (ha, yes I know the idea of sun is difficult to envisage, but bear with). It was a winning project, ticking all three boxes, but due to fluctuating weather conditions, I never really made the most of the space. This year, I set myself a challenge to create truly useable areas. So far, we’ve painted the decking charcoal, potted patio plants and filled the area with sparkly festoons and it’s working really well. It’s been host to wine fuelled dinner parties, family lunches and chatty coffee breaks (AKA gossip fests), even when it’s raining thanks to the roof covering.

The view from the top of the new platform towards the house.
This outdoor space has been such a success that when I announced to Joe that I wanted to create a cava/gin platform, he barely even attempted to argue with me. This wasn’t such an extravagant job as it sounds. One of the things that makes our house stand out from the road is the raised deck at the end of the back garden overlooking the road which houses a wooden playhouse, Hansel and Gretel stylie. My children have never used it. When we moved in, they were already firmly advanced into the football/X Box/Victoria Secret thong category and would rather hear me refer to myself as ‘Mummy’ in the third person (an action always guaranteed to send them into a spiral of fury) than be seen hanging out on a tiny table and chairs in a gingham curtained wooden house. I hadn’t really thought about it as a usable space or envisioned any sort of transformation aside from gaining a nice empty space should I flog it on eBay.
Last month, Mike the builder was fixing the decking and pointed out what a great space it could be should the house be removed. It took at least ten seconds for me to be totally sold on the idea. It wasn’t going to be a simple job as the playhouse was built into the base, so the decking would need to be replaced. Plus, the picket fence handrail was a death trap in waiting and only went around half of the platform and the ladder was pretty much vertical with rungs missing, not quite suitable for ascension with a glass of cava in hand. Luckily for me, Mike had some time free the following week so we planned it out and got to work. This is how we did it. We being the royal we, obvs. Mike did it all.
Ditched The House
Mike took the playhouse off and rather brilliantly, it was all in one piece. I asked my audience on Instagram if anybody needed one for a nursery or school or anything similar and it was collected promptly by a local Montessori school. Perfect. They also took the table and chairs from inside - they were solid quality wood and just needed bit of an upcycle to be good as new. We also removed the picket fence from around the platform and the dodgy ladder and I Freecycled the wood - again, collected within a day for someone else’s project. Recycling goals - tick.


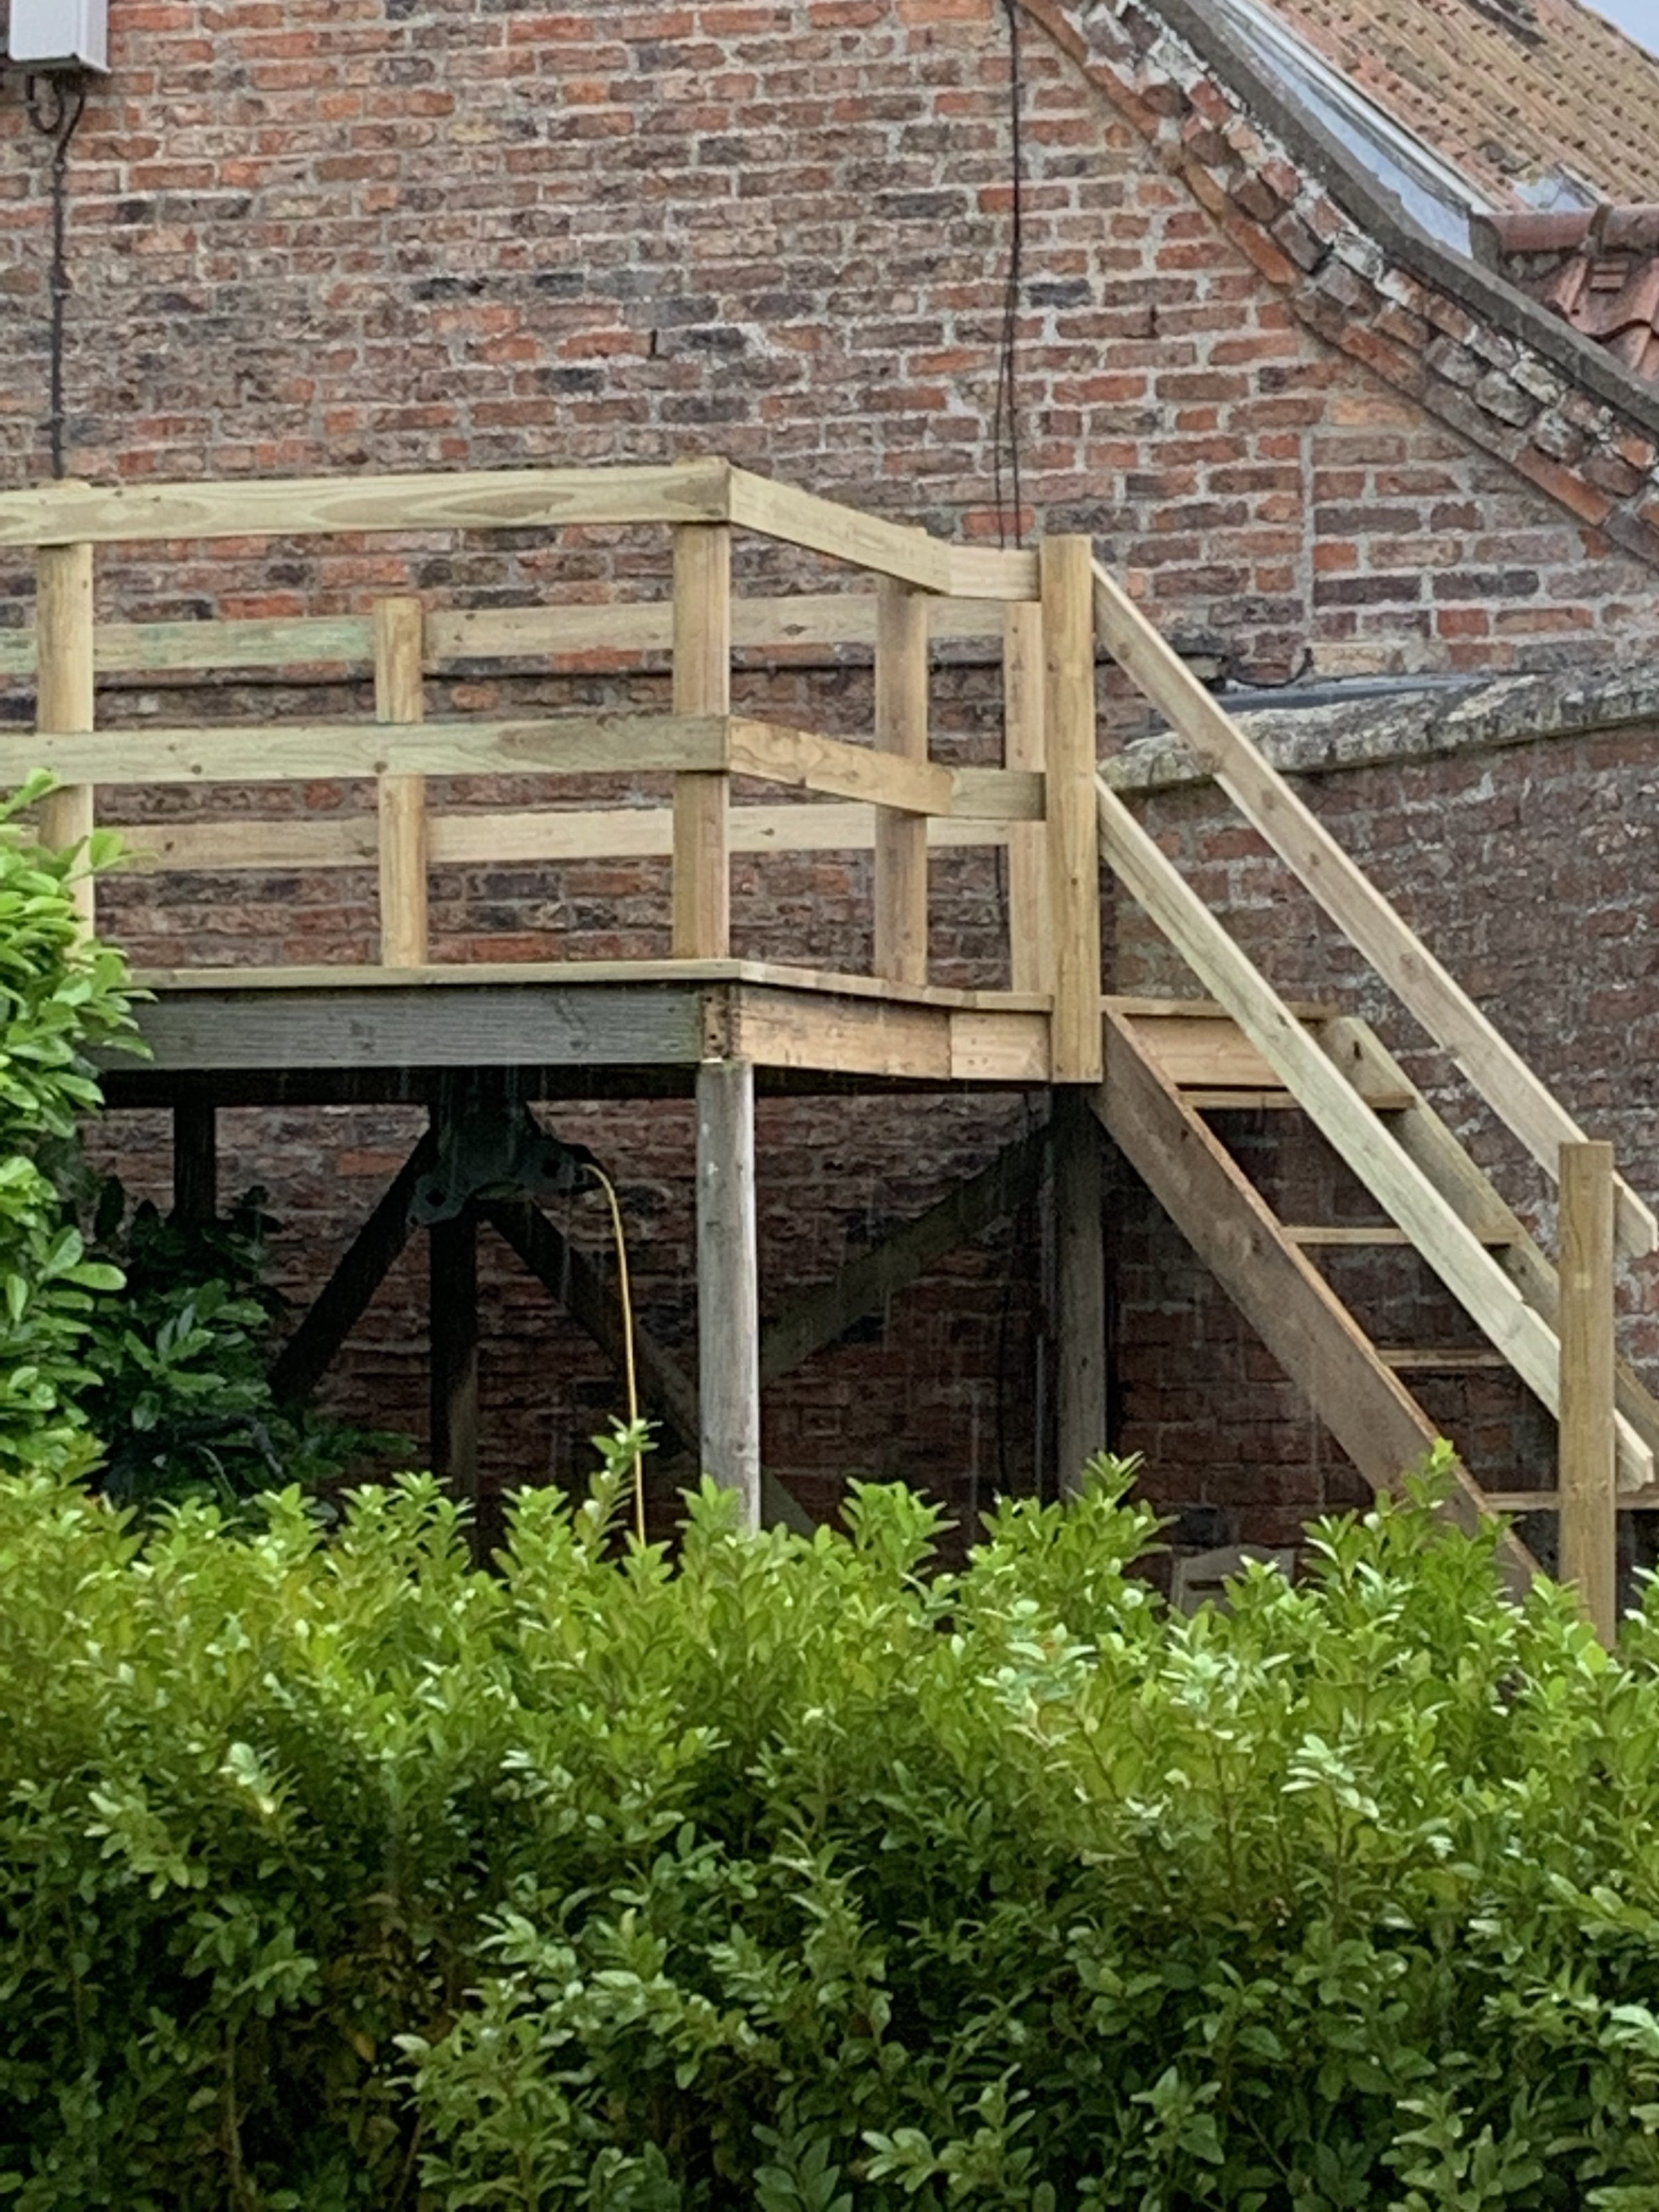
Made Good The Platform
The gaps in the decking where the playhouse had been removed were fitted with new decking strips. We used sturdy round poles for the corners, horse jump poles from the local country store. Bannisters were created using 120mm x 20mm tantalized wood (treatment to stop wood rotting) and then sanded. The platform was attached from a distance to the house next door by two wooden joists, one of which was rotten. Mike removed this and added additional struts underneath the platform so that it was completely sturdy. Note to my brother who was extremely sceptical about it’s weight bearing qualities - we’ve had ten people on there and not even a wobble. Mike made a sensibly graduated ladder to meet the deck and added a handrail. This so far hasn’t stopped people looking apprehensively at it when holding a glass of wine but I can assure you it’s completely ascendable to everyone but Buddy - the gaps in the wooden steps are too wide for his little legs. The cat sits on the platform on purpose looking down at him out of pure badness. She’s evil like that.
Painted It To Match
The decking in the main garden had been painted in Ronseal Deck Rescue in Charcoal. The platform and stairs were painted in the same colour, with the struts of the platform below being left in their natural shade. They’ve been there quite a few years and as such, the colour has worn with age and is a lovely silvery colour so I didn’t want to hide that. Before the decking was painted, it was jet washed twice then swept and left to dry. It needed two coats. I received lots of DM messages about decking paint and I chose this one because it got the best reviews. According to Mike, if it starts peeling then you didn’t prepare it properly. Just saying.


Added Festoons
So this was the clever bit. Mike bought 32mm domestic waste water pipe (available from any hardware store) cut them down and attached them to the corner poles. He then bought broom handles (30mm cut to 1.5m long) to fit into the guttering and cut them to size, painting them the same colour as the deck. He screwed in large cup hooks to hook the festoon lighting. I bought the lights from B&Q - they’re called Blooma Barnaby Warm White String Lights and they're for outdoors. They say it’s 10m on the box but it’s actually 5m (the rest is the cable) - you get ten lights and I used two sets (20 lights in total). I asked Christian the electrician to put an outdoor double socket box on the platform so that I can plug them in and also use it for music speakers. It’s an investment having plug points positioned in the garden - not cheap, but from a long term perspective I think worth it as it makes life so much easier. We’ve had three sets of sockets put in - one on the platform, one in the dining space and one in the living space on the bottom patio and they are operated from one switch on the wall. The best thing is that the festoons can easily be taken out when the winter comes and stored away.


Created A Seating Area
The view from the platform is the whole reason for its being - it’s of the Yorkshire Wolds and it’s gorgeous to look at. We live on a busy road, but the view more than makes up for it - once it’s past 7.00 pm it quietens down and it’s really therapeutic to sit there. I wanted to position a small seating area on the platform for this very purpose so I added the Vanuatu two seater resin garden sofa bench from Maisons Du Monde and the matching Vanatu garden seat. They’re super comfy but also are the perfect size not to overwhelm what really is quite a small space. To keep it simple, I added the Dotty woven outdoor rug which contrasted nicely and also was neutral enough not to detract from the other pieces on the platform. I brought in a moroccan pouffe that I’ve had for years so that we could seat four comfortably and stopped at Homesense for a small fire pit. For those concerned about health and safety, I placed it upon two large tiles but the style of it keeps it well above the decking anyway. Worry not.


Pimped It Up
Finally, I added some potted lavender, some cushions and a large basket (one, in fact, that I’d bought at Christmas for the tree) which I filled with quilts from JYSK for those chilly evenings (let’s be realistic, it’s the A166 to Bridlington, not the Med). Beneath the platform, I dug a small border and planted some fast growing evergreens. I hung an ivy from the side of the platform and I’m intending to hang some more once I’ve ordered some hooks. Job done.

I’ve really enjoyed this project - it was great to transform something that was completely unused and create a place to relax and make the most of the view. It wasn’t expensive - I had the help of a builder but if you’re DIY handy, there’s no reason that you wouldn’t be able to do this yourself. Mike sought out cheaper alternatives for core items such as the handrails and festoon poles and we reused as much as the decking as we could. And even better, the sun has finally arrived so I’m looking forward to using it all summer! I’m off to crack open the Spanish Cava and don’t forget to give us a wave if you’re going past :) Cheers!