
How To Make An Indoor Herb Trough With B&Q Using Nails, Screws & Bolts
Recently, B&Q asked me if there was a small DIY project that I would like to undertake for my home. The challenge came about because they have recently launched a new area of their store called Pick + Mix. No, we’re not talking confectionary here (with three children, this is generally an area that I try and avoid), but a new concept whereby you can buy loose nails, bolts and screws to fill either a small, medium or large bag, each of which is individually priced. The great thing about this is that you only need buy what you need, therefore you don’t have excess product or unwanted items. With the small bag priced at £2, it’s an economical and bespoke way of carrying out a project.
My first thought was a herb trough. If there’s one thing that I wish I had more time to do, it’s cooking. Like all of us, I’m often busy and don’t have the time to meal schedule as much as I would like. In an ideal world, I’d plan a week ahead and produce something delicious each evening with a cold glass of wine and a chat round the dinner table. Unfortunately, it has to be said that the reality is far closer most evenings to a quick dish of leftovers or a jacket potato, compounded with a dash to the fridge to find half a glass of rose remaining.
Cooking can be a very rewarding task and the inclusion of herbs can take your dishes to the next level. Herbs have many beneficial properties in their own right, but they also add much flavour to meals – I’ve often tried (generally very unsuccessfully) to create a herb garden in my courtyard. The only one that ever really seems to flourish is rosemary which just keeps going, despite lack of care by myself and the occasional cat attack. It’s particularly lovely in the summer when the aromatic scent of the herb makes its way through the open kitchen window. Luckily, despite my inability to maintain a decent herb patch, there’s an easy way to ensure that I’ve always got the correct herb to hand. I’m a big fan of the small supermarket herb pot, perfectly sized for the kitchen window and which not only smells delicious but is also a budget friendly way of making sure that you have fresh herbs on tap.
As someone who has never used a drill before, I knew that creating the herb trough I envisioned was going to be a learning curve for me but I’m always keen to rise to the challenge. I drew out my ideas and worked out what items I’d need to buy, measuring the window sill so that it would fit perfectly into the space. With plans in hand, I set off to B&Q to start the project, and pick up my Nails, Bolts & Screws.
So what did I do and how did I go about it? Here’s how I made a five pot herb trough with a matching water spray and scissor box, step by step.

What You Will Need
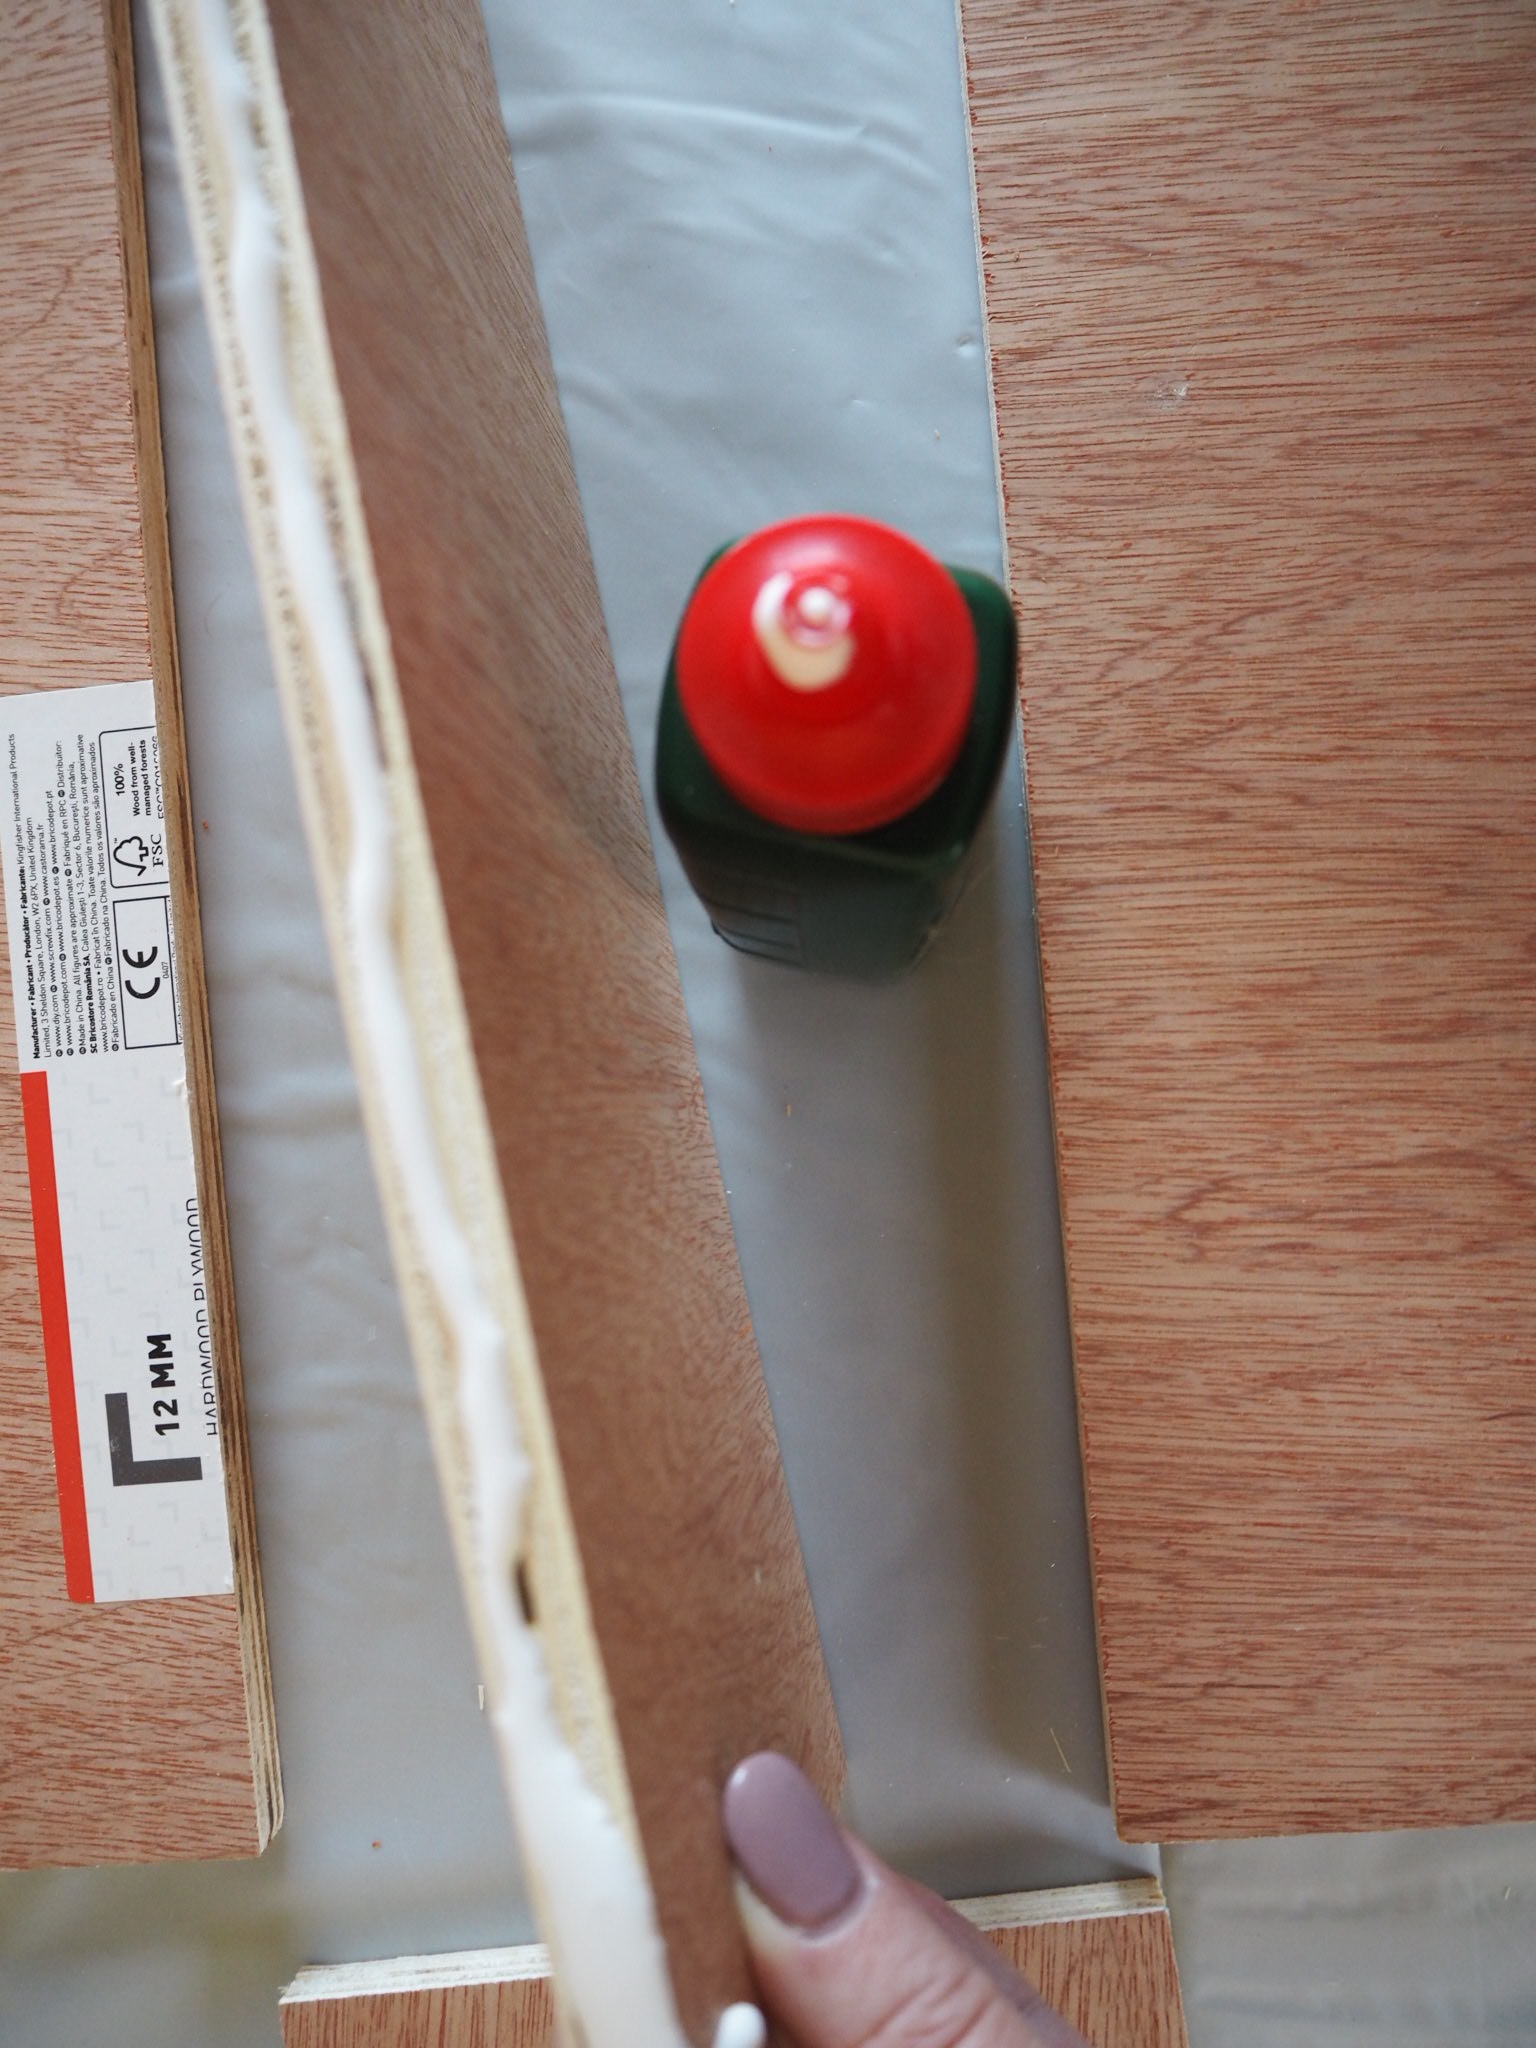
1 sheet of 12mm hardwood plywood
Wood glue
30 x 30mm screws from the Pick ‘N’ Mix
20 x 25mm screws from the Pick ‘N’ Mix
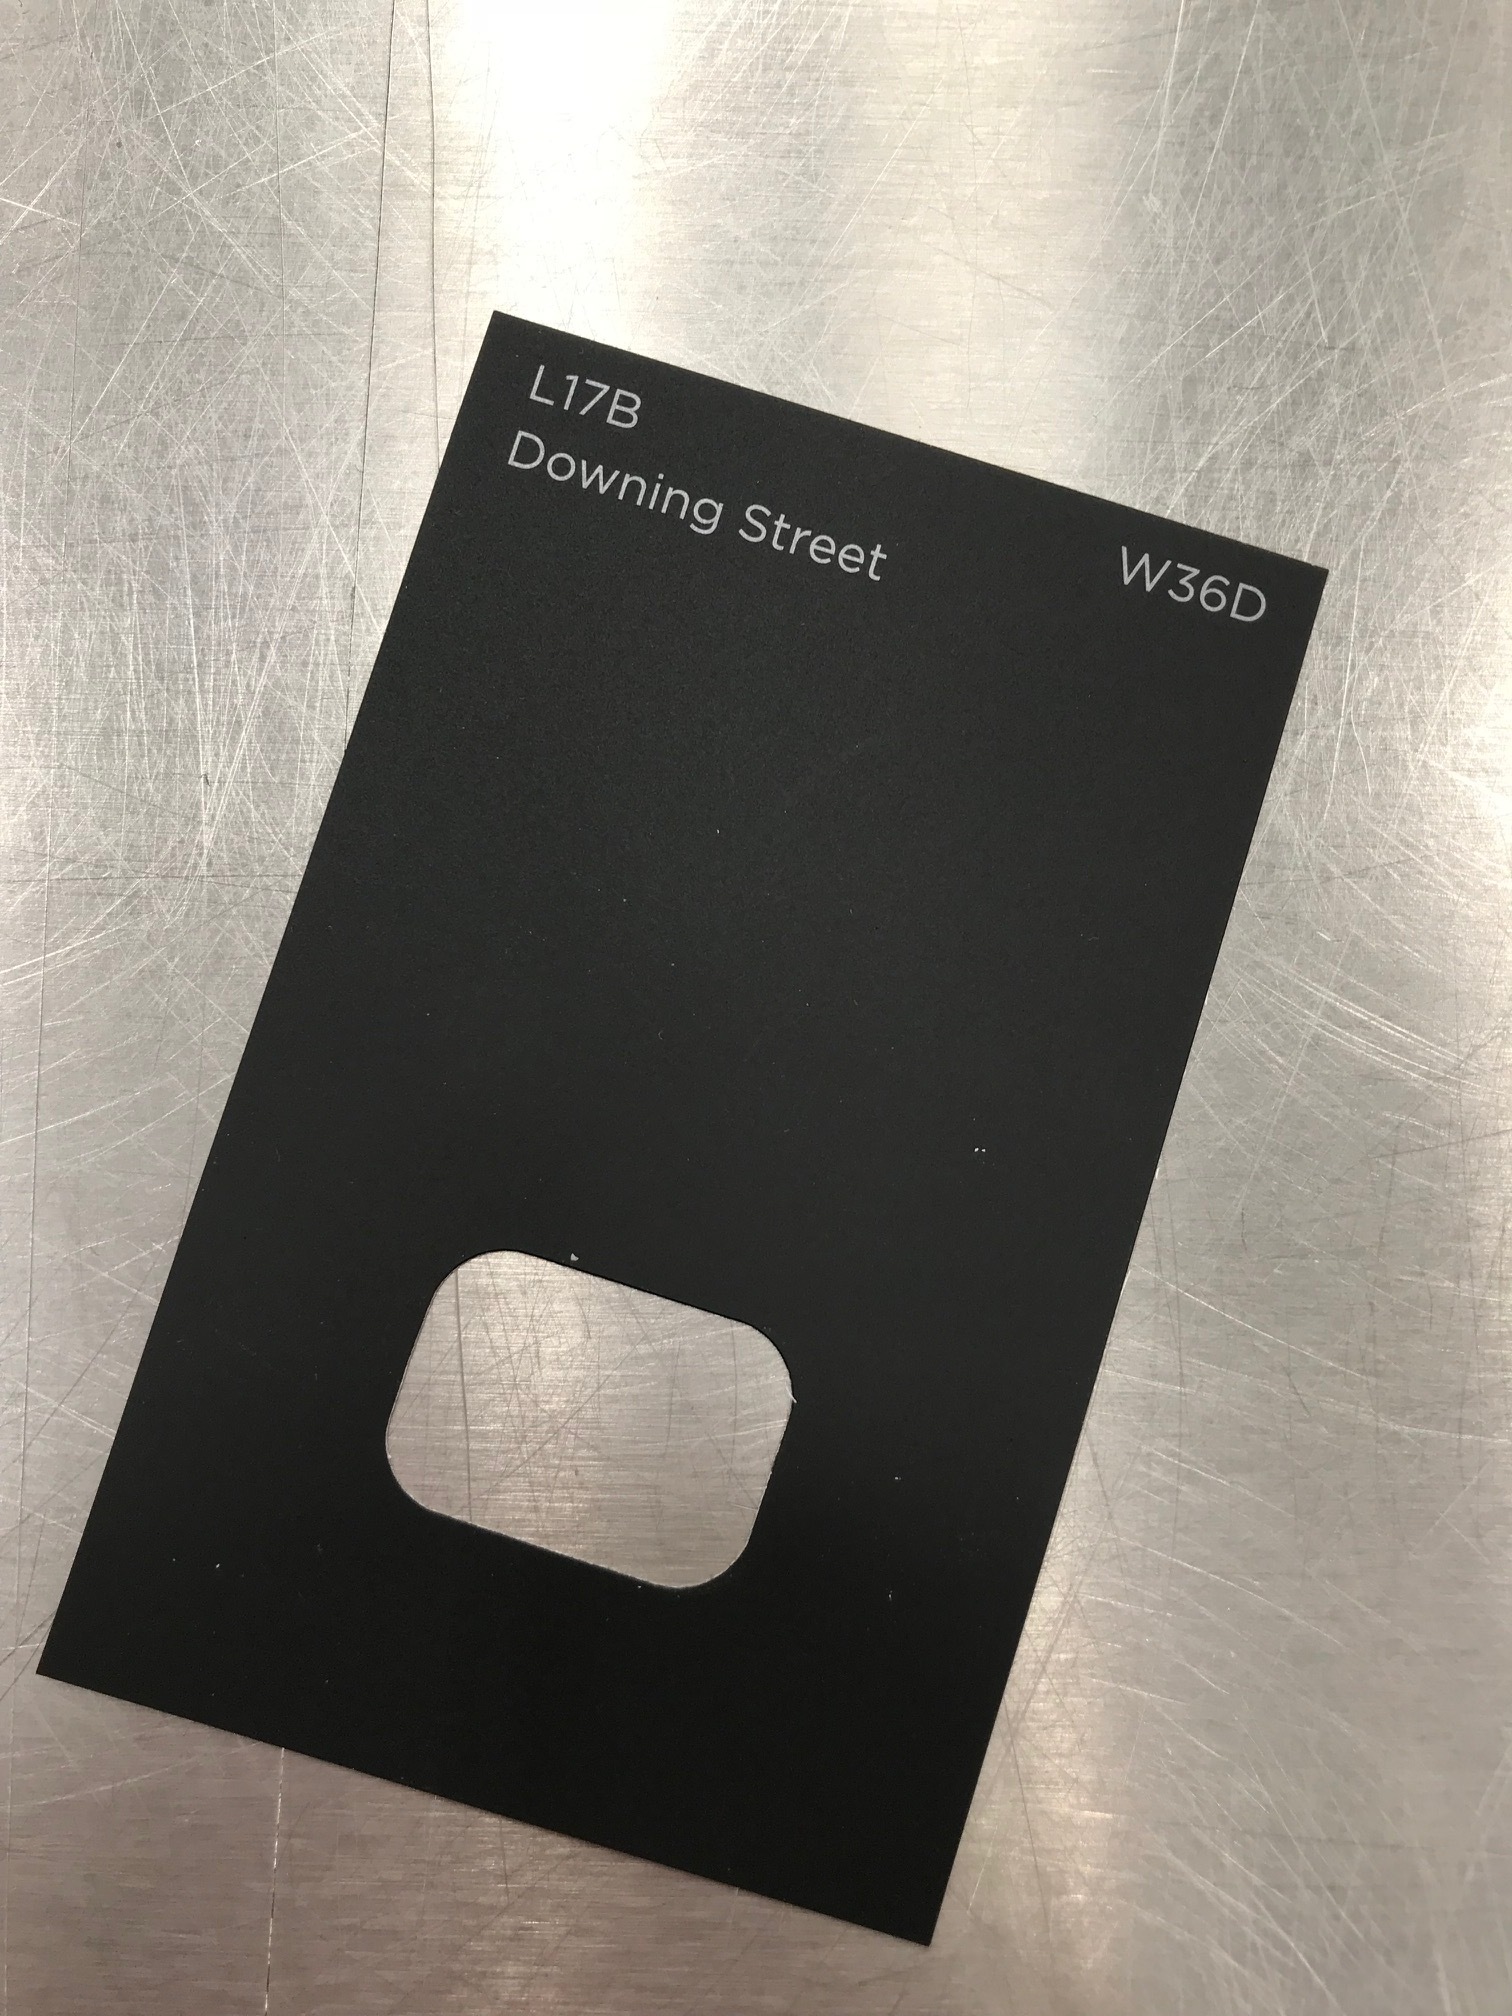
1 litre Valspar Downing Street
Paintbrush
Hanging basket liner
Chalk Pen
Dust sheet
Bosch drill
Screwdriver
Step 1 – Buy Your Supplies
The B&Q Pick + Mix section has every screw, nail and bolt that you could ever need. It was easy to work out which ones were suitable for my project. I counted out the quantity and picked a small bag to take to the till.


Step 2 – Prepare The Wood
B&Q have a wood cutting section and they’re always really happy to cut your wood to size. My sheet of plywood was cut into three strips of 70cm x 12cm. The end sections were two pieces of 14.4cm x 12cm – these created the trough. The small box required three pieces of 12cm x 12cm and two pieces of 14.4cm x 12cm which formed the sides. I glued them into position using wood glue and left them for one hour to dry.


Step 3 – Drill The Holes
I used the drill to make four small holes either end of the trough to secure the structure. I then added three extra holes each side of the base on the long length. I used a screwdriver to insert the 30mm screws from the Pick + Mix into the holes. I took the small box and added four drill holes on each end, using the 25mm screws to secure.


Step 4 – Get The Paintbrush Out
I wanted the herb trough to look contemporary so I chose Downing Street, a Valspar colour close to black that can be mixed instore. I painted two coats both inside and out of the trough, leaving the base as it was. The same applied to the small box. Although the herbs don’t need huge amounts of water, it was important that the trough was fairly watertight. I used scissors to cut hanging basket liner to the same size as the base of the trough – 70cm x 12cm. This ensured that the box would stay dry, despite spray watering.


Step 5 – Add The Herbs
The trough is long enough to hold five standard supermarket pots of herbs. To add a decorative touch, I wrote a herb style quote and picture in chalk pen on the front of the wooden boxes. In the smaller box, I placed a water spray and a small pair of scissors so that it would be easy to cut what I needed when cooking.


My job was done! I have to admit, as a first time drill user, I felt pretty nervous about tackling a new job but it was much easier than I expected and I was super pleased with the outcome. Once I’d decided what I was going to make, it was easy to pull the project together and it was great to have the Pick + Mix section to be able to narrow down exactly what I needed. And I really enjoyed creating something myself from scratch – it was really rewarding and a very therapeutic task to undertake.
My next challenge? To cook lots of lovely recipes for my family on a more regular basis and ditch the ready meals. I’m sure my new herb trough will be a great addition to my kitchen and will definitely assist me in achieving this goal!