The Barn Reveal: The Shower Room
Before I start, yes, I have capitulated. An outstanding number of you advised me, upon questioning, that calling the project ‘The Annexe’ made it sound as if the criteria for staying there included a blue rinse, a tweed two piece and a pervading aroma of stale lavender. Seeing as my aim is more cool, edgy, contemporary yet cosy luxe, I have been forced to reassess and as of now, will refer to the converted garage outside my back door as The Barn. Quite a grand name, I feel, but the Instagram massive have voted and yes, I’ve listened. The power of social media in my own back yard. Le sigh. It’s taking a while to get used to it but I’ll get there.

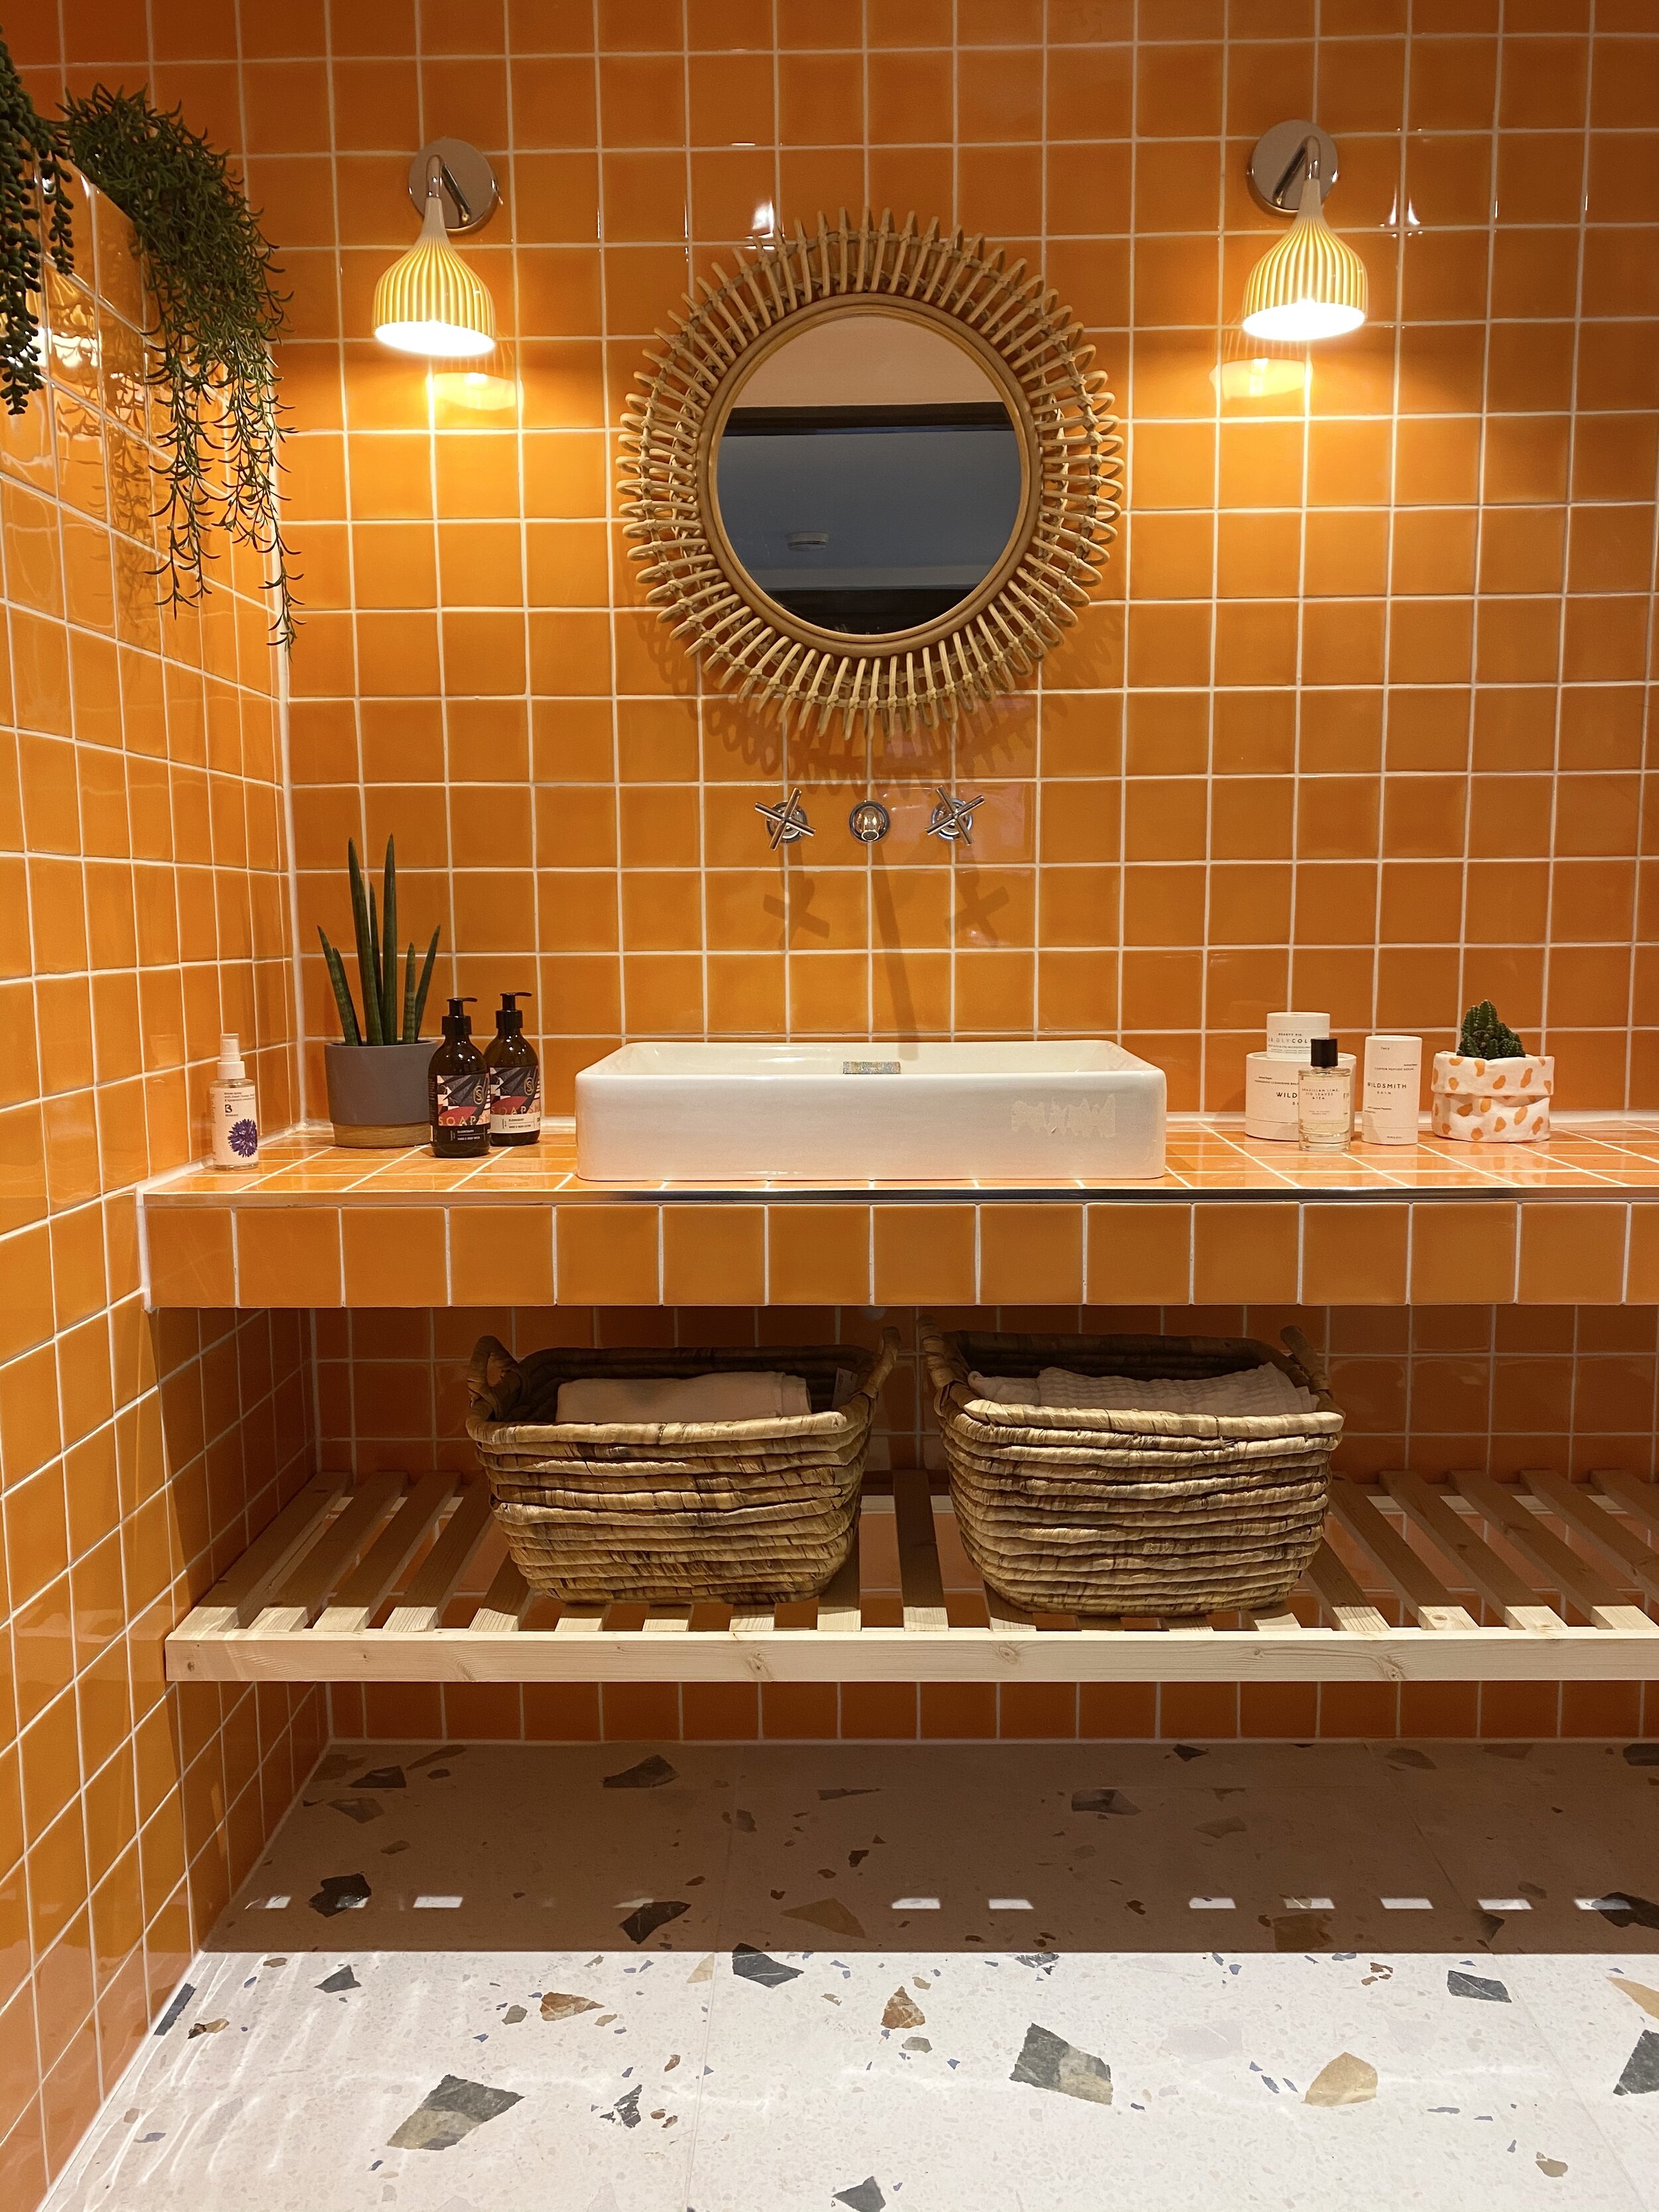
Astonishingly, this is now a shower room. Who would have thought?
Anyway, anyone that knows me or reads my blog will know that I have some fairly strong views when it comes to colour in the home. In the words of Meghan Trainor, I’m all about that base; the flexible background which gives the ability to be able to add anything to the mix freely and without hindrance. My own home is truly a homage to this - I’m a collector by nature, an art freak and most of all, a transient decorator. I am always restyling and updating, moving furniture and accessories from room to room more often than Mike off Love Island changes his affections - as a result, my walls and floors are neutral, enabling me to swap it all about and shop my home regularly without worry that it’s going to clash or jar. This isn’t everyone’s cup of tea, of course - many would spurn my white walls in favour of rich colours or patterned wallpaper - but it’s mine and I’ve always stuck to it. Your home should work for you and you alone - it doesn’t matter what others think, what’s on trend or how you think you SHOULD decorate. As Dee Campling and I ranted about four years ago when we first launched our workshops, there are NO RULES.
When I started planning the annexe - sorry, The Barn - I wanted to step a little bit outside of my comfort zone. When I refitted our family shower room last year, I’d gone for a monochrome scheme and loved it - it had that bright, sparkly feel that was required in a room that would see my kids through a minimum of three showers a day, endless muddy football kits and at least fifteen of the bottles of shampoo, conditioner and shower gel that they insist on having open at the same time. It still looks just as good now as it did last year; it’s super easy to clean and does exactly what it says on the tin. Functional, yet (I like to think) stylish at the same time, even when tolerating my sixteen year old sons love of hardcore grime music whilst showering. But with The Barn shower room, I was super keen to try something at the other end of the spectrum. The majority of The Barn has been decorated to my core style (click to see the living space and bedroom areas) but I really wanted to make an impact in this space, an area that was newly formed during the project by merging a section of understairs cupboard and the bottom section of the garage.
So what did I do to create my perfect shower room? Okay, when I say ‘I’ I mean the Royal We - Mike the builder did it all. And it nearly pushed him to early retirement. Here’s the low down.
Created The Room
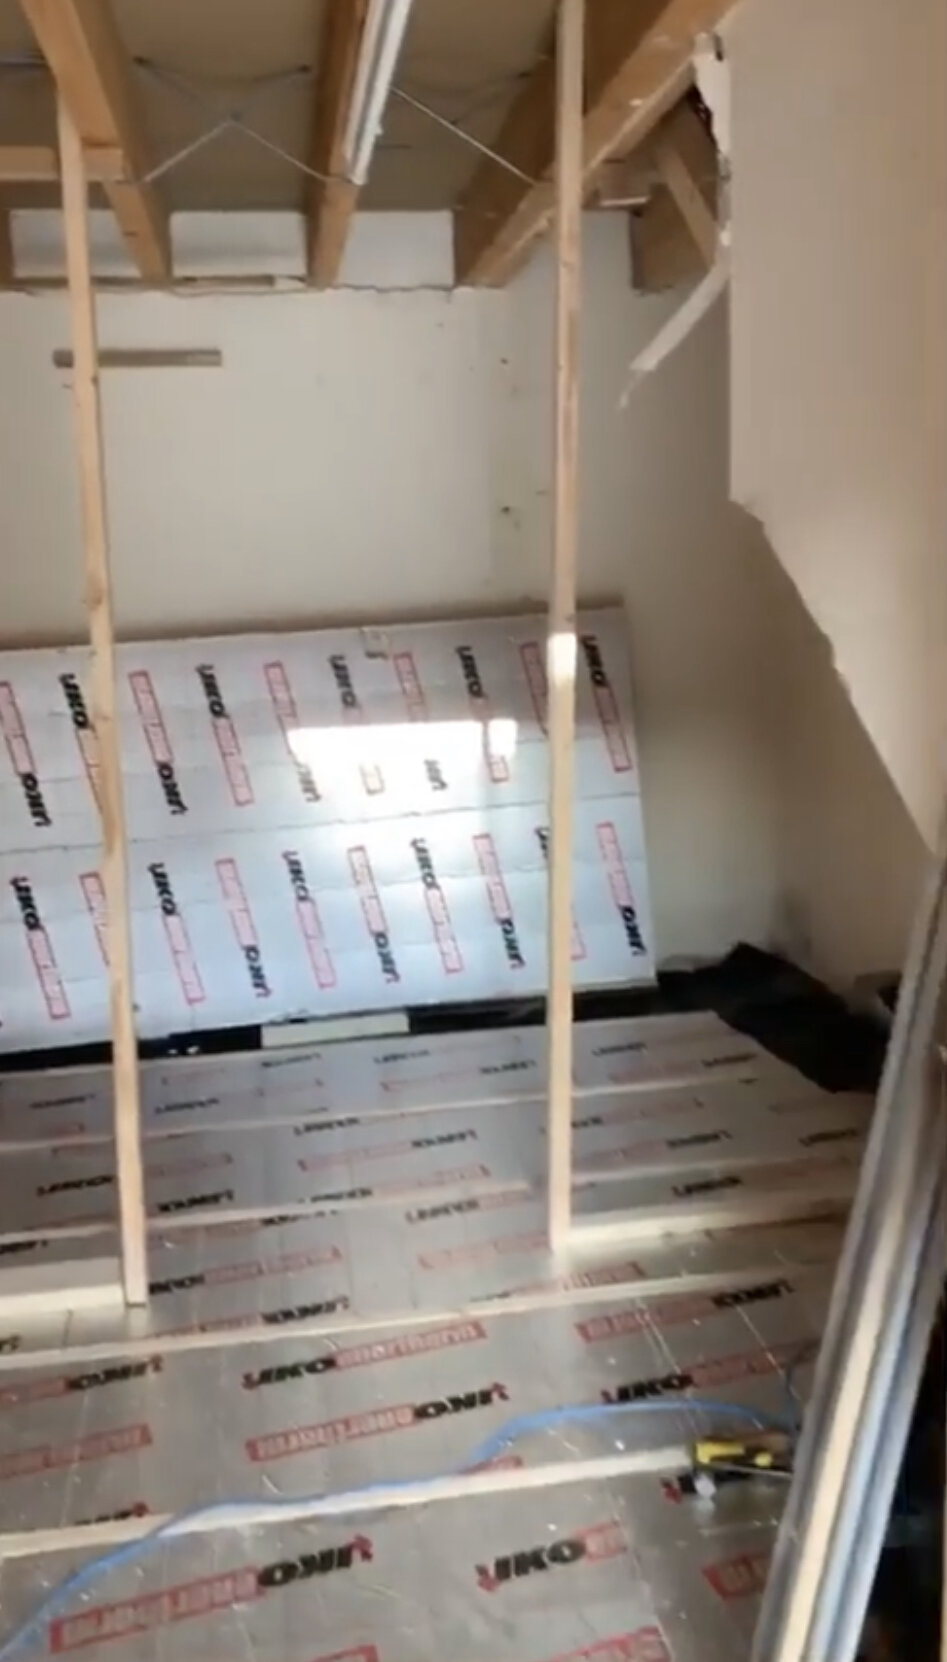
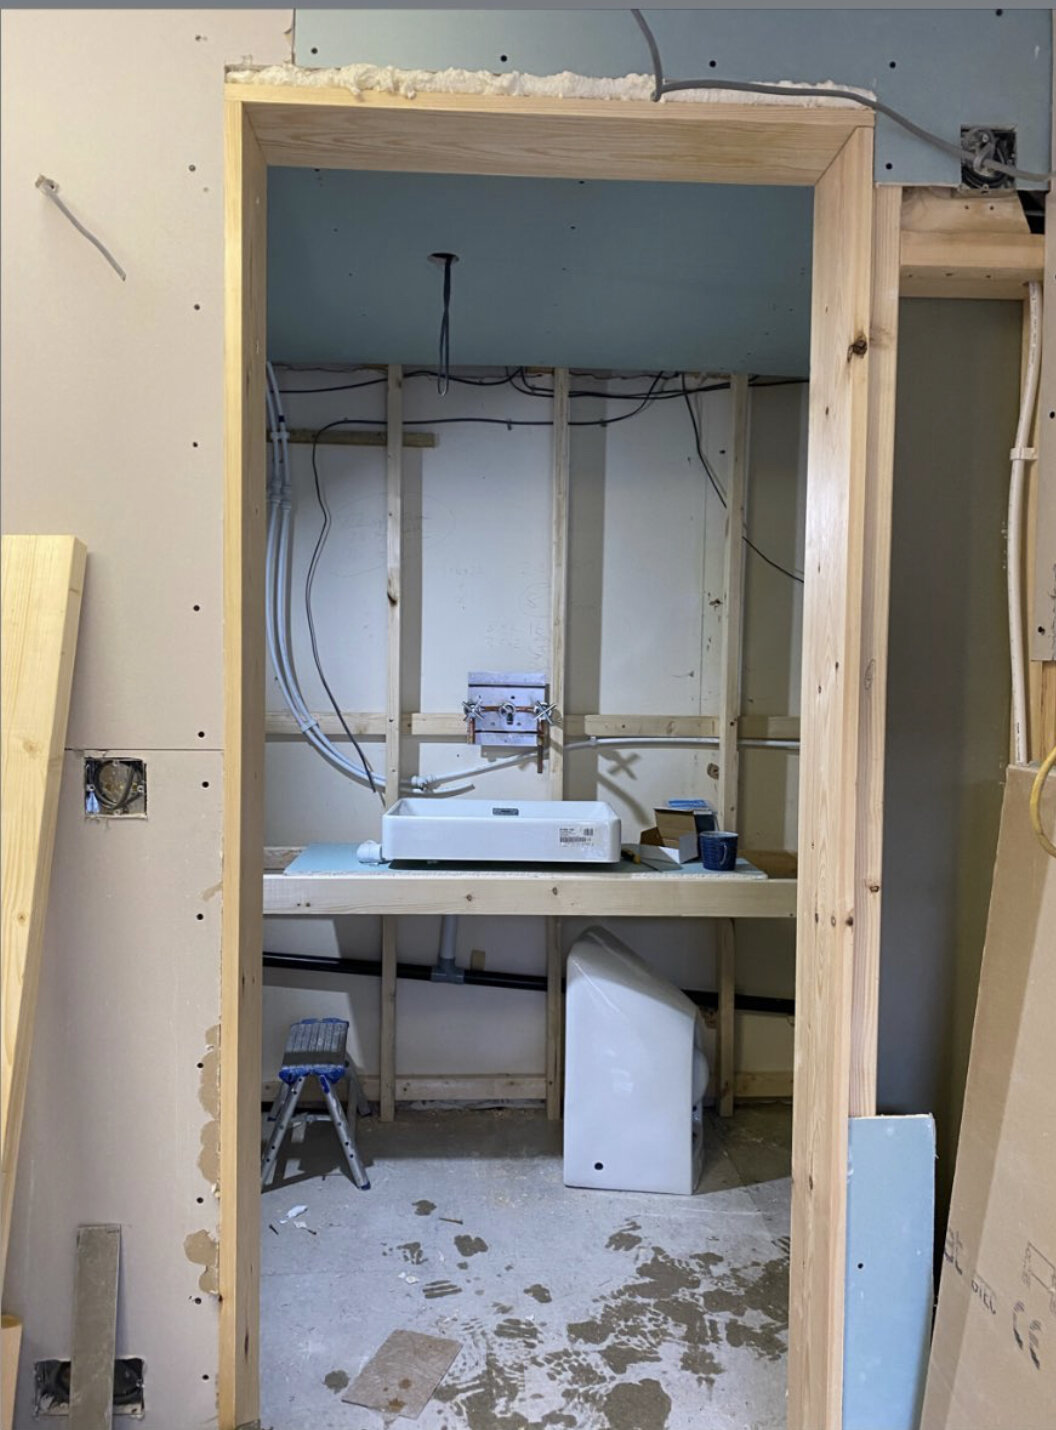
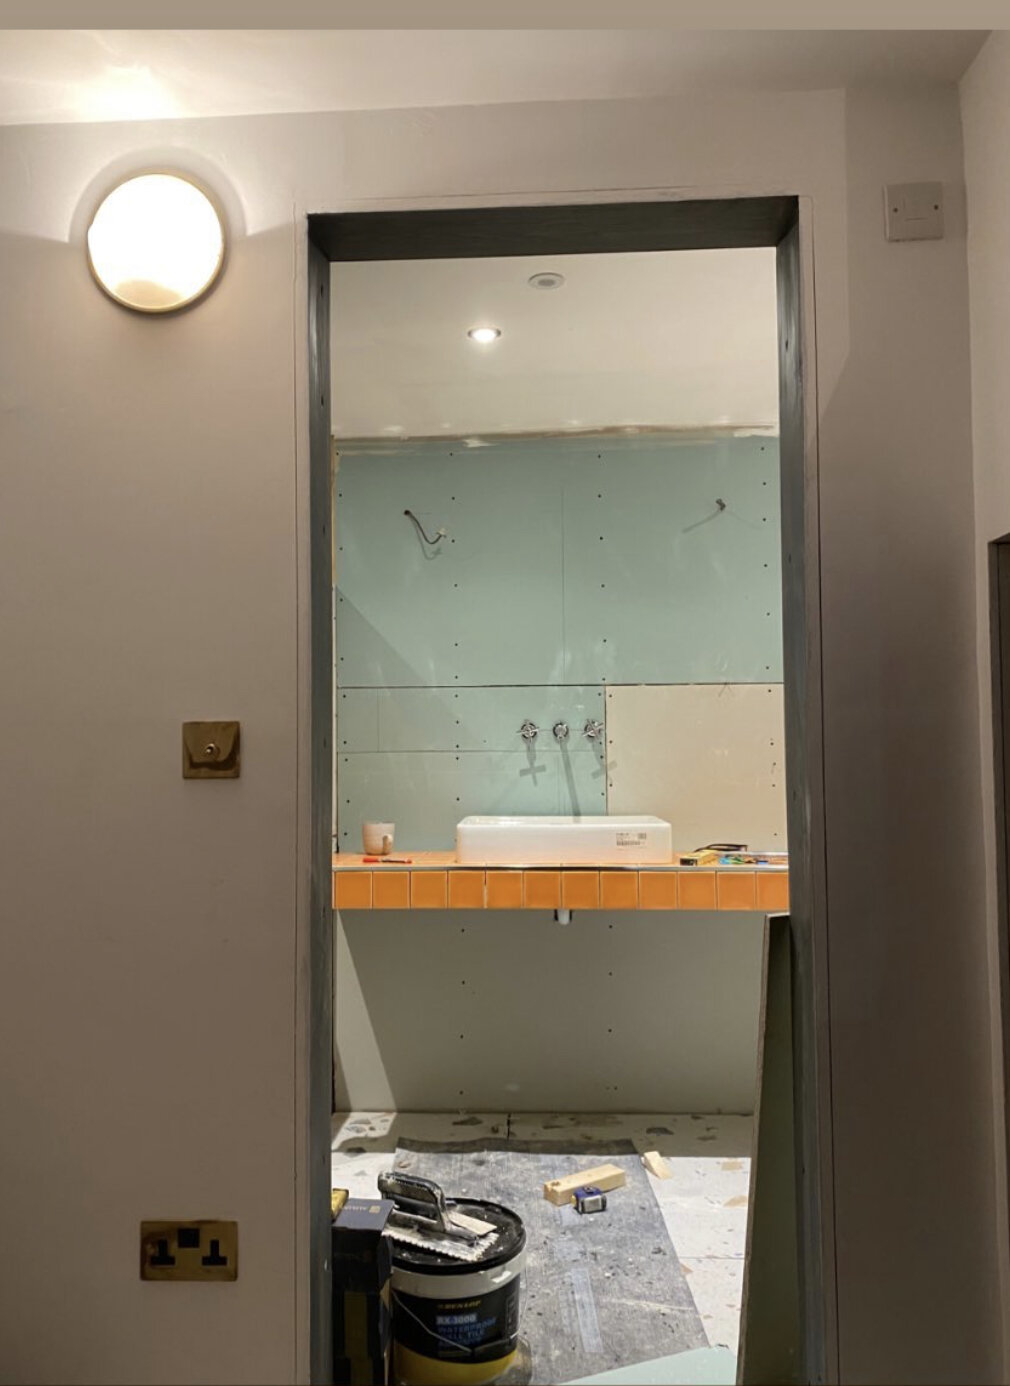
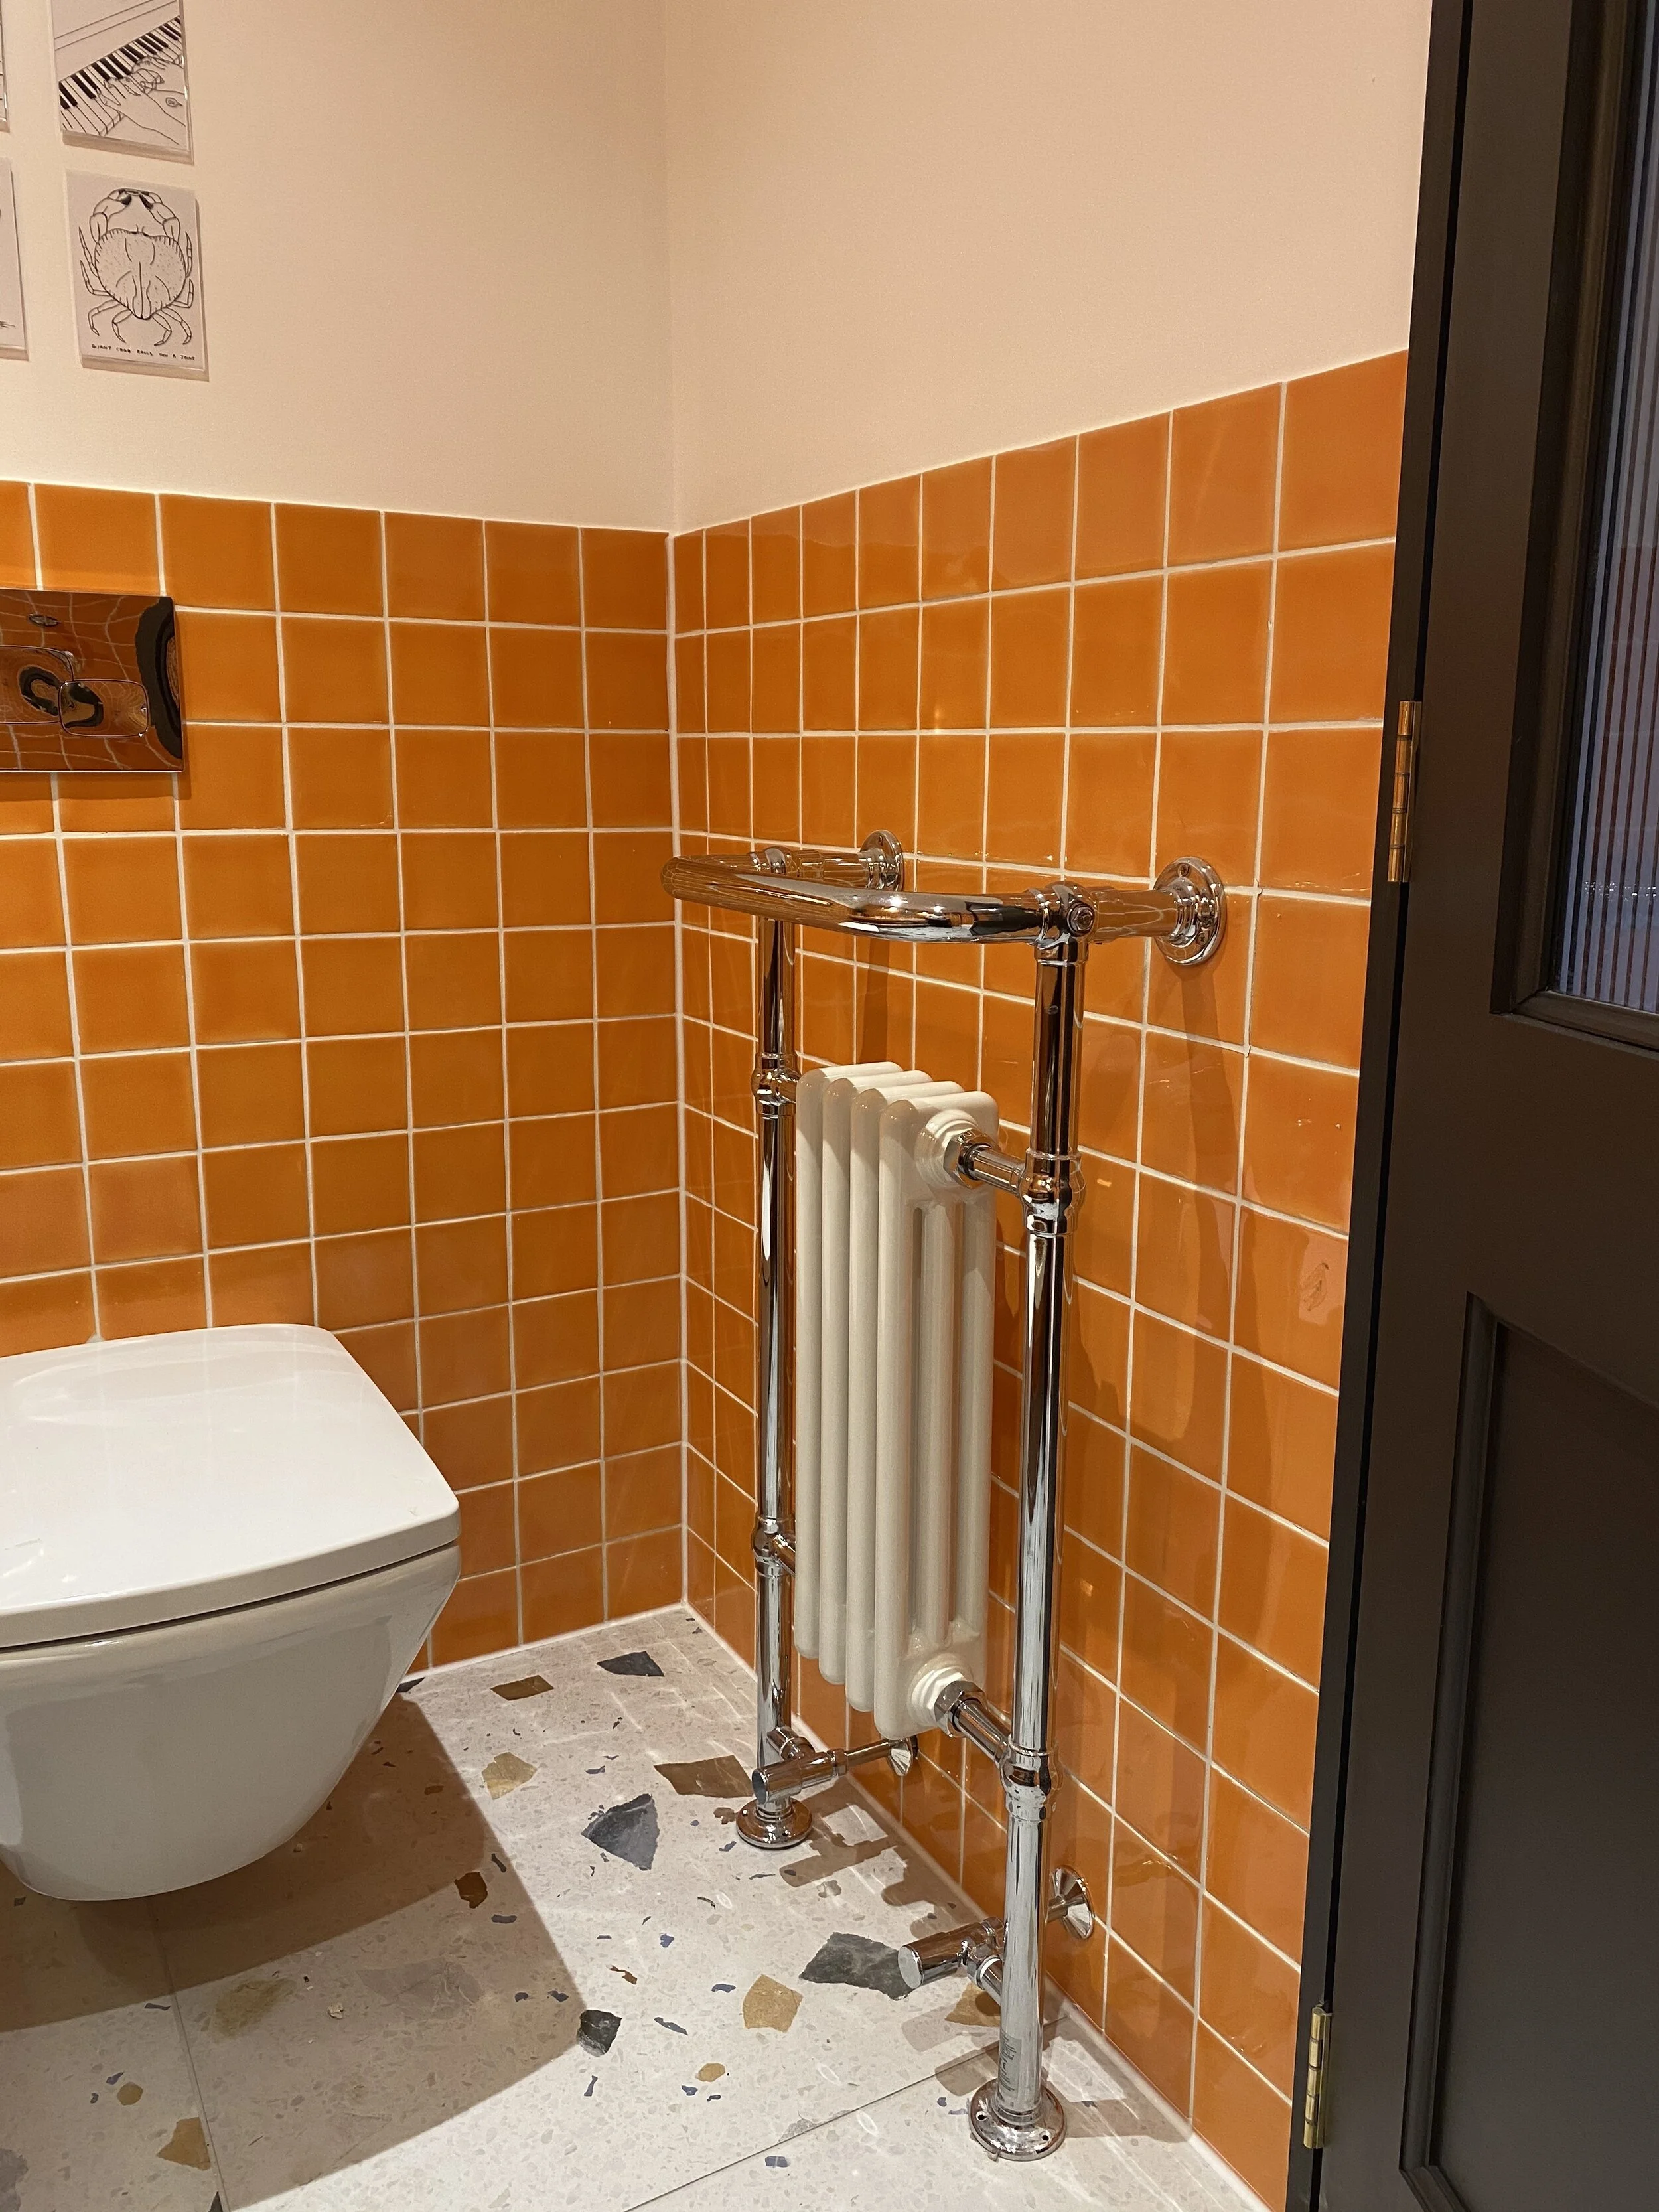
If you’ve read my previous blog updates, you’ll know that we halved the ground floor of what was a double space garage, reserving the left hand side for our own garage purposes and the right hand side for the conversion. We kept and insulated the original barn doors, adding windows for natural light. These doors open on to a hallway complete with desk and storage and straight ahead, we created a shower room. It runs the width of the space, with the right hand side being under the staircase and the left hand side at full head height. We centralised the door for impact with the sink and taps straight ahead - to the left is a large shower and to the right, a toilet and radiator towel rail. Everything required for an efficient space. Plumbing was installed, the walls were all insulated and a fan extractor was added to the ceiling, piped out to an external wall.
Made The Door Of My Dreams
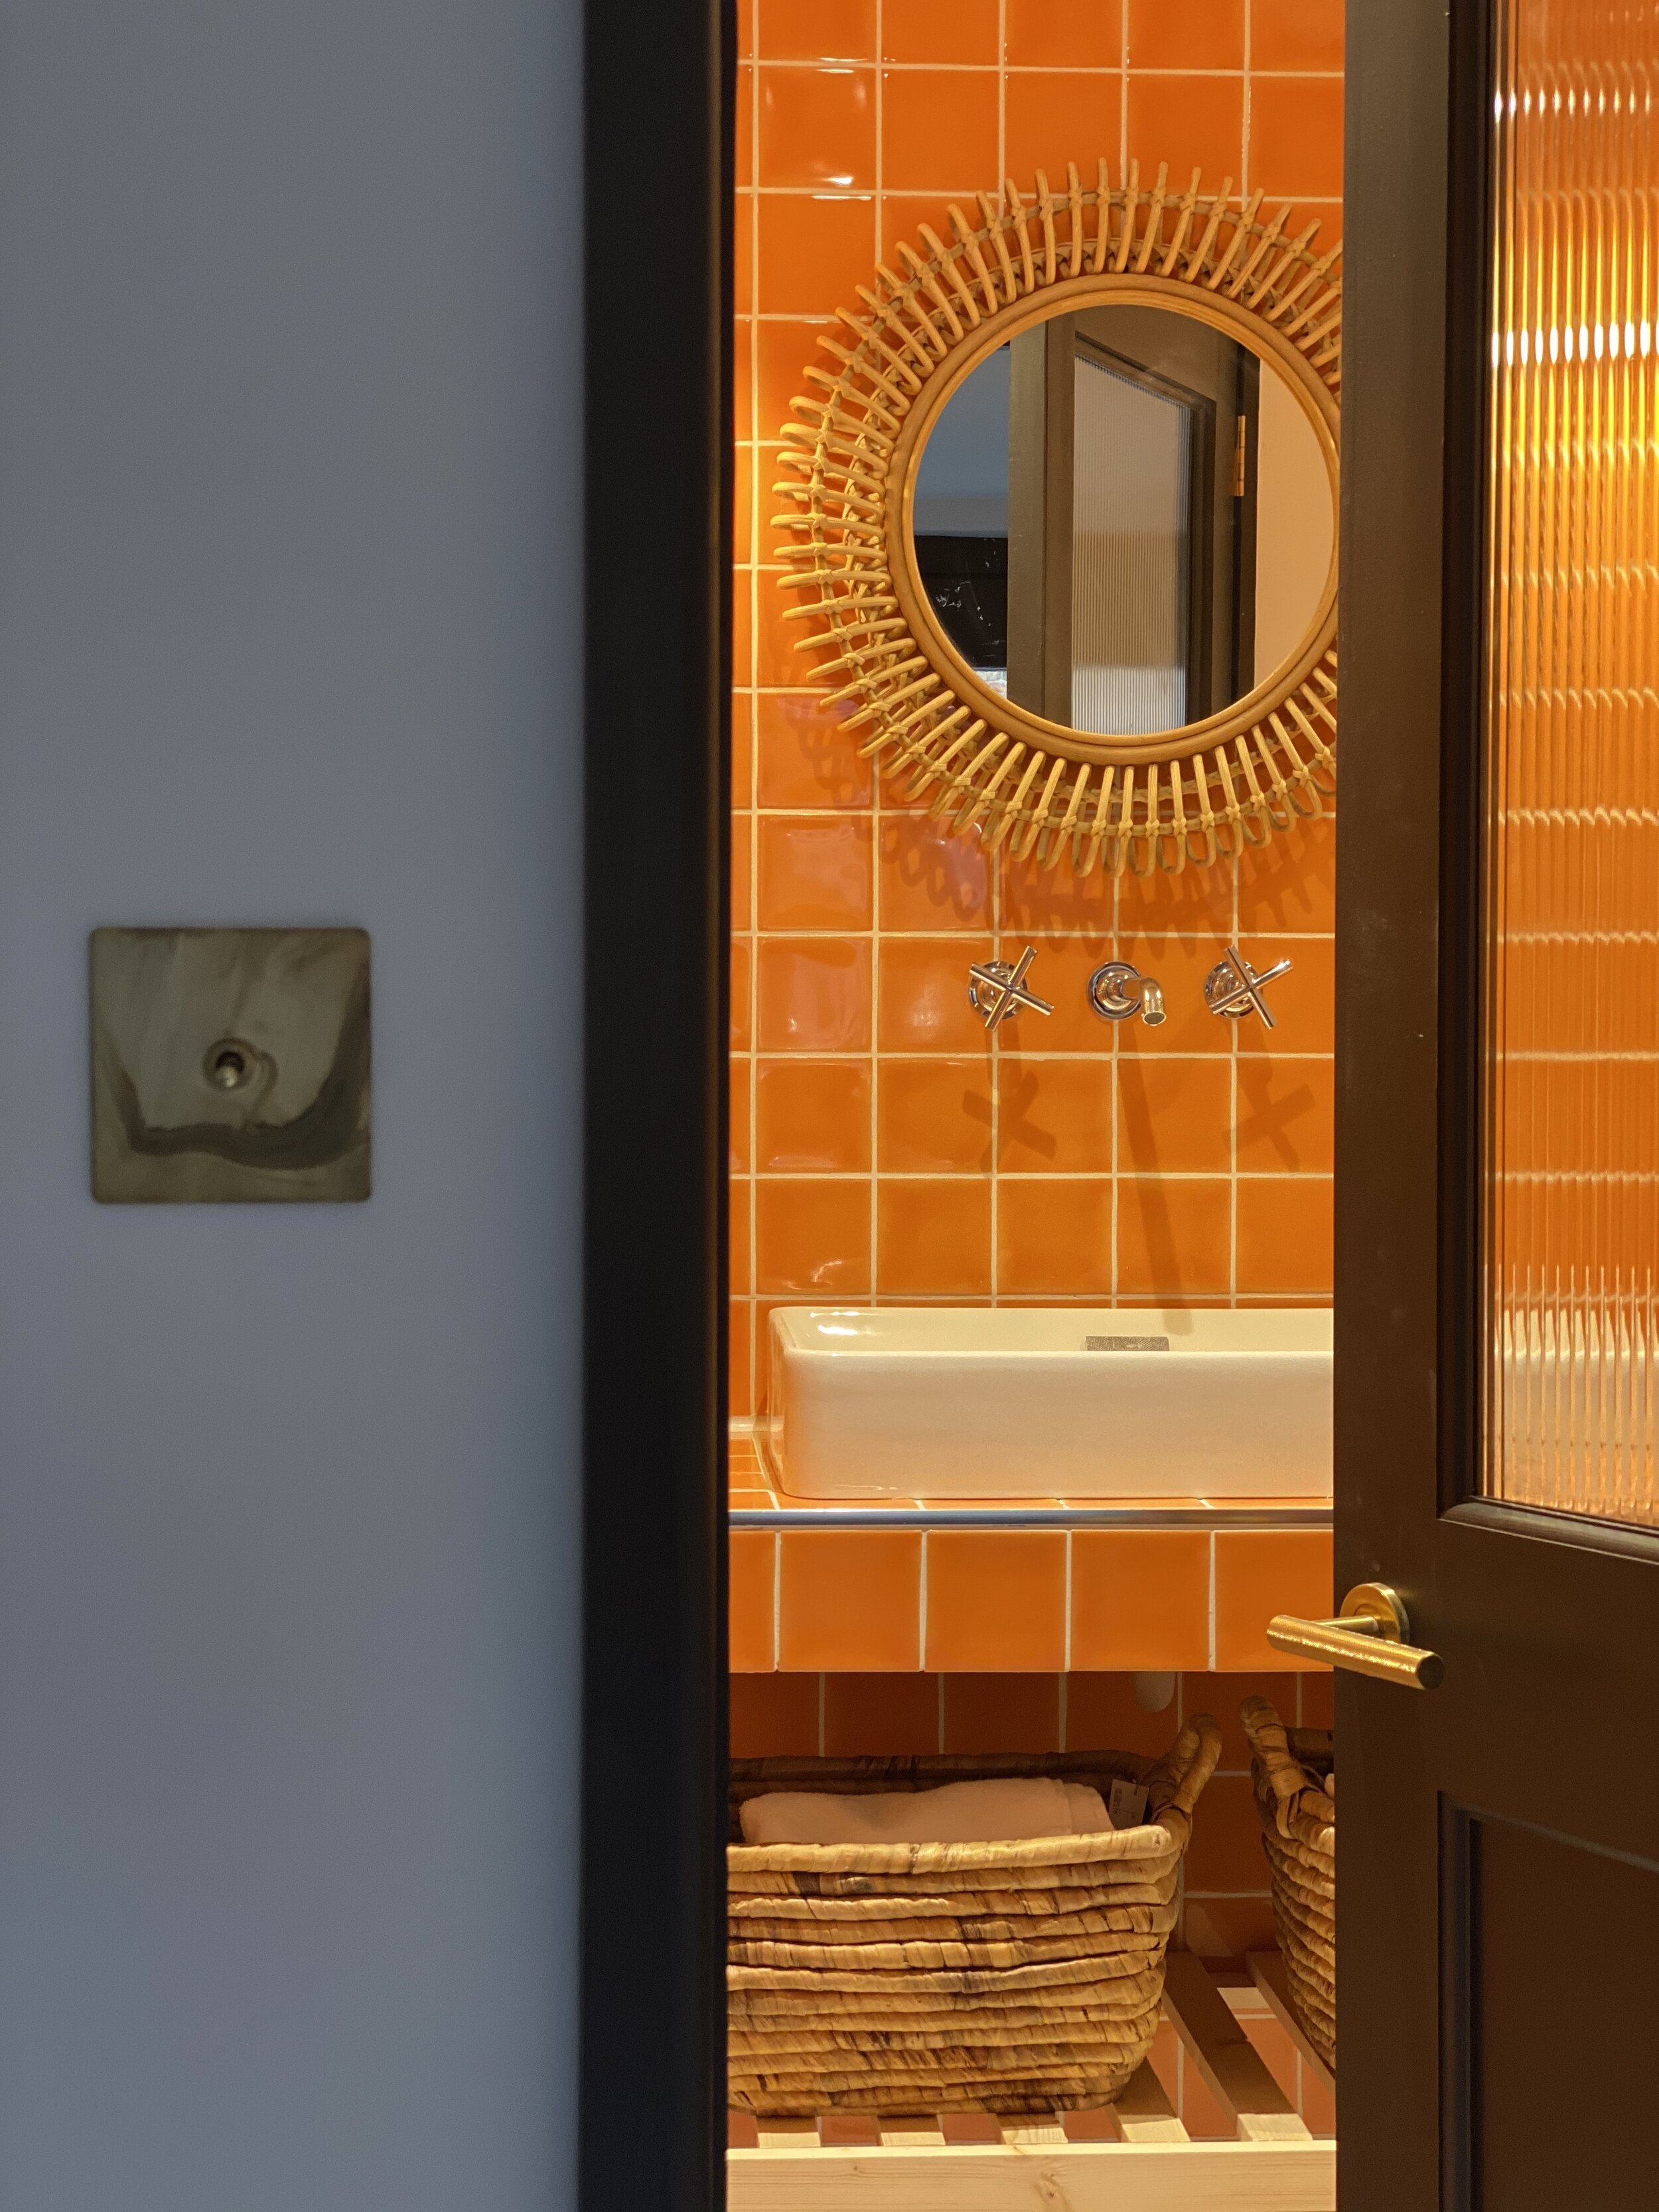
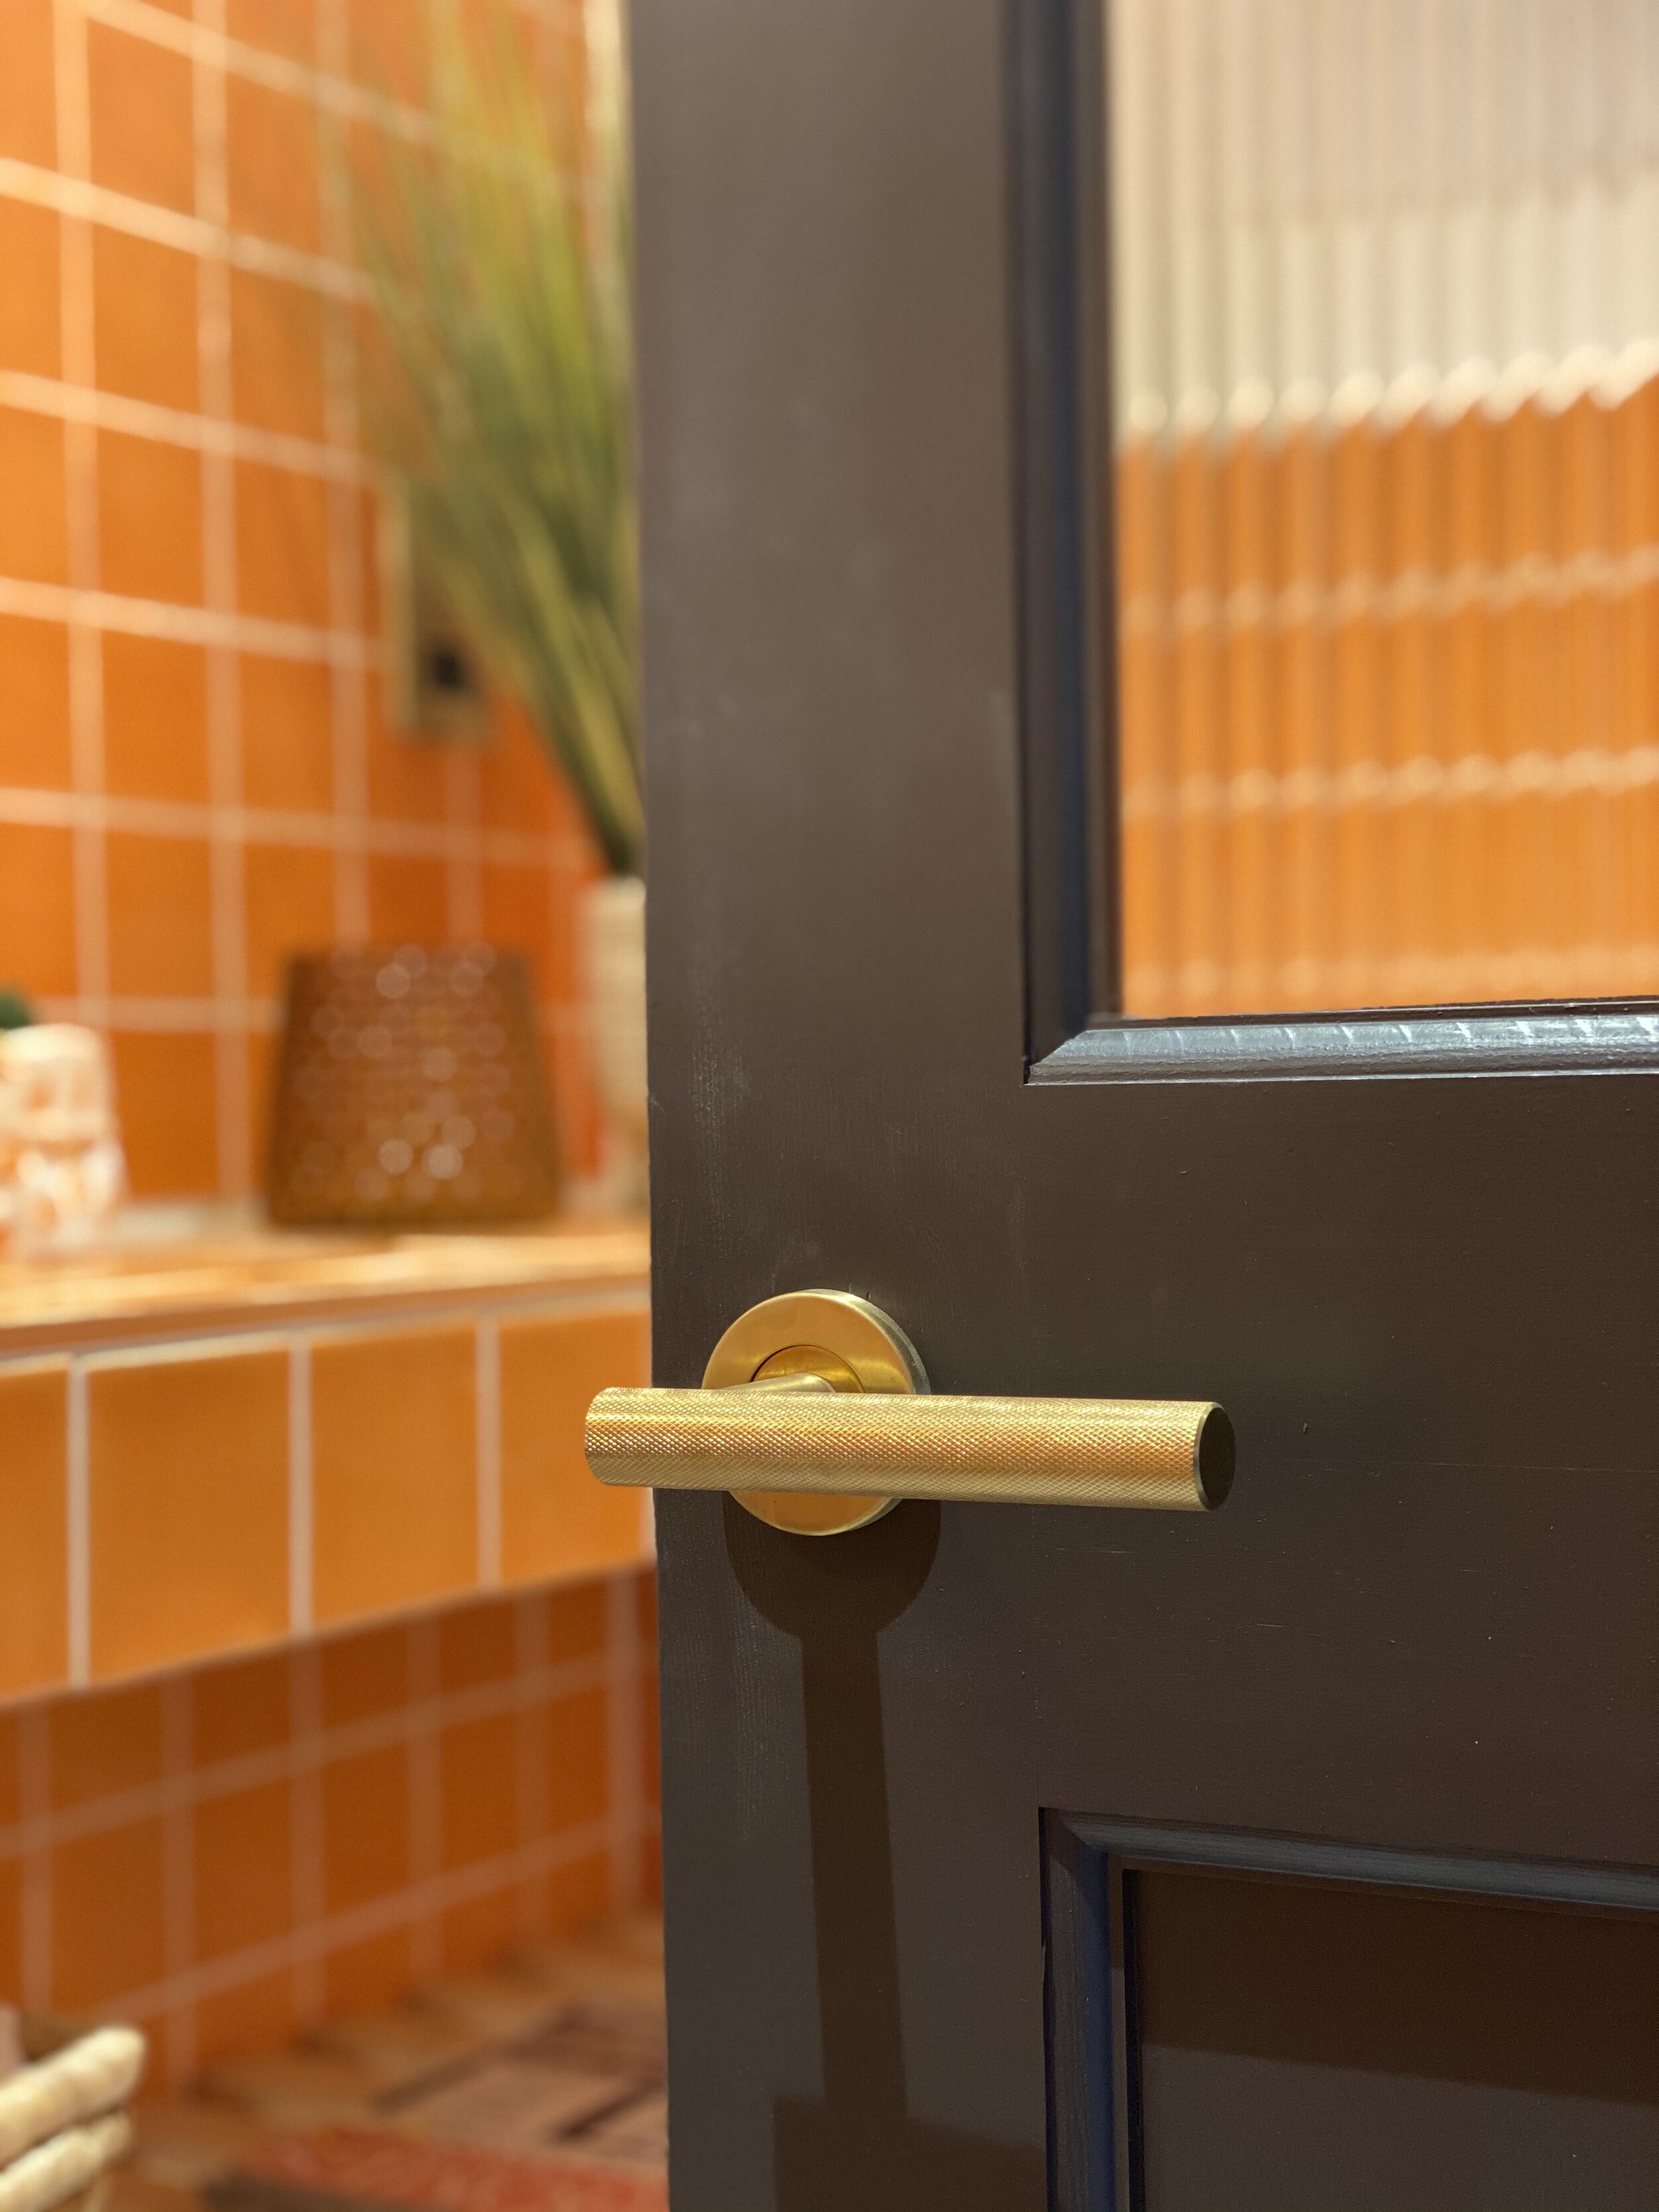
Because the room was window free, it was really important that light was able to come in through the door. I found a decently priced door online from Leader Doors which was £120, unglazed and half and half. It was the only door that I bought for the property as the rest Mike made by hand using MDF. We painted it in Bone Black by Zoffany and added fluted glass - I’d been obsessed with incorporating this look into The Barn after seeing Luke Arthur Wells doing the same in his kitchen last year. Mike sourced a local glazier who produced it for £40. The fluted glass provides privacy whilst still allowing light in from the hallway. I added the Hirst door handle from Dowsing & Reynolds which added that extra element of luxe and showed just what a difference a good finish can make. Now I want to do this in every room of my house. Simple, economical yet super effective.
Added The Essentials
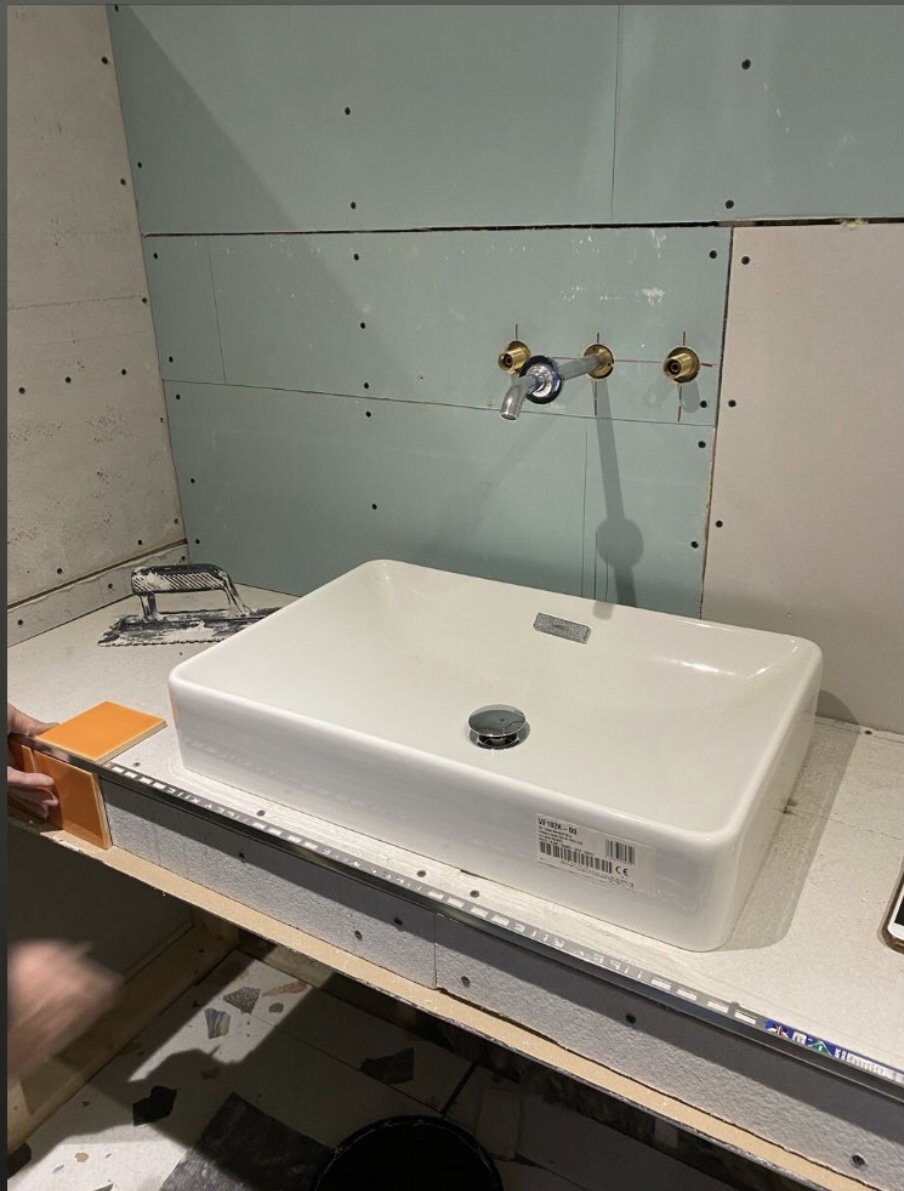
So we needed a toilet, sink and shower tray and I wanted these to be unfussy and simple. I chose the Escale wall hung toilet on a Hydro tower wall frame from Kohler UK, wall hung in a sleek design with a flush plate above. The sink is the Vox basin - it’s rectangular shaped which suits the space. The room was actually measured to fit the shower tray rather than the other way around - I chose the 1600 x 900 anti slip tray and it’s perfect for the space. I’m really happy with the way it all looks.
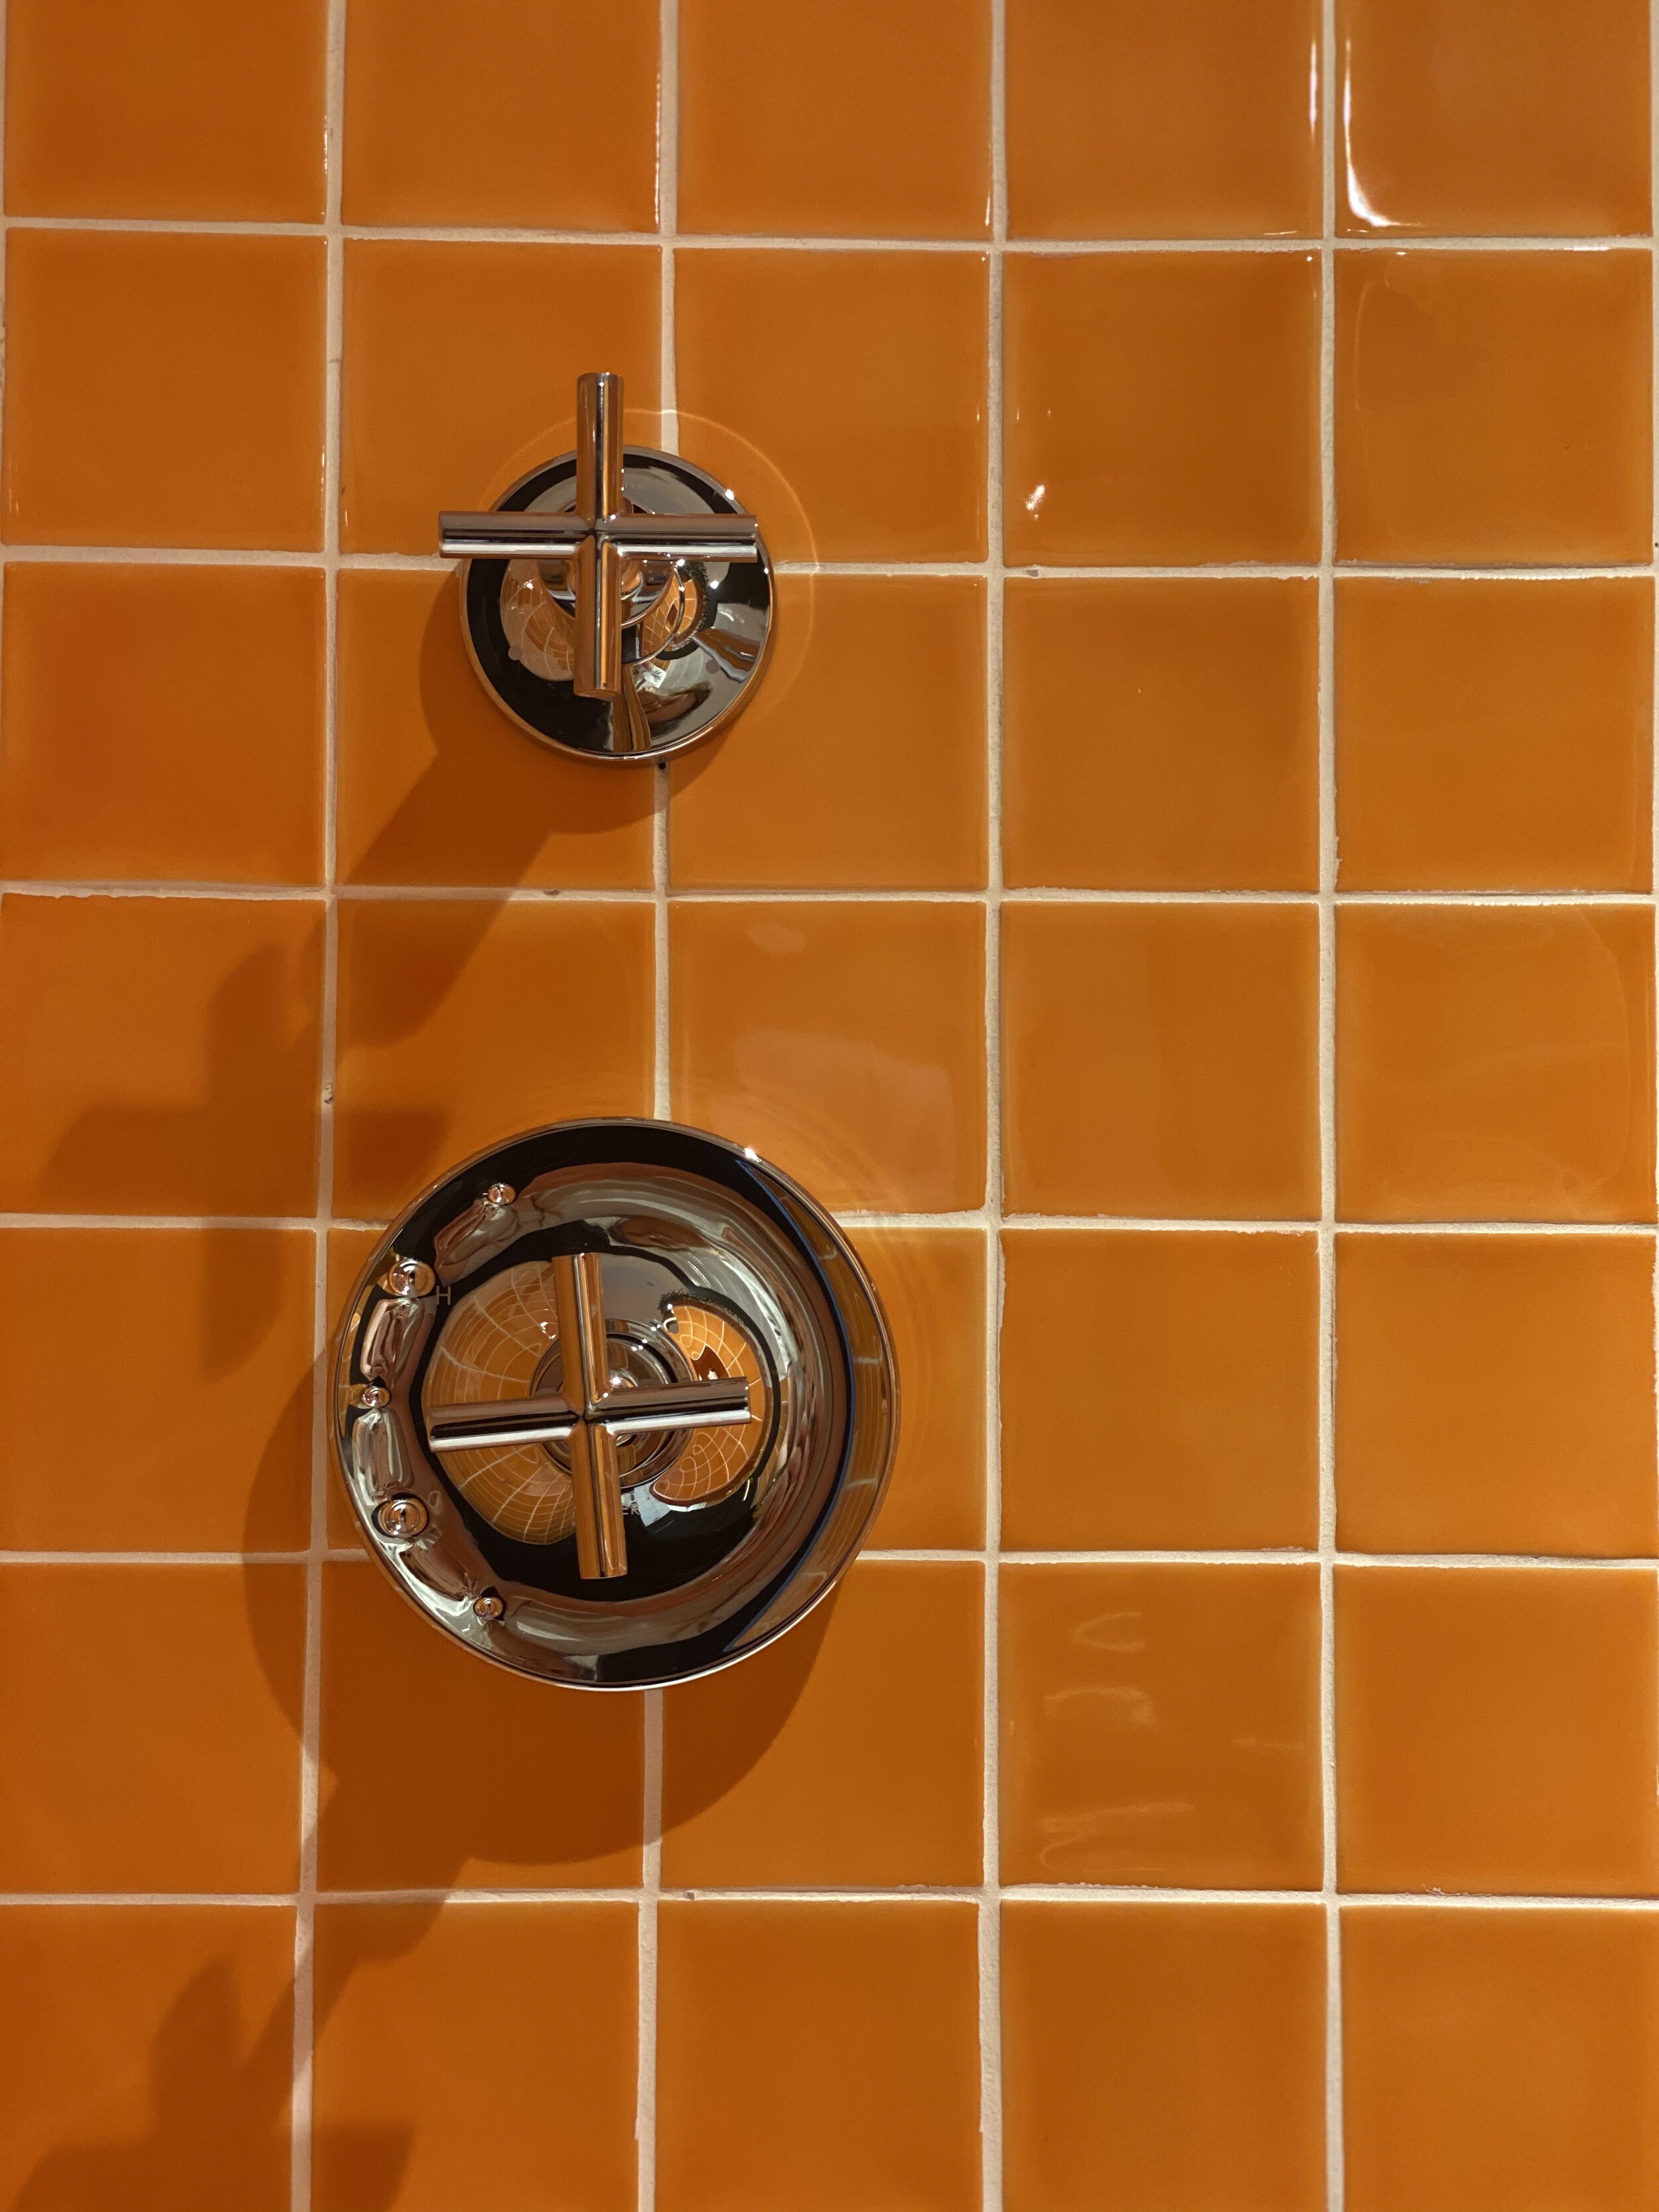
Chose Chrome Fittings
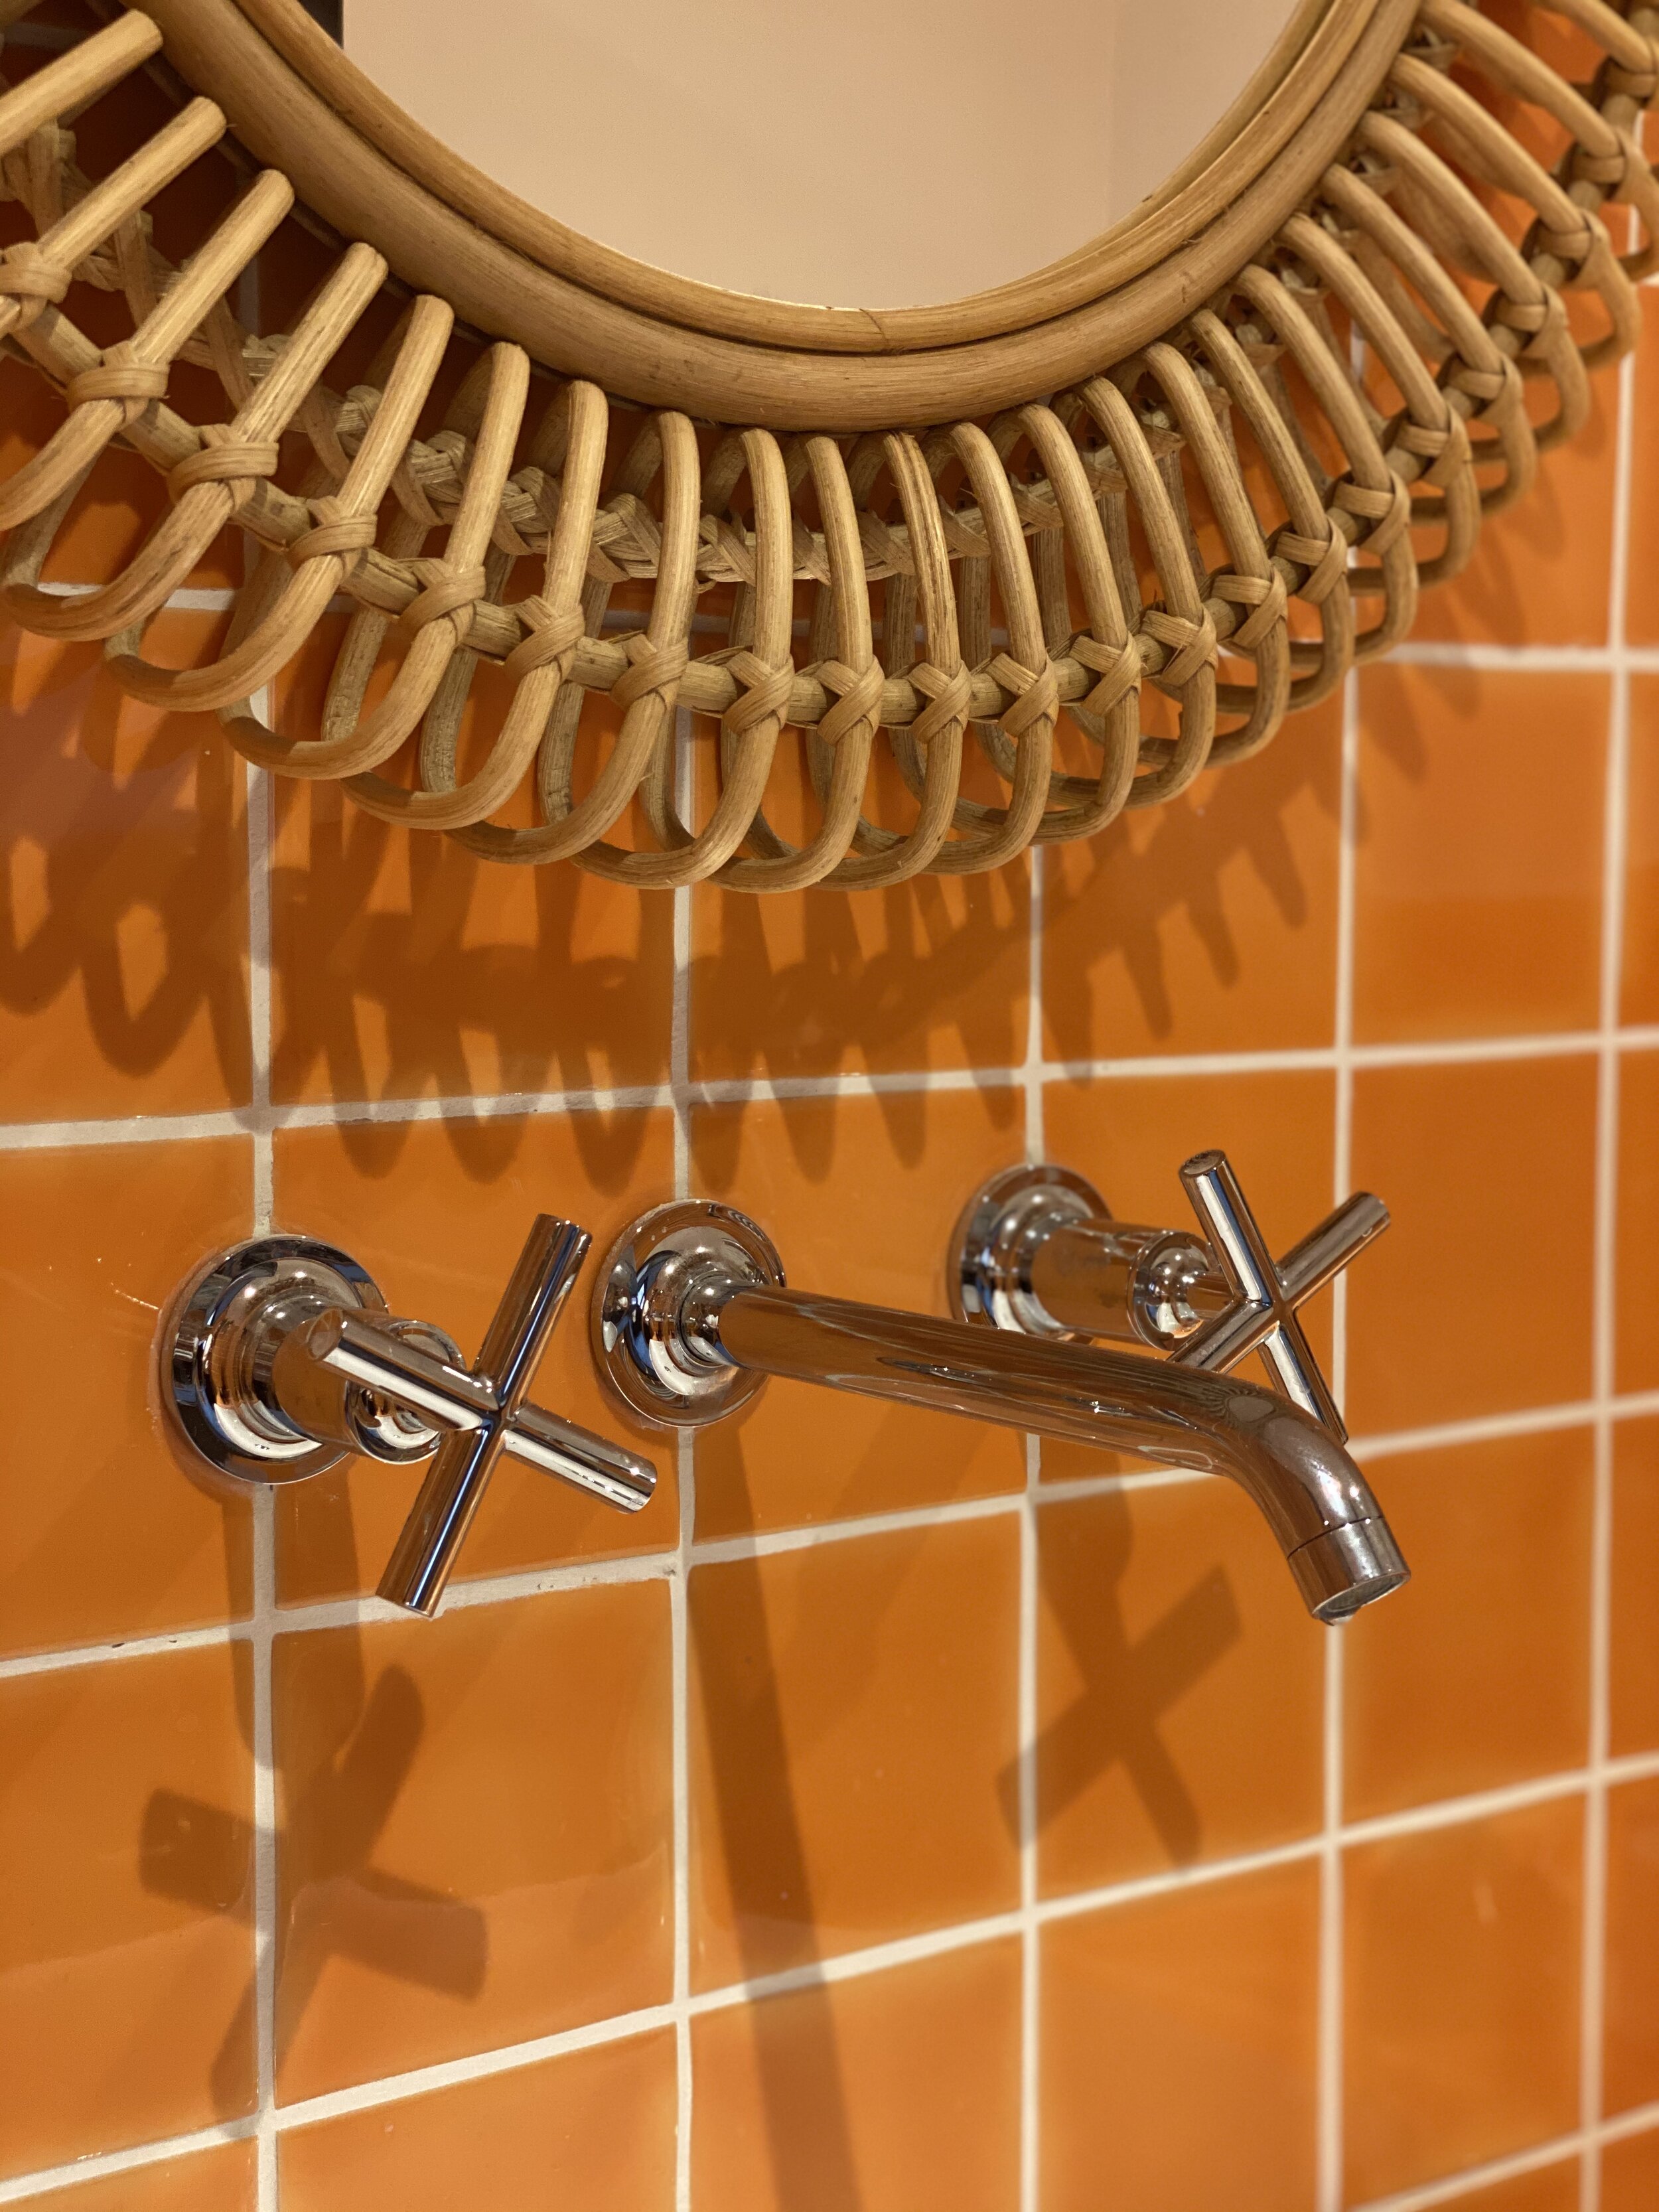
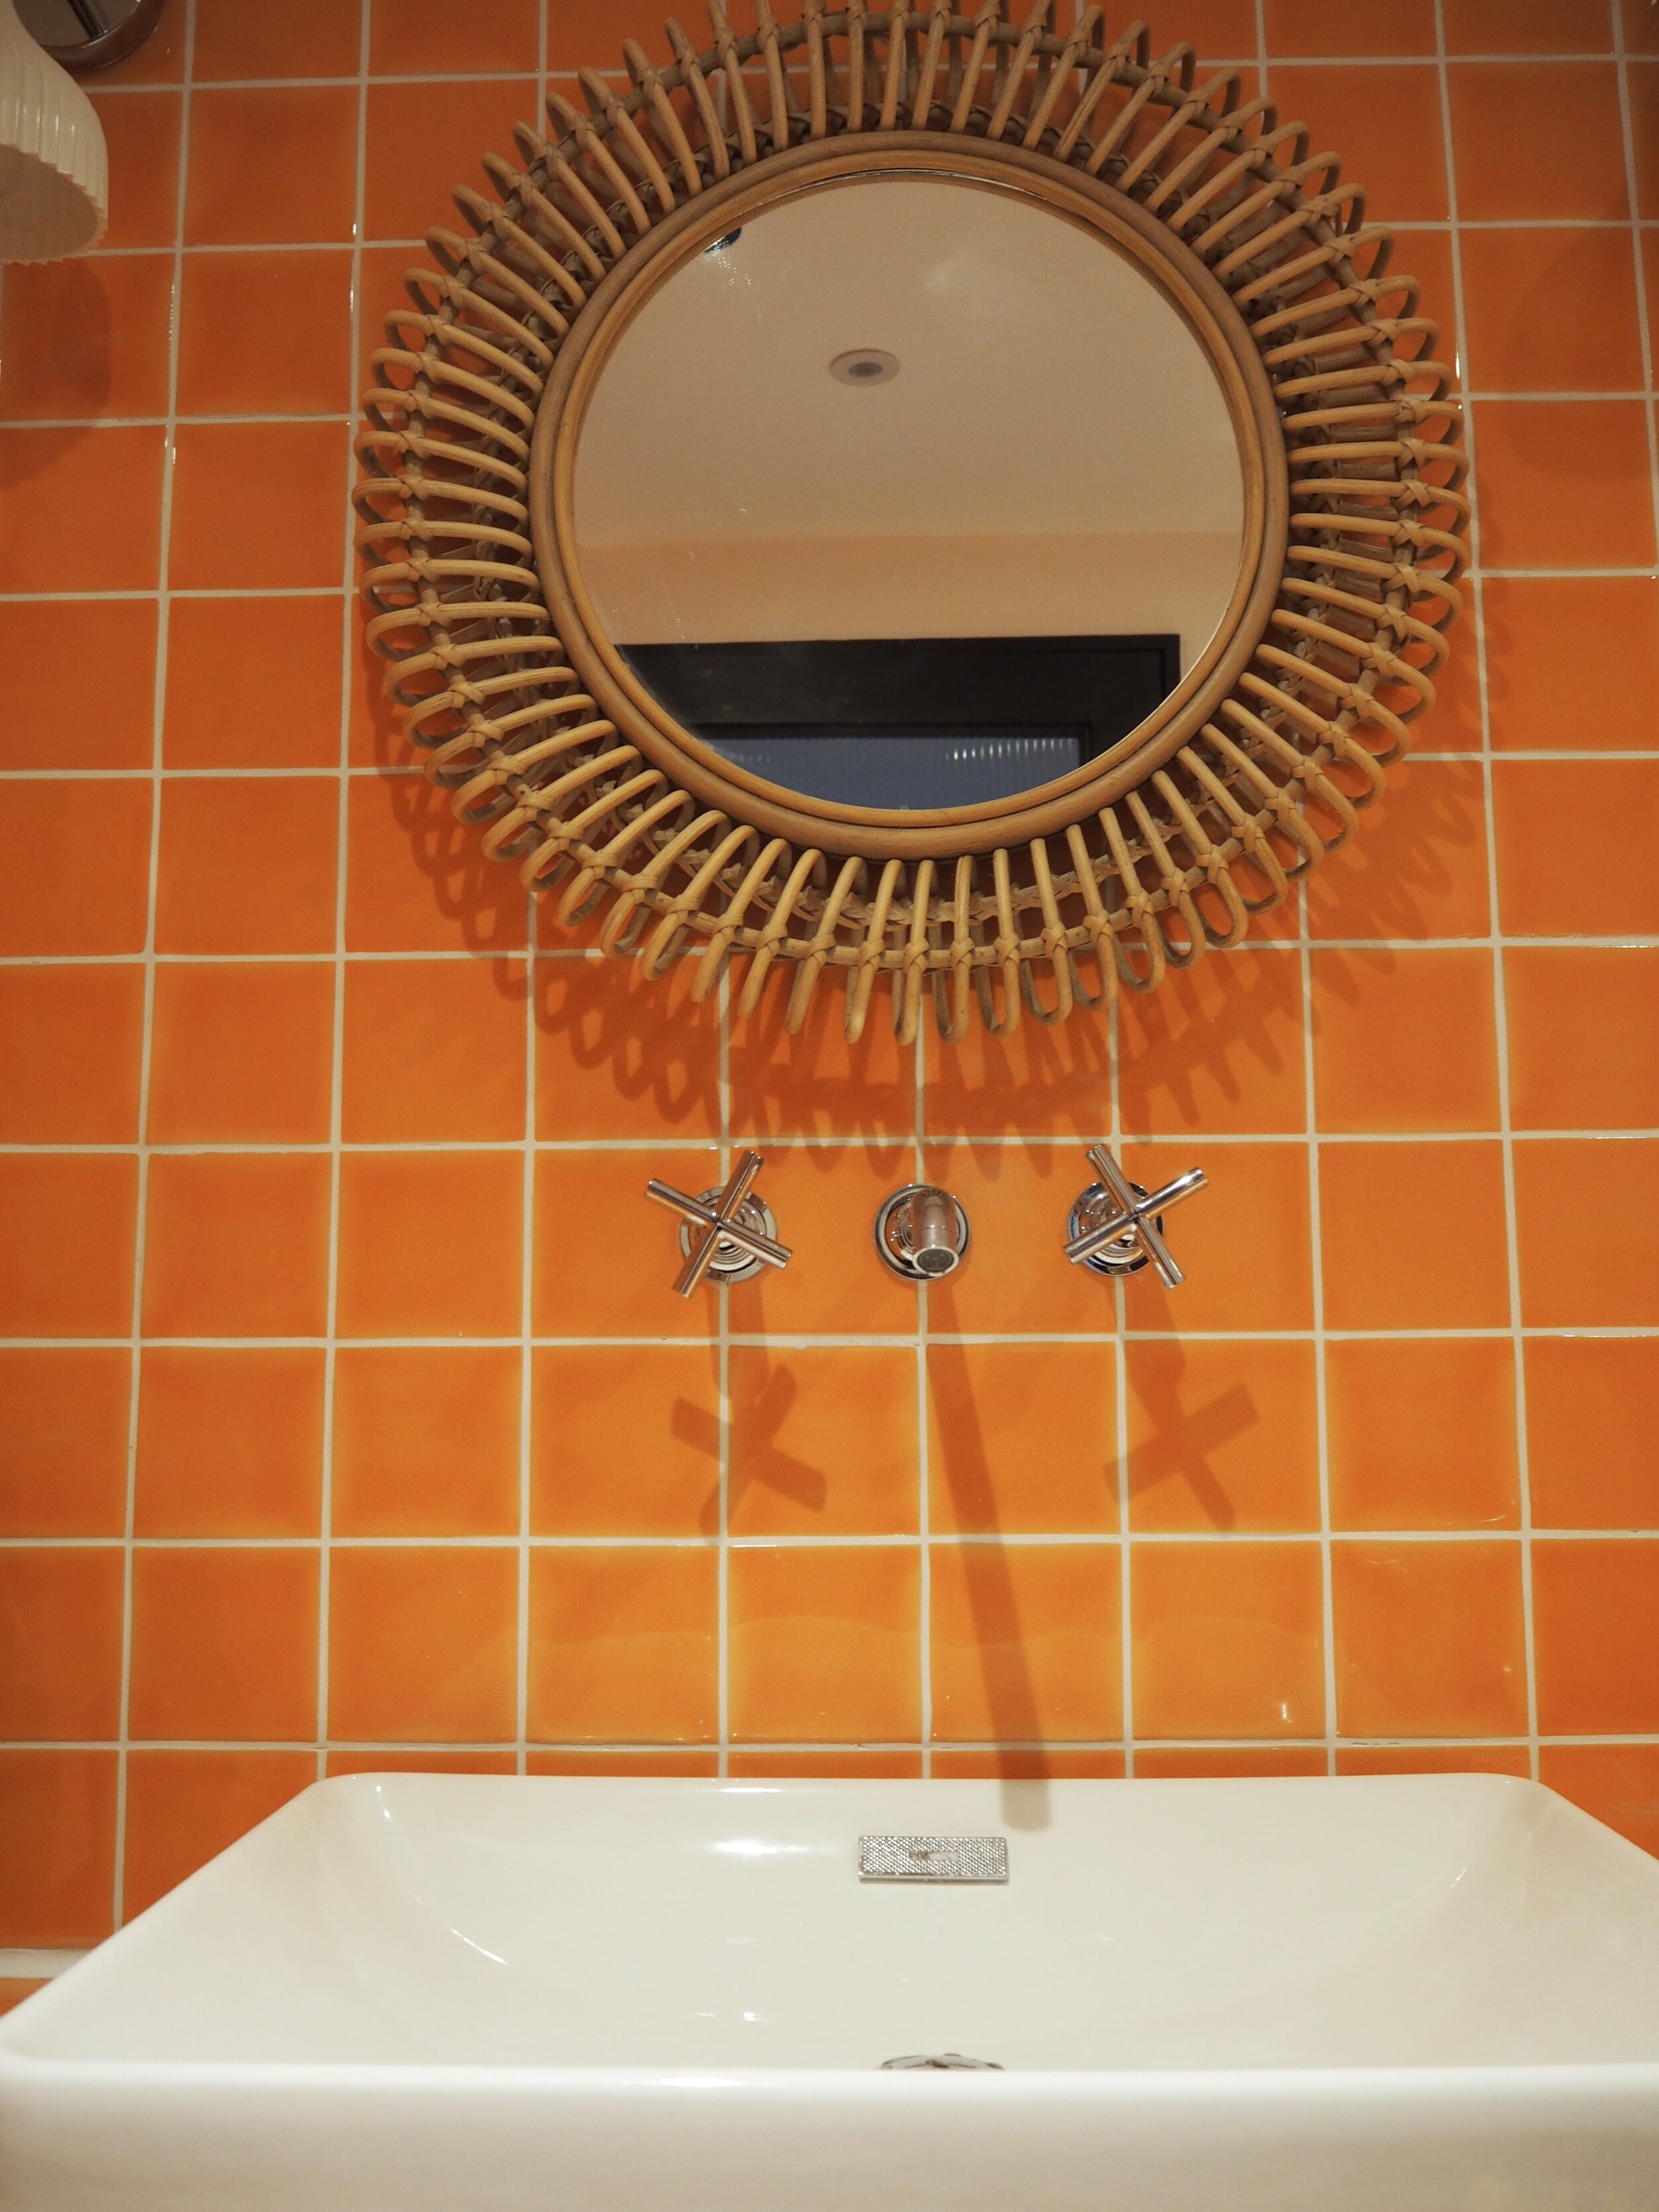
Much as I like the look of gold and brass fittings, I knew that they wouldn’t work in this space. The Purist range in chrome from Kohler UK was exactly the look I was after - the wall mounted basin mixer with cross handle means that the worktop is left clean and clear. The Purist wall mounted cross handle shower controls are easy to use and look great and are a perfect contrast to the tiles. And the 14 inch diameter Katalyst rainhead shower has my husband complaining that our own bathroom is now completely inadequate compared to The Barn. Honestly, he’s never happy.

Built A Shower Wall
I’m not a fan of glass shower screens in general, mainly because I am a shocking cleaner and mine always look like they need a go with the Windowlene. For a family of five, they’re hugely impractical for this very reason, especially if you have teenagers like mine who shower a minimum of twice a day (don’t even start me on towel usage and discarding habits). So we built a shower wall, identical to the one that’s in my family bathroom and with an inset shower ledge for toiletries - super practical. Plus it has a handy top ledge for breaking up the tiles with trailing plants.
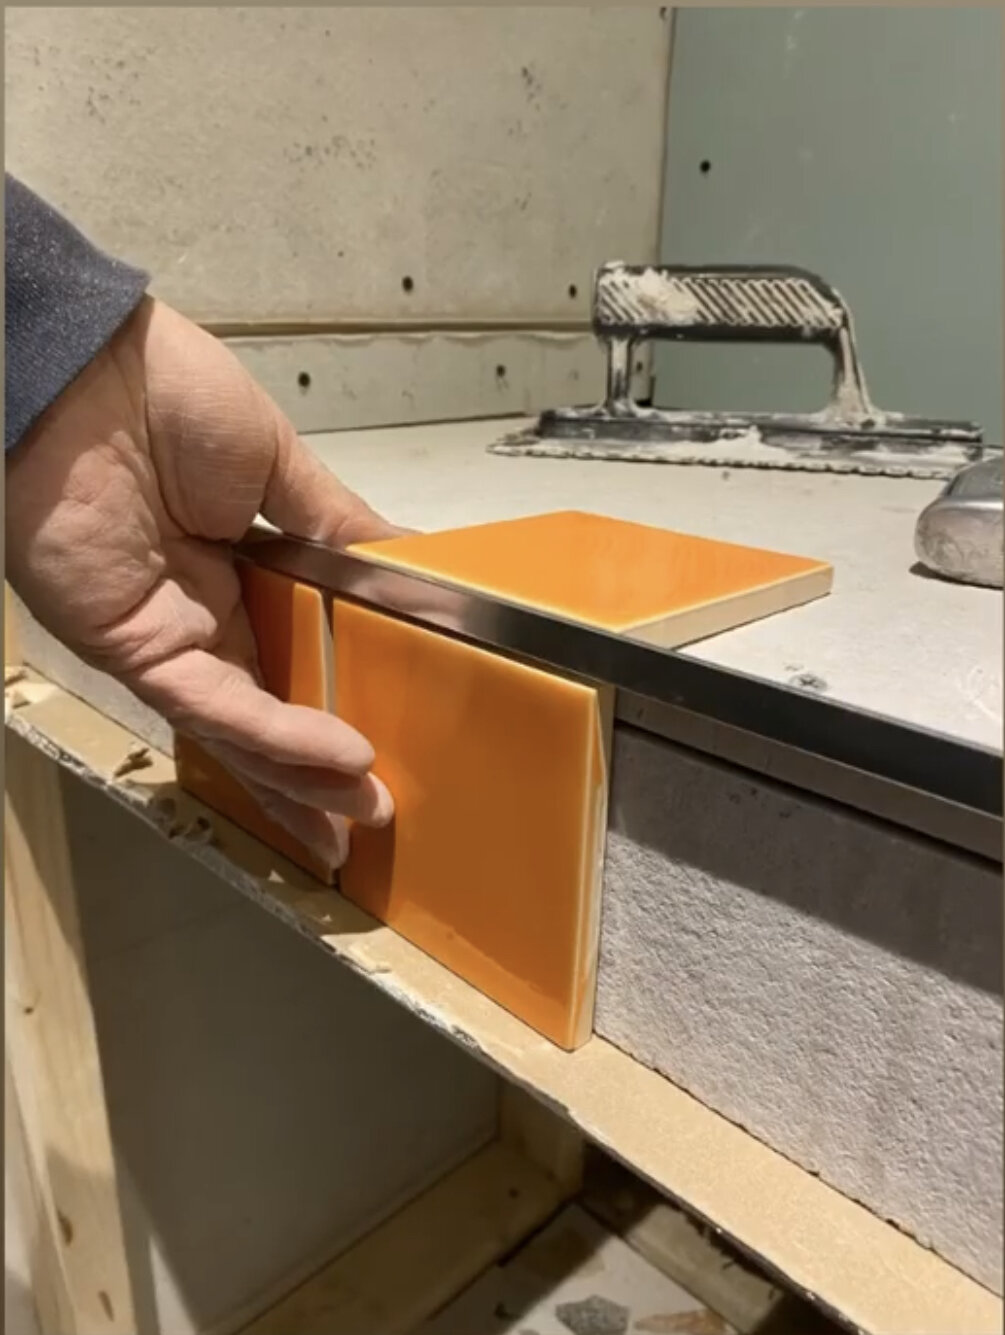
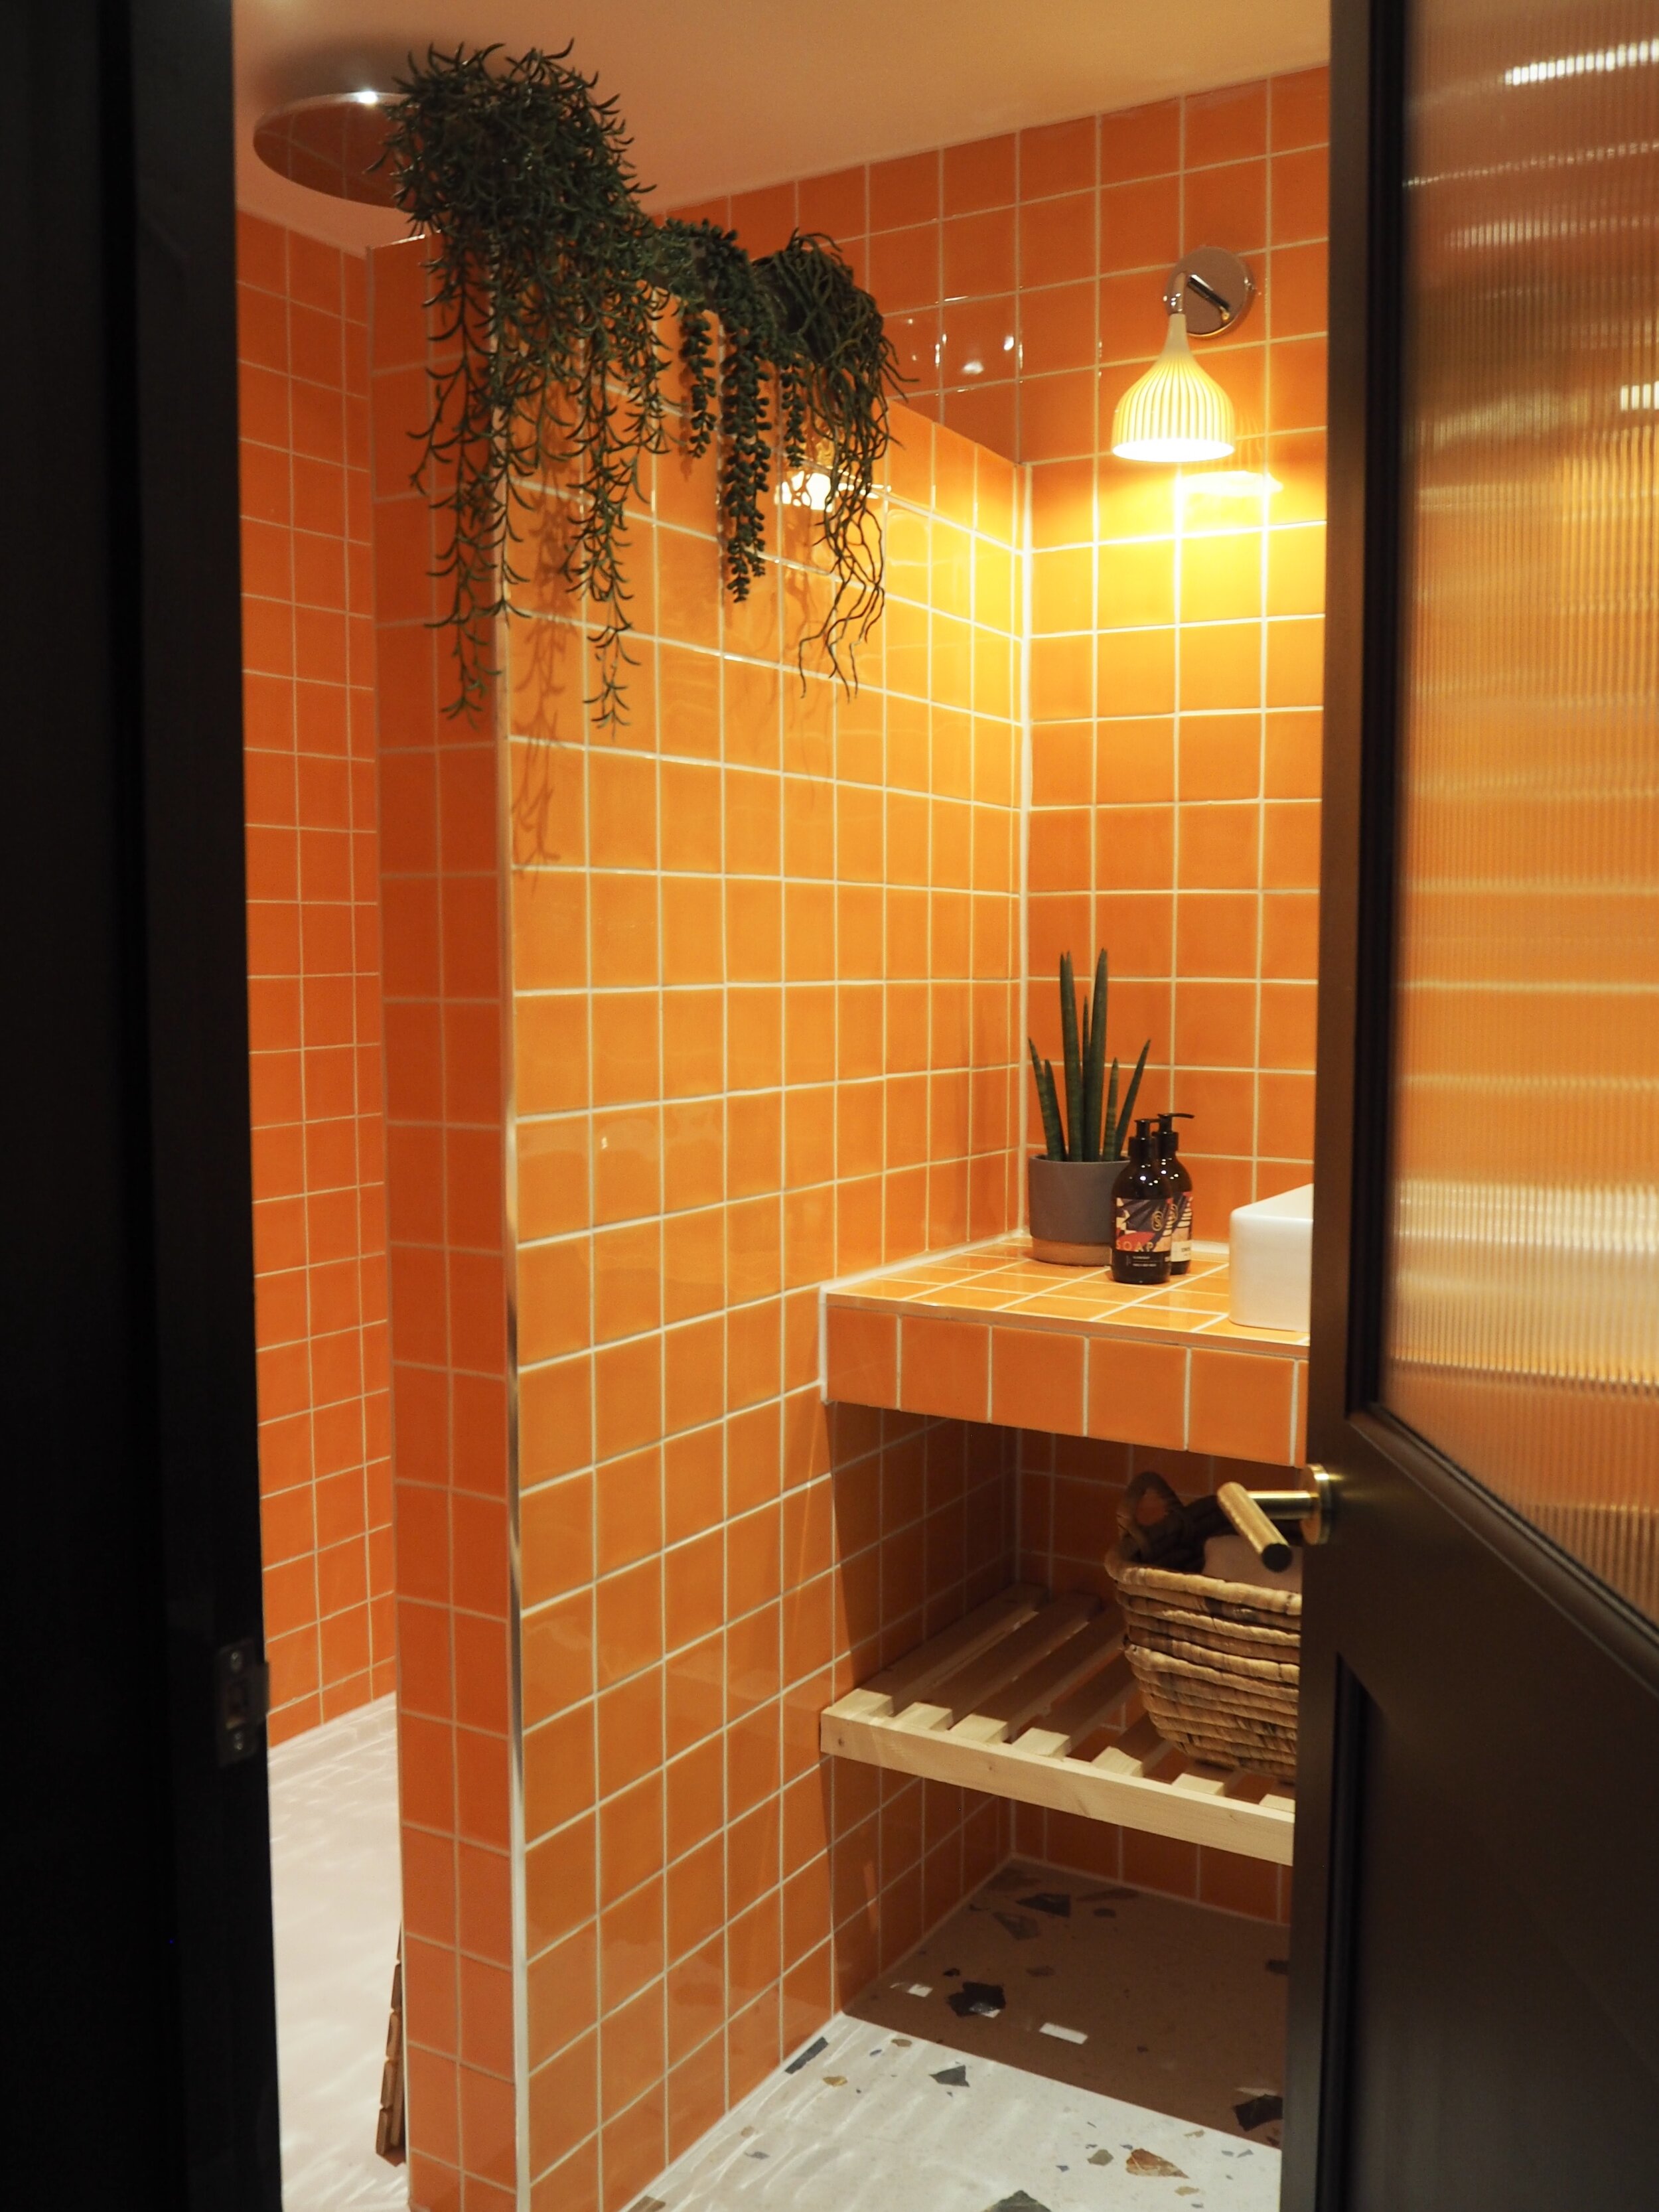
Made A Vanity Worktop
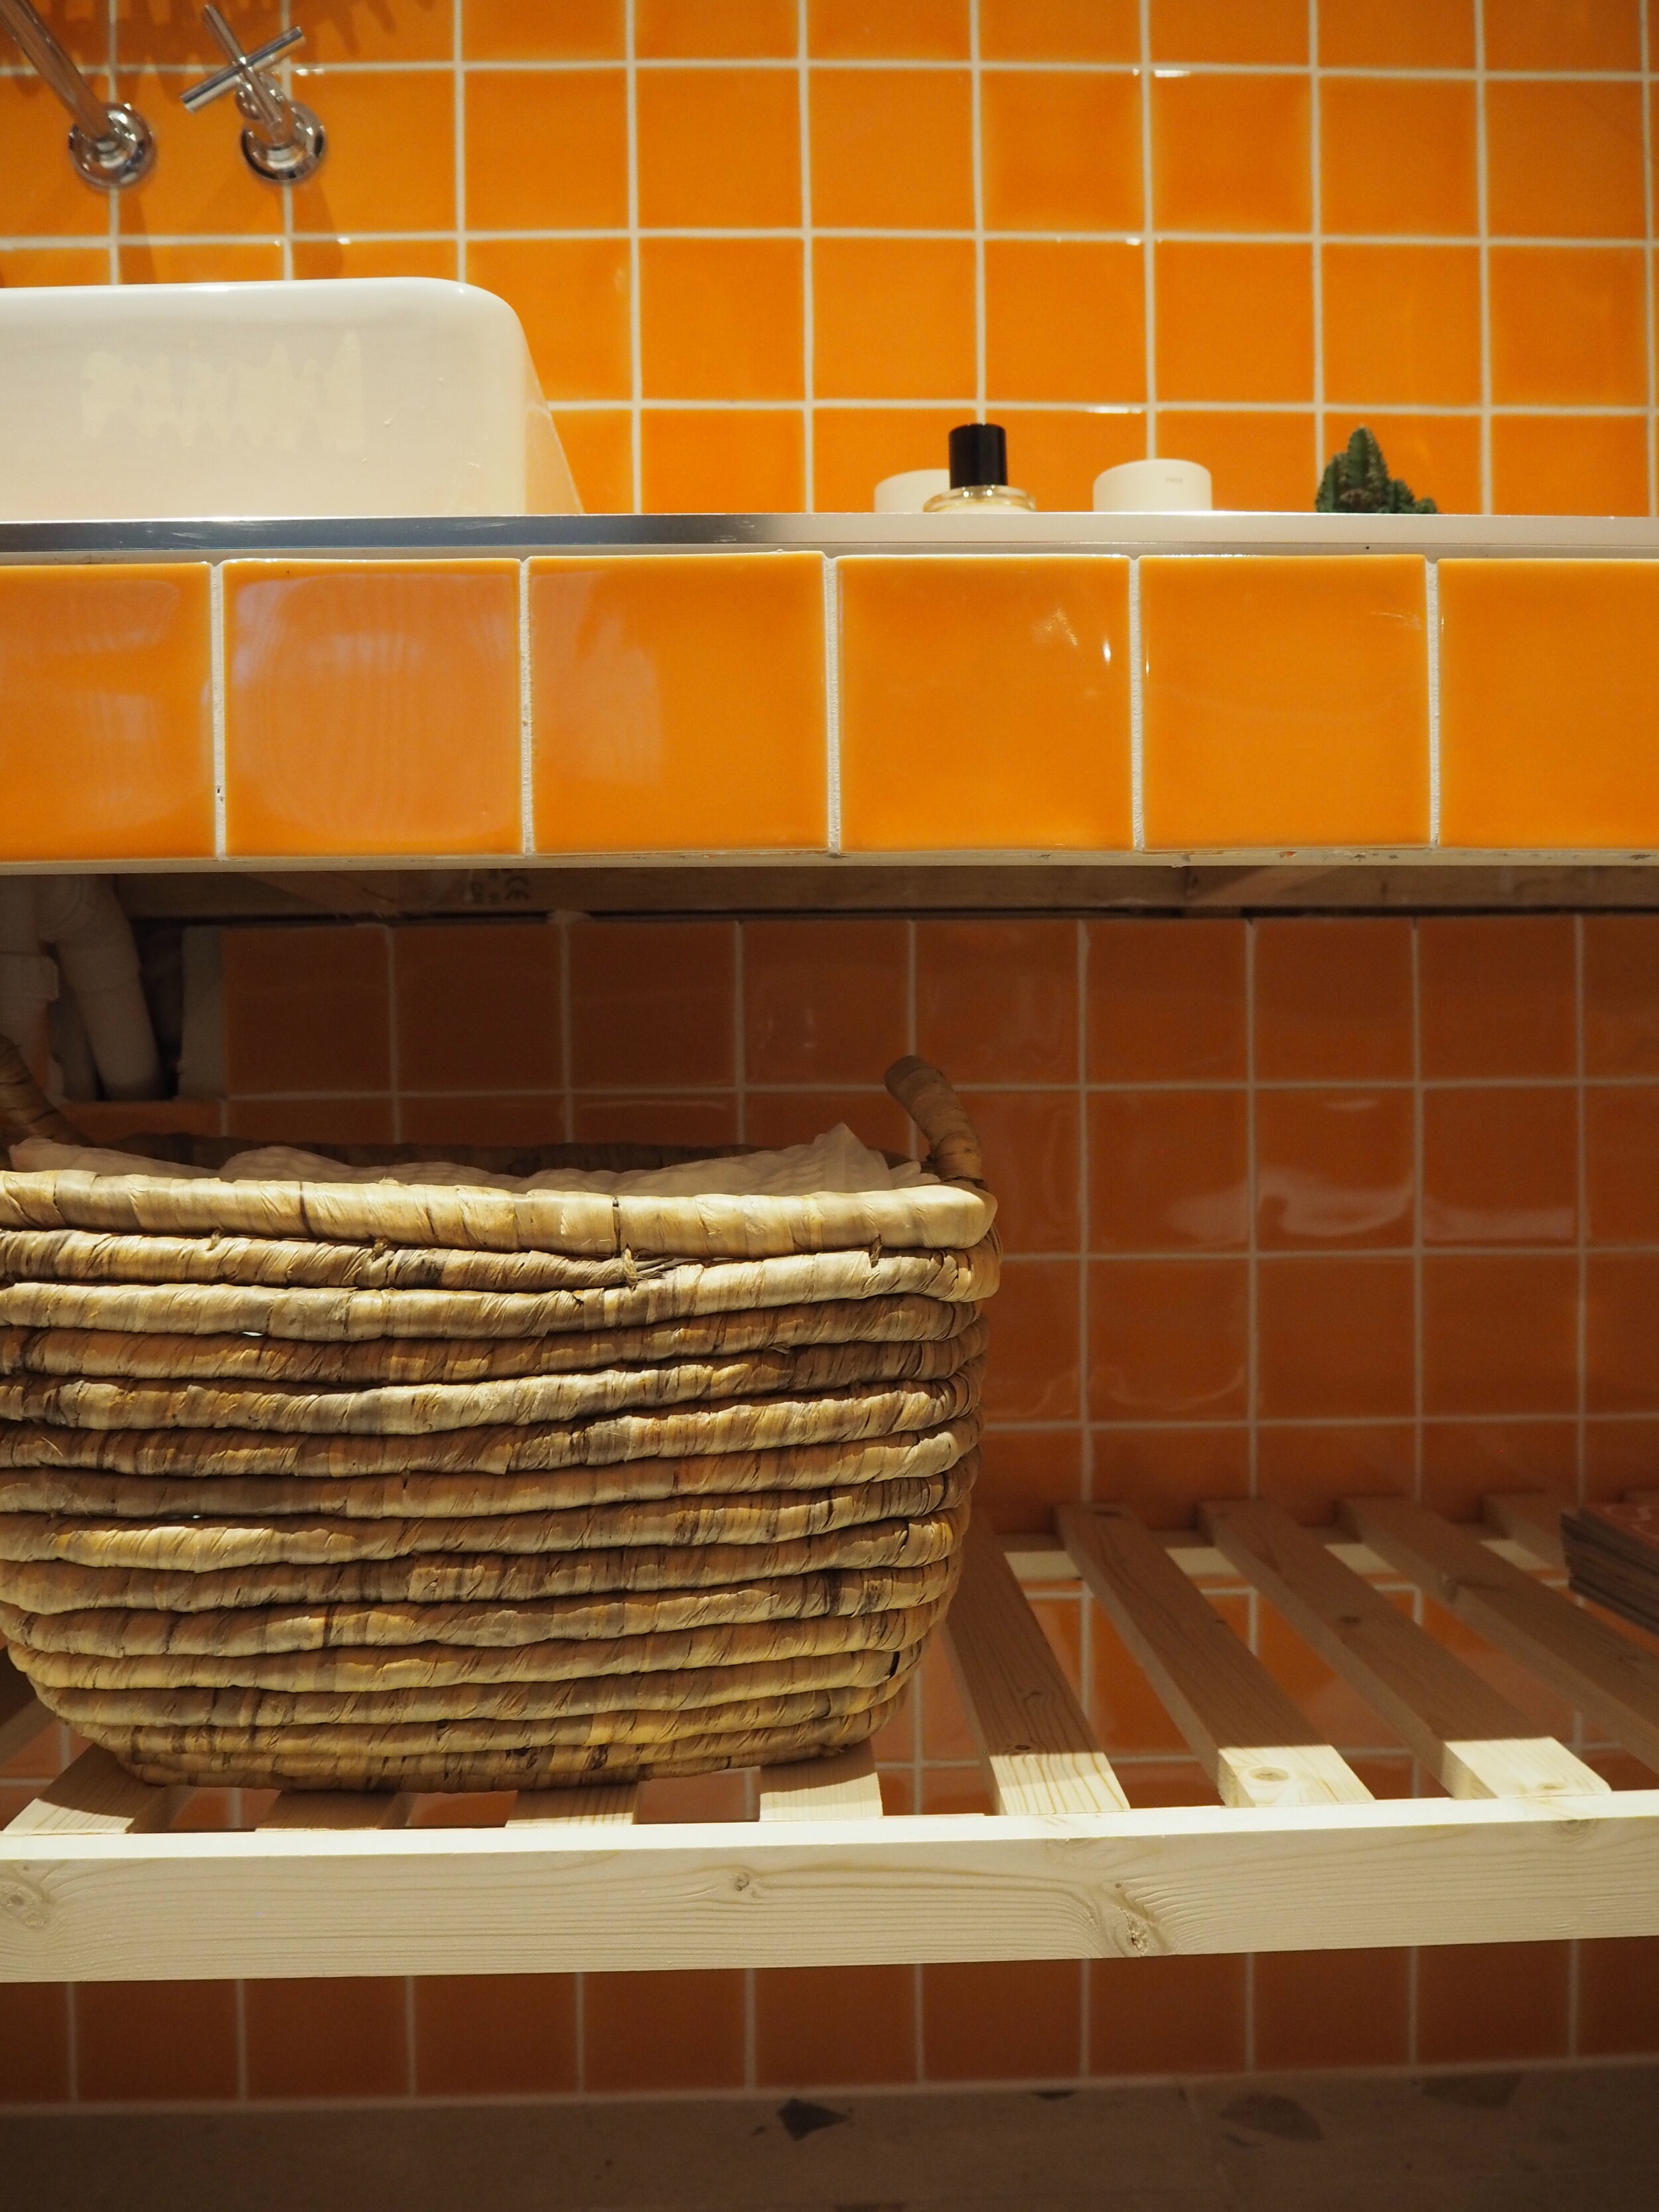
I’d seen a photograph on Pinterest of a tiled vanity worktop so immediately showed to Mike the builder so that he could duplicate. He put metal struts into the wall then made and attached a wooden structure upon which the sink could be placed, attaching it to the far wall and the shower wall and creating a long vanity area. He then tiled it to match the walls. I wanted a wooden slatted ledge to go beneath for holding baskets and towels, so Mike made this very thing from strips of wood, again fixing to the back wall and then coating with floor lacquer. I’m SO HAPPY with it and wish I’d done it in my own house too. Simple, but also a whole lot cheaper than buying a premade worktop plus it looks great.
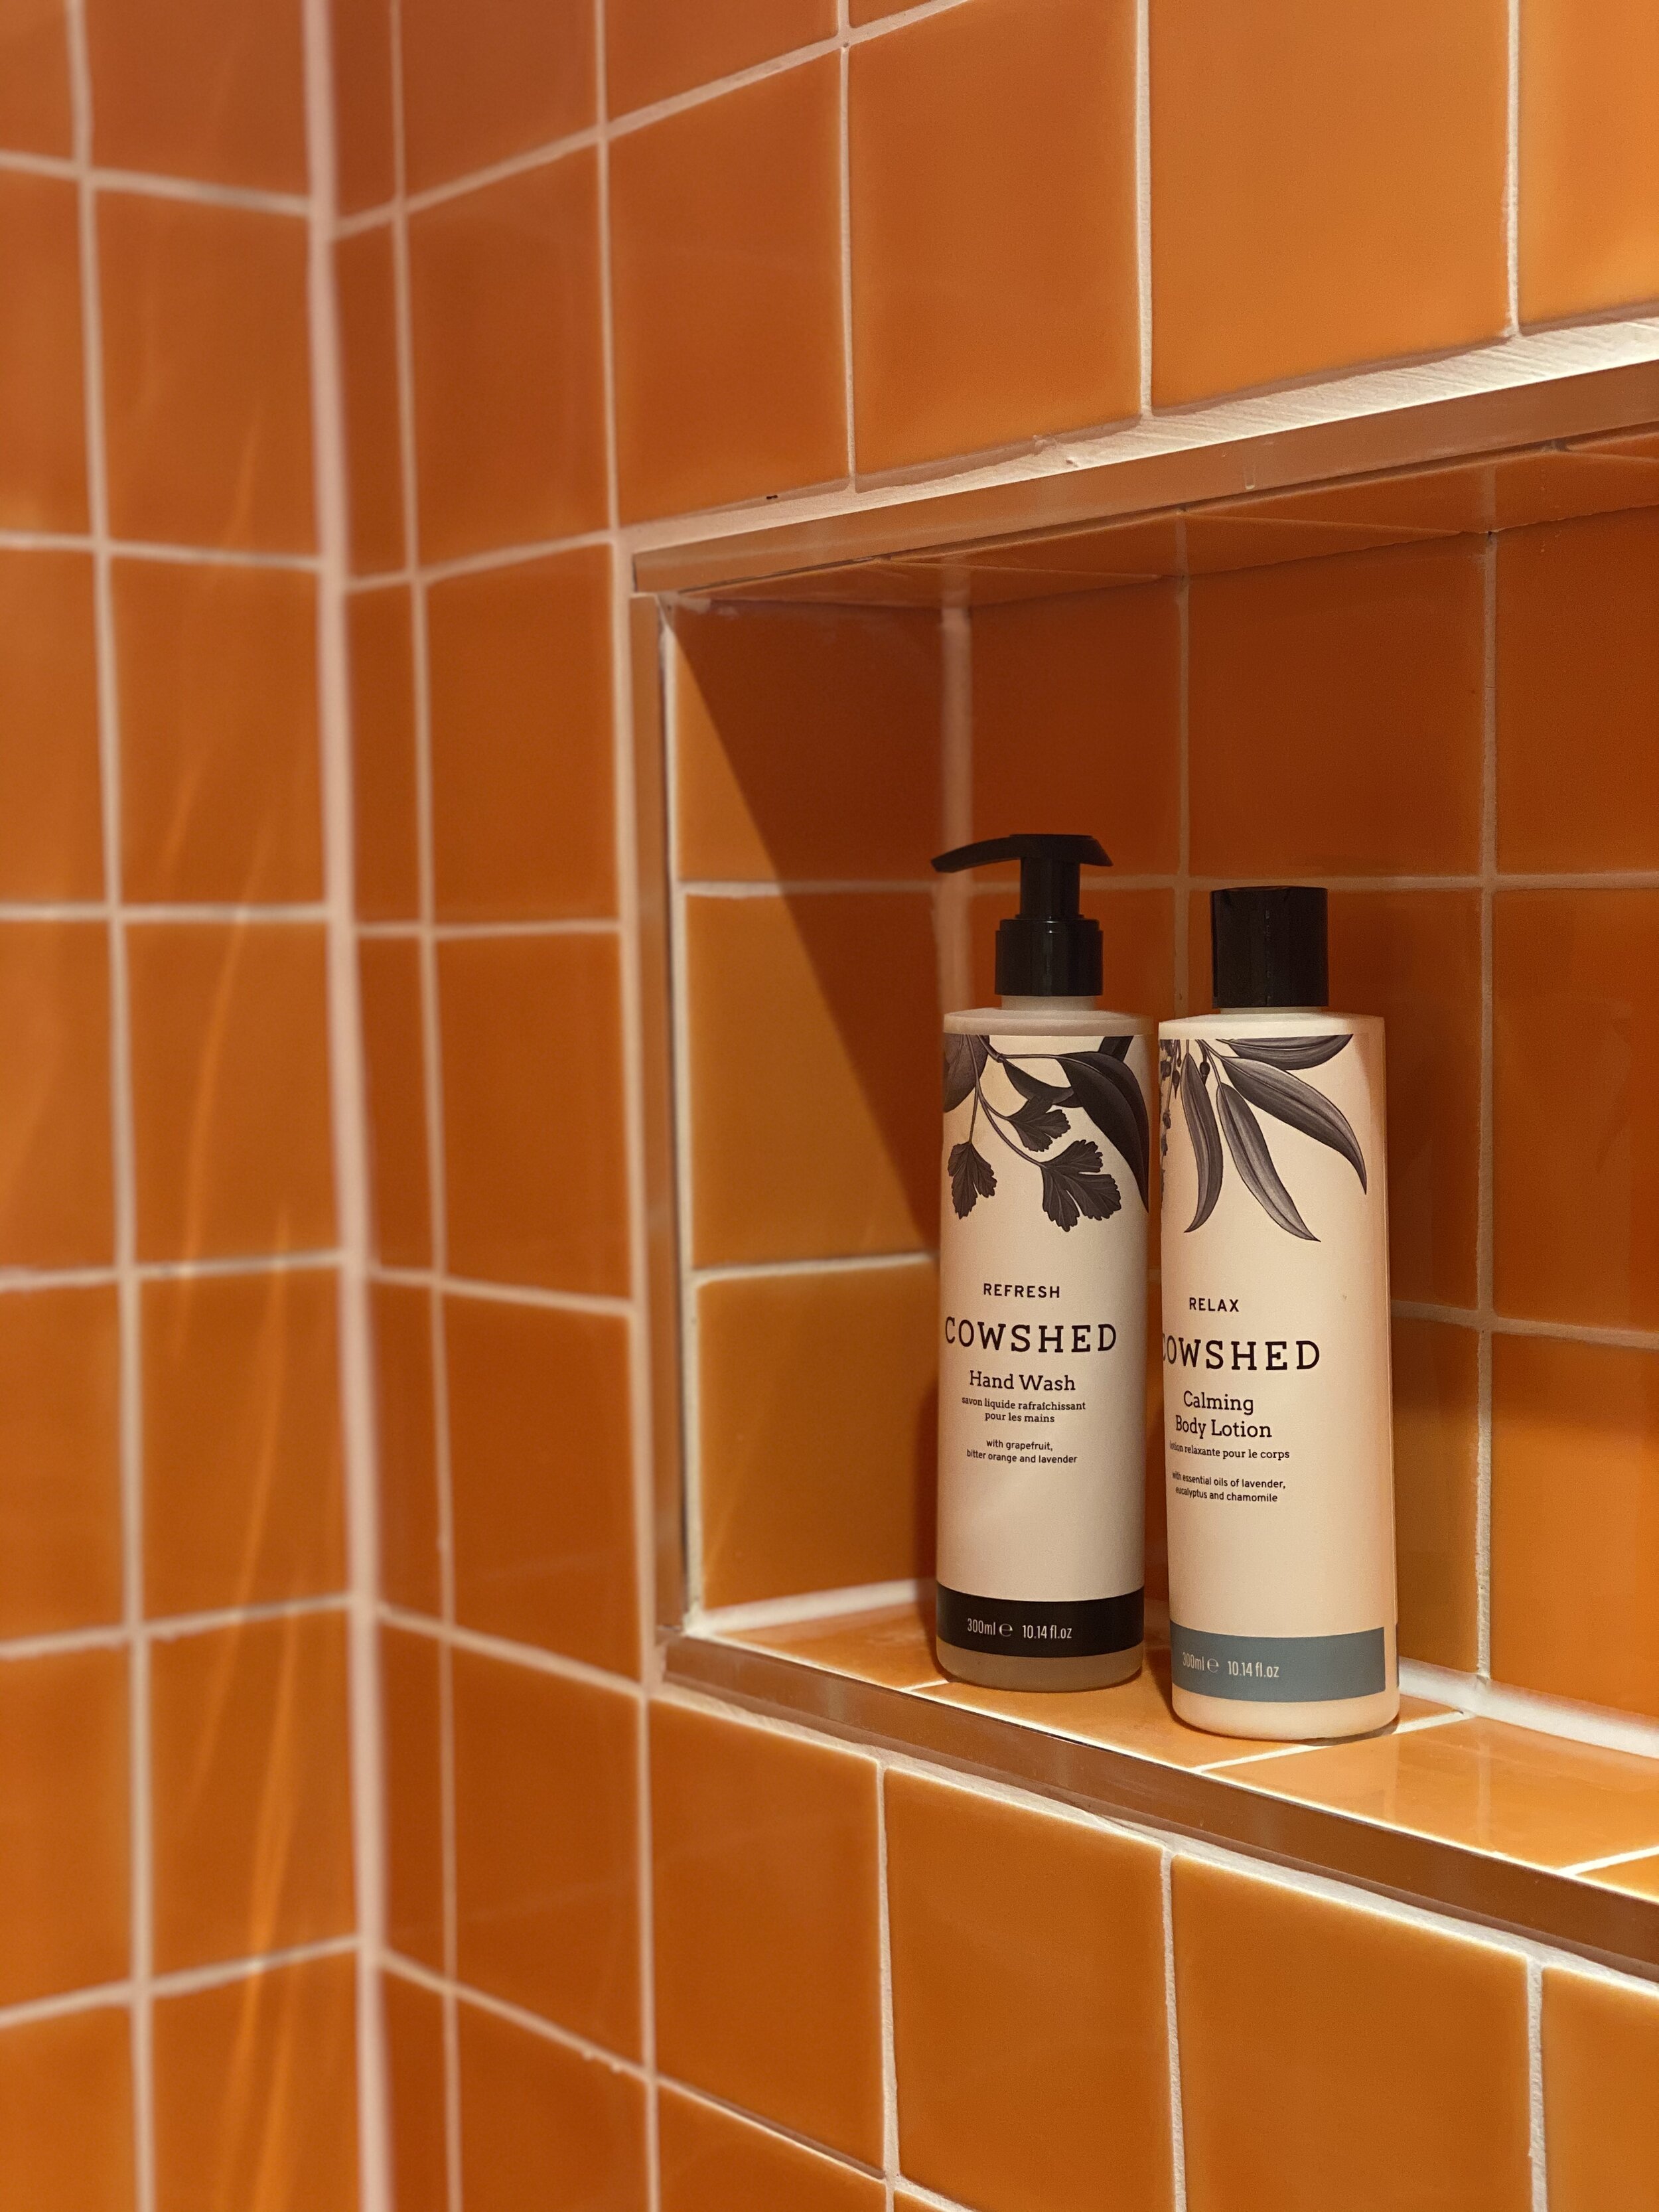

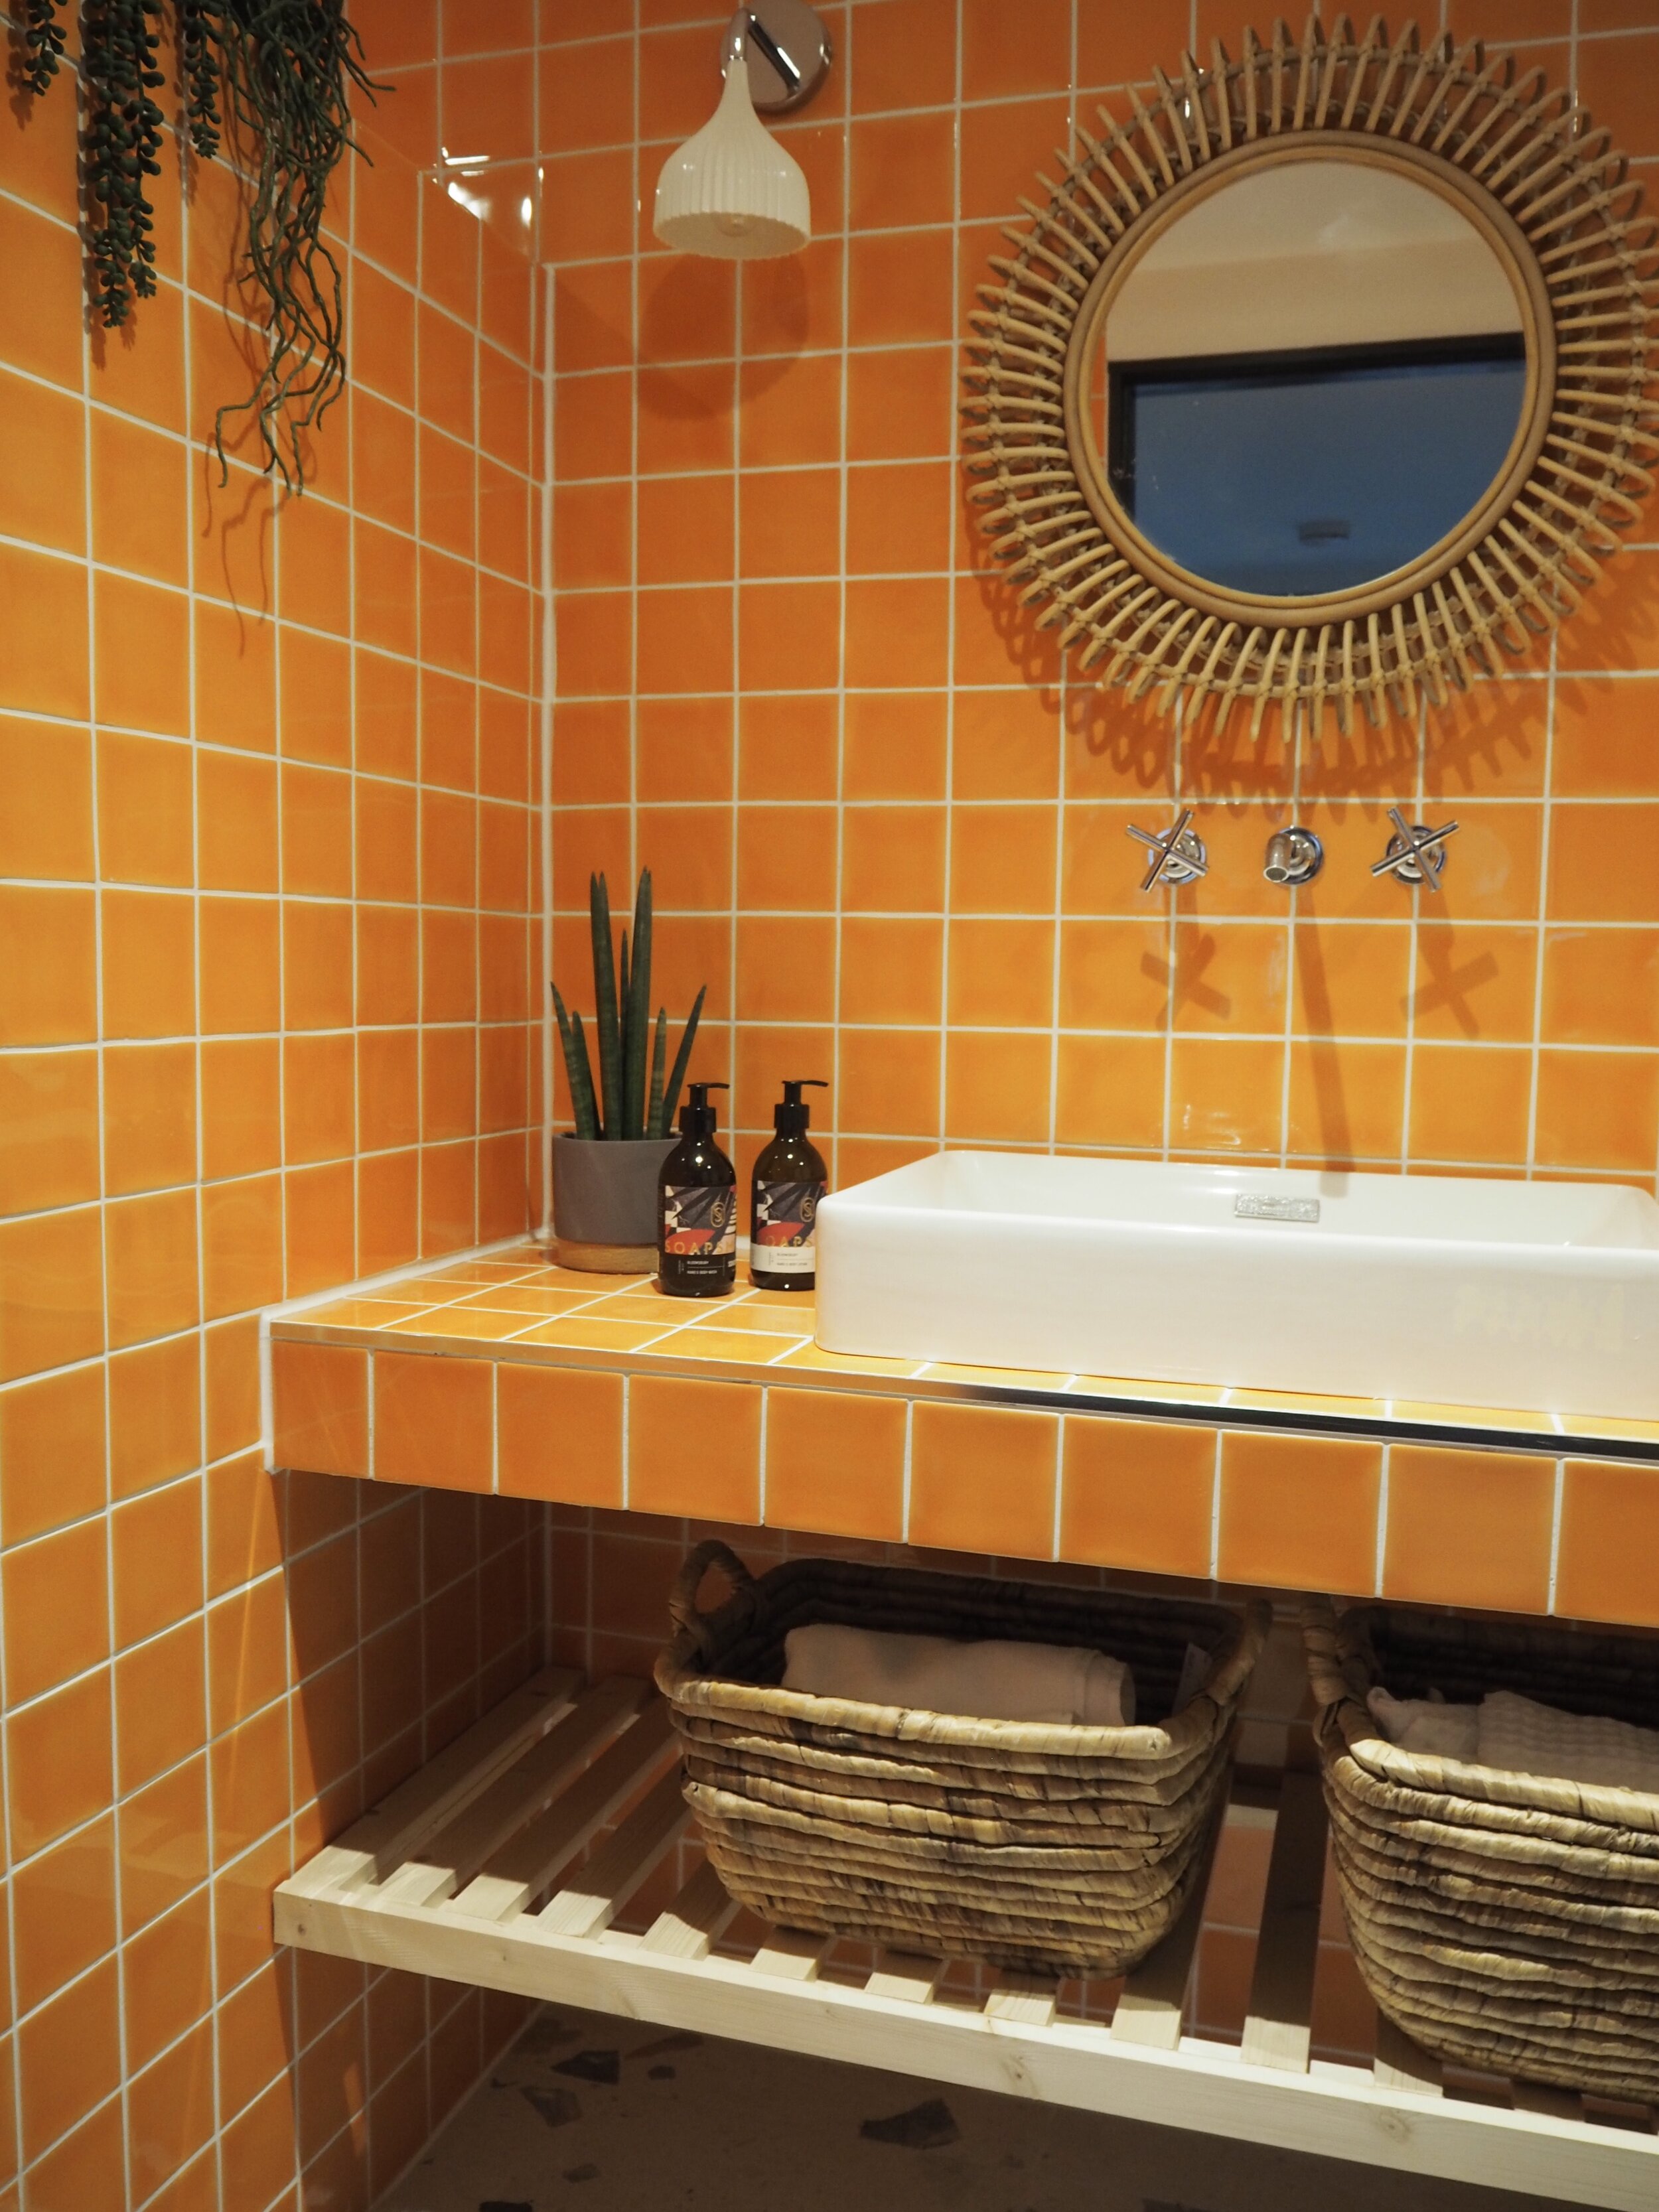
Went For A Strong Wall Tile
So colourwise, I had been obsessed with the Colour Pop Ceramic collection at Ca Pietra ever since I’d spotted it when I spoke on a panel at their Chelsea Harbour showroom for Design Week. Salmao was the perfect choice for the shower room and I knew that it would add impact. It’s 10cm x 10cm square shape gives the space a seventies feel which I love and the colour is both striking and a mood lifter for those dark mornings. The shower space has been tiled floor to ceiling, as has the vanity area, with the toilet and radiator sides on half wall. It’s colour pop never fails to make me happy.
Added A Statement Floor
The Piazza Geo Pearl Porcelain from Ca Pietra was a natural choice for the entrance hall and we decided to carry it through into the shower room space. It’s a jumbo terrazzo and the moment I spotted it, I knew how well it would work. They’re large tiles - 80cm x 80cm - and contrast beautifully with the Salmao Colour Pop. They also work really well with the Bone Black door paintwork and ribbed glass. Super effective.

Let There Be Light
Into the ceiling, we added spotlights but I wanted two wall lights for either side of the mirror. I chose the Kartell E Wall Light which I’ve loved for ages and have been desperate to fit somewhere into my house - it’s simple and contemporary and works really well (I’ve just looked and seen they currently have 15% off if you use code LOVE-15, btw). Christian the electrician also added a sensor so these lights come on automatically as you enter the room. We also added a Smoked Gold shaver socket from Dowsing & Reynolds plus outside the door, a Smoked Gold single toggle switch which operates the Kartell wall lights independently.
Made It Cosy
I (actually, I tell a lie, it was Mike) scoured the internet for the cheapest towel radiator in a style that I was happy with (yes, this is quite a difficult job) and he managed to find one to fit the space at Screwfix with 30% off. It’s to the right of the door and next to the toilet and has the double whammy effective of having somewhere to hang your towels whilst keeping you warm on the loo. Excellent work.
Created A Gallery Wall
How can you add a gallery wall in a shower room, I hear you say? I used acrylic sleeves which I bought from UK POS to mount 16 black and white David Shrigley postcards which I bought from Brainbox Candy. I attached them to the wall with Command picture strips. The plus side is that if I fancy a change up or want to add some colour, the postcards simply slip out of the sleeves and I can replace them with something else. An easy gallery wall at a bargain price.

Added Accessories
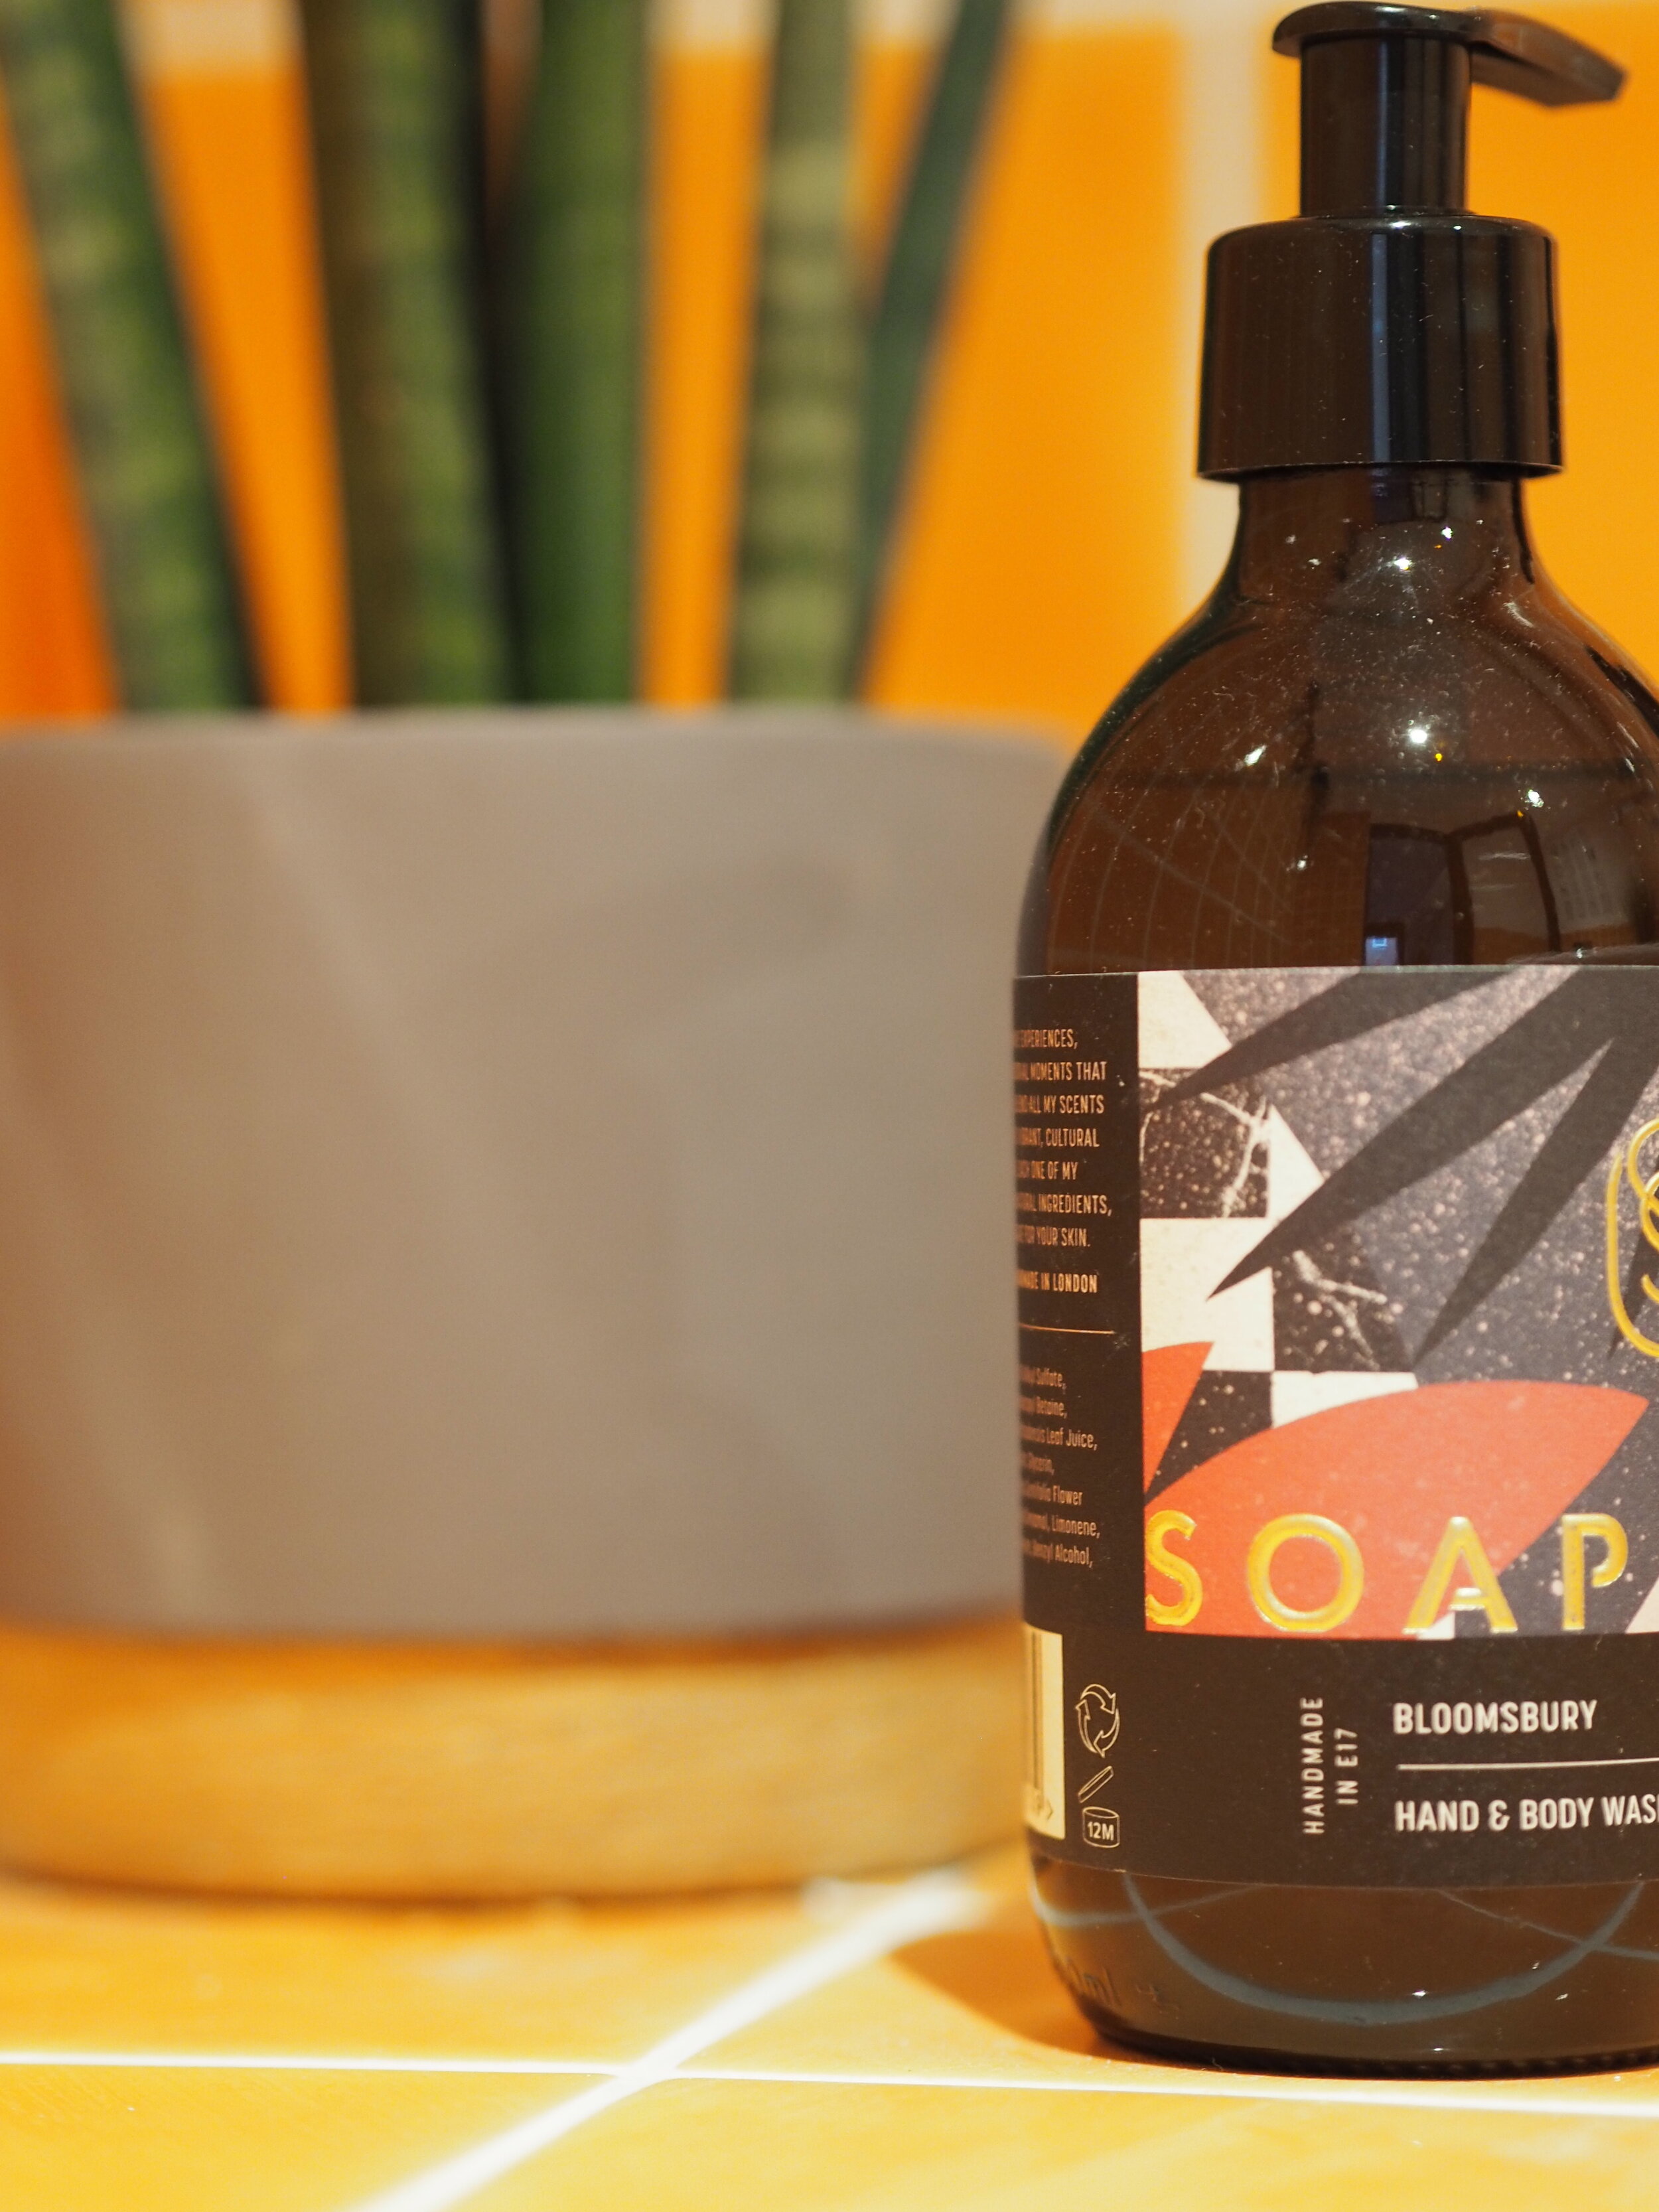
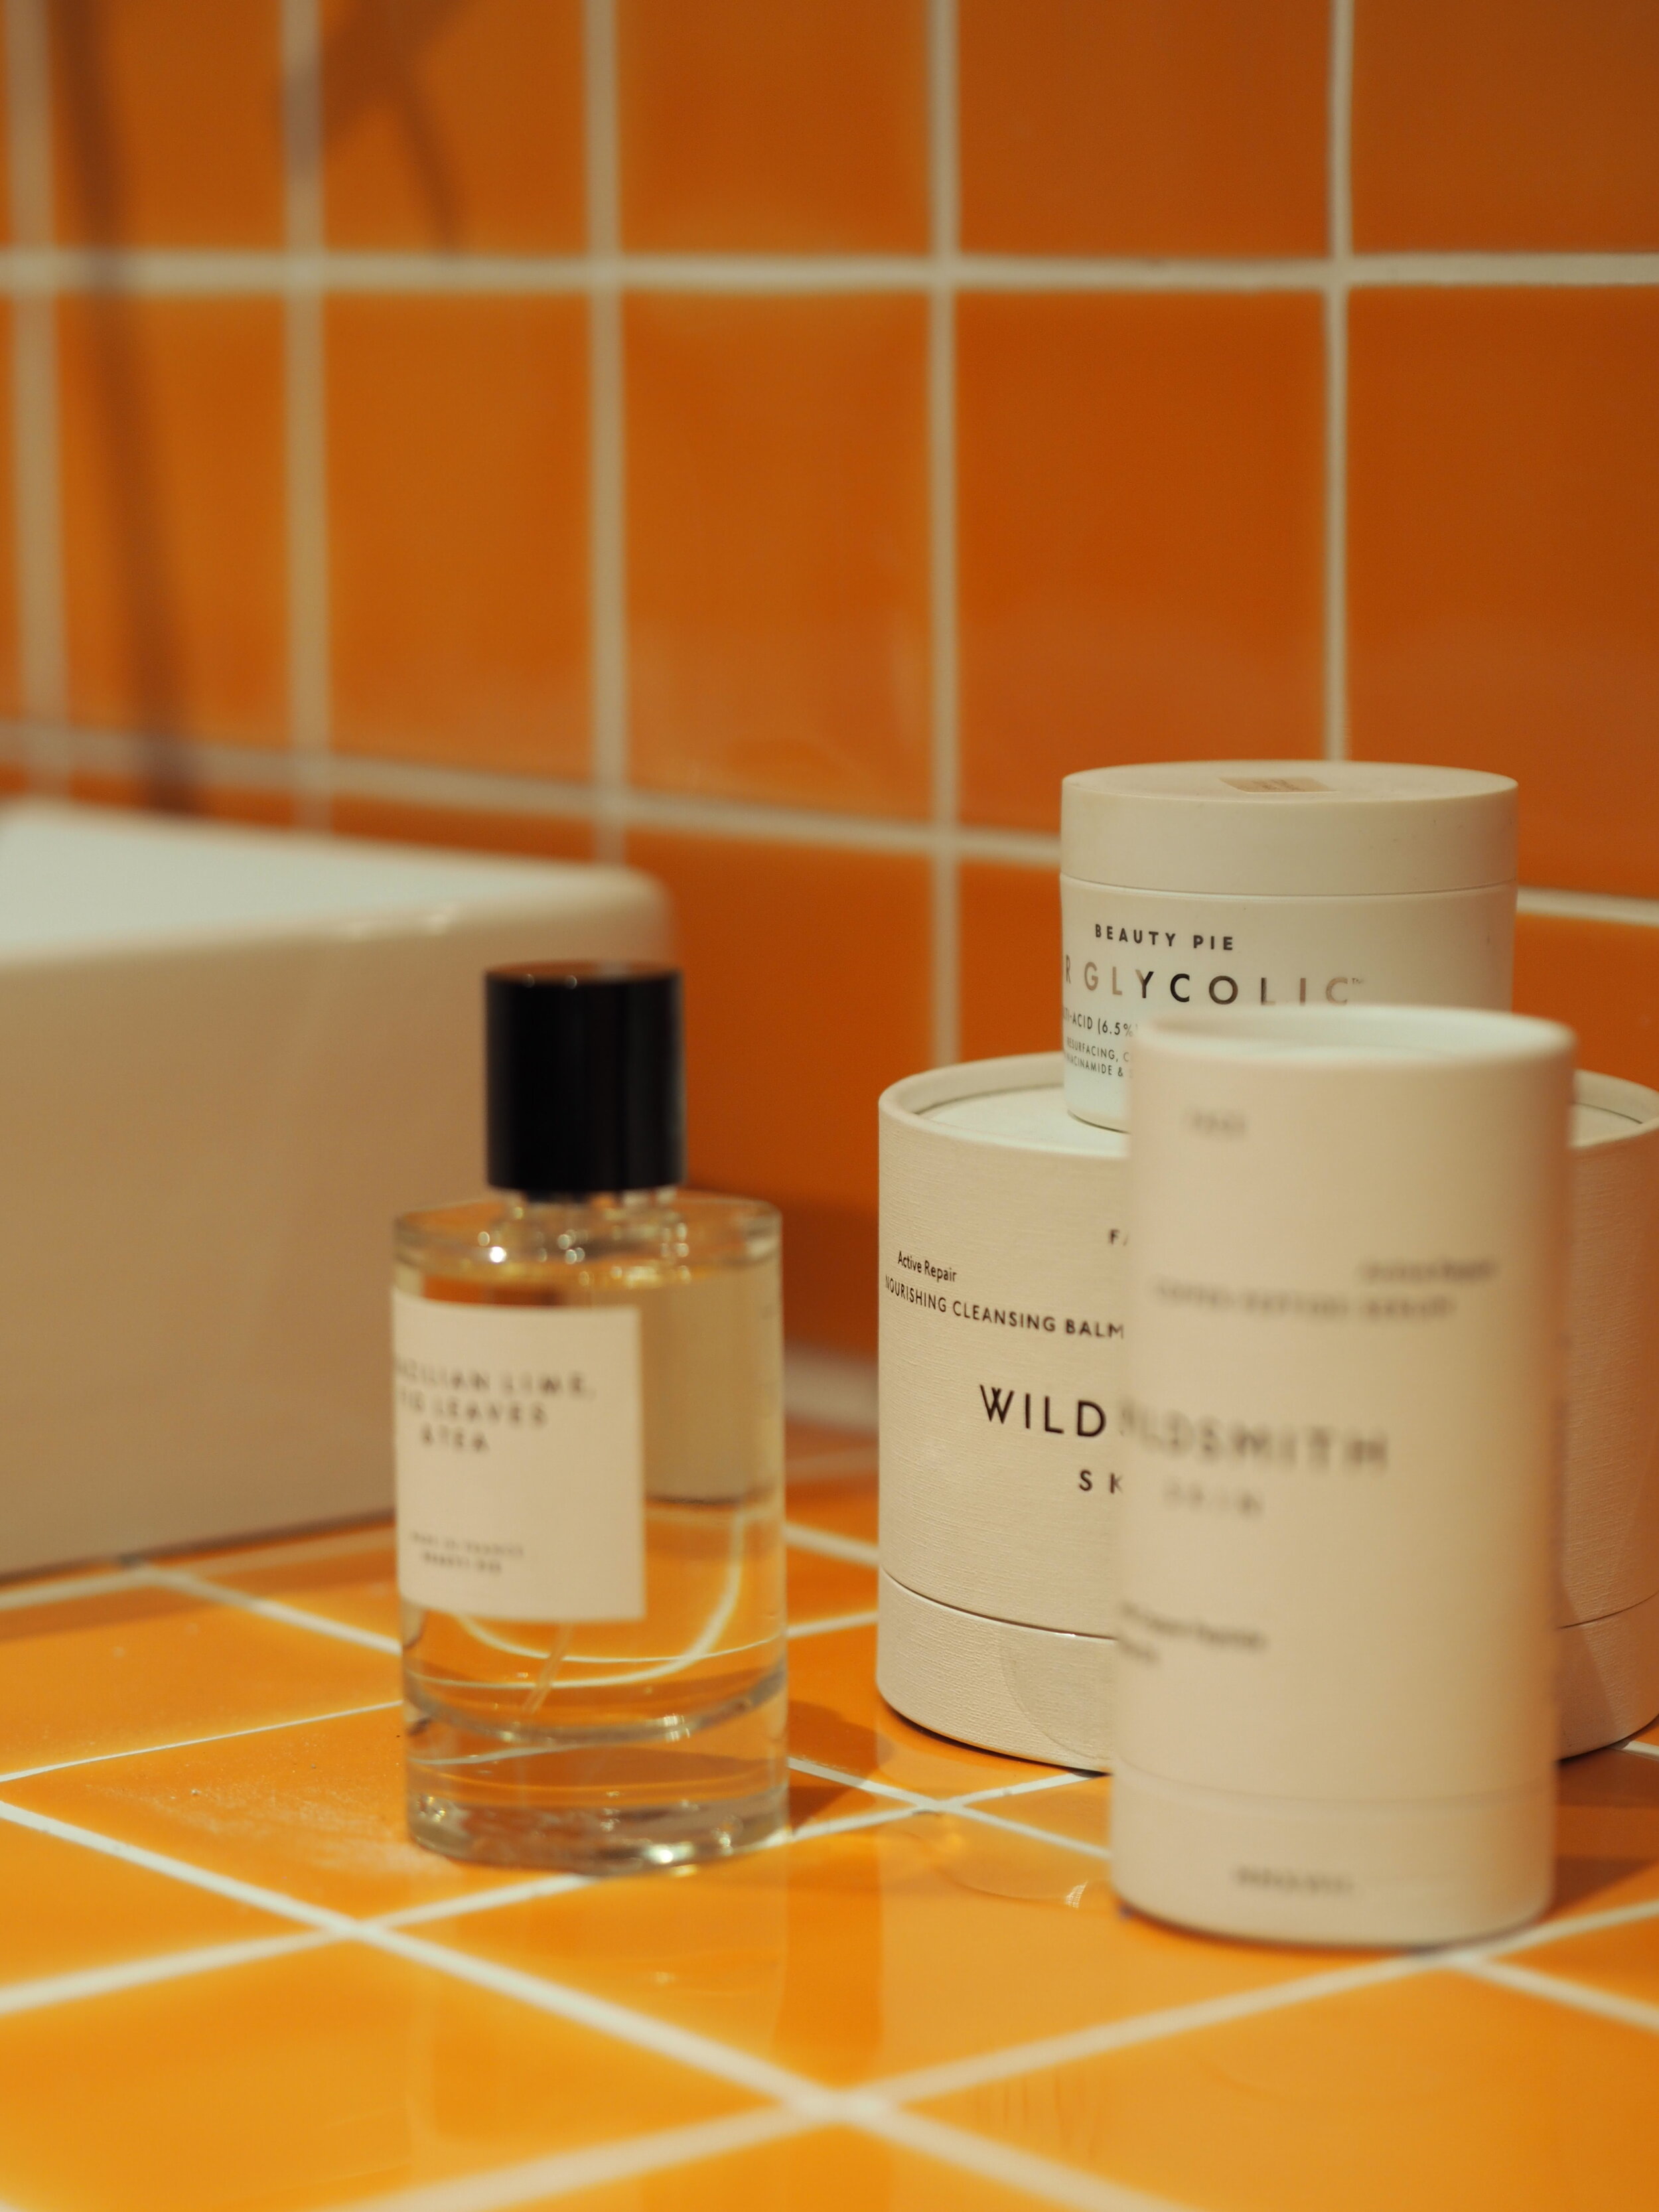
The Tarsile round rattan mirror from La Redoute works nicely with the slatted shelves and is also a great contrast to the tiles. I added baskets to the slatted shelf which are perfect for guest use to store their toiletries, plus excellent for hiding the loo roll and other such non attractive and non style worthy products. A bath board from IKEA, some lovely hand wash and hand cream and my work here was done. Oh, and a fair few faux plants. The room doesn’t have windows so the real thing is a no go.
So that’s the shower room finished. It’s taken a while - at times I thought the tiling would go on forever (let alone Mike, who constantly looked like he wanted to cut off his own head with a rusty saw whenever I saw him doing it) but it was well worth it to see the end result. The tiled worktop gives it an edge and the slatted shelf is a great alternative to traditional storage, both of which we achieved economically and which can be duplicated by anyone who is keen on a bit of DIY. I’m so pleased that I pushed my colour boundaries with this project and I hope that everyone who stays in it loves it too!